KiCad Version 5 has been released! Footprints are going to be installed locally, and the Github plugin for library management is no longer the default. You now have the ability to import Eagle projects directly, Eeschema has a better configuration dialog, better wire dragging, and Pcbnew now has complex pad shapes. The changelog also says they’ve gone from pronouncing it as ‘Kai-CAD’ to ‘Qai-CAD’.
Kids can’t use computers because of those darn smartphones. Finally, the world is ending not because of Millennials, but because of whatever generation we’re calling 12-year-olds. (I’m partial to Generation Next, but that’s only because my mind is polluted with Pepsi commercials from the mid-90s.)
Need a NAS? The Helios4 is built around the Marvell Armada 388 SoC and has four SATA ports, making it a great way to connect a bunch of hard drives to a network. This is the second run from the team behind the Helios, and now they’re looking to take it into production.
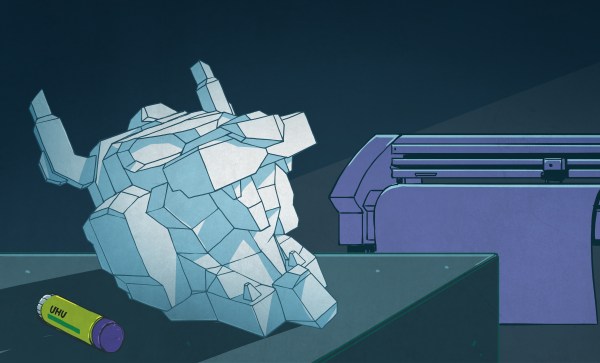
A while ago, [Dan Macnish] built Draw This, a camera that takes an image, sends it through artificial intelligence, and outputs a cartoon on a receipt printer. It’s a camera that prints pictures of cartoons. Of course, some people would want to play with this tech without having to build a camera from scratch, so [Eric Lu] built Cartoonify, a web-based service that turns pictures into cartoons.
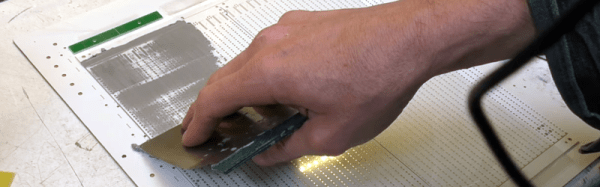
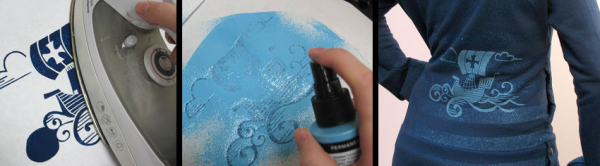
Grafitti is fun to spell and fun to do, and for all the proto-Banskys out there, it’s all about stencils. [Jeremy Cook] did a quick experiment with a 3D-printed spray paint stencil. It works surprisingly well, and this is due to leveraging the bridging capability of his printer. He’s putting supports for loose parts of the stencil above where they would normally be. The test sprays came out great, and this is a viable technique if you’re looking for a high-quality spray paint stencil relatively easily.