While it might not seem like it today, there was a time in the not-too-distant past where Motorola was the processor manufacturer. They made chips for everything, but the most popular was arguably the 68000 or 68k. It’s still has a considerable following today, largely among retrocomputing enthusiasts or those maintaining legacy hardware. For those wanting to dip their toes into this world, this Motorola 68000 emulator created by [Ted Fried] may be the thing needed to discover the magic of these once-ubiquitous chips.
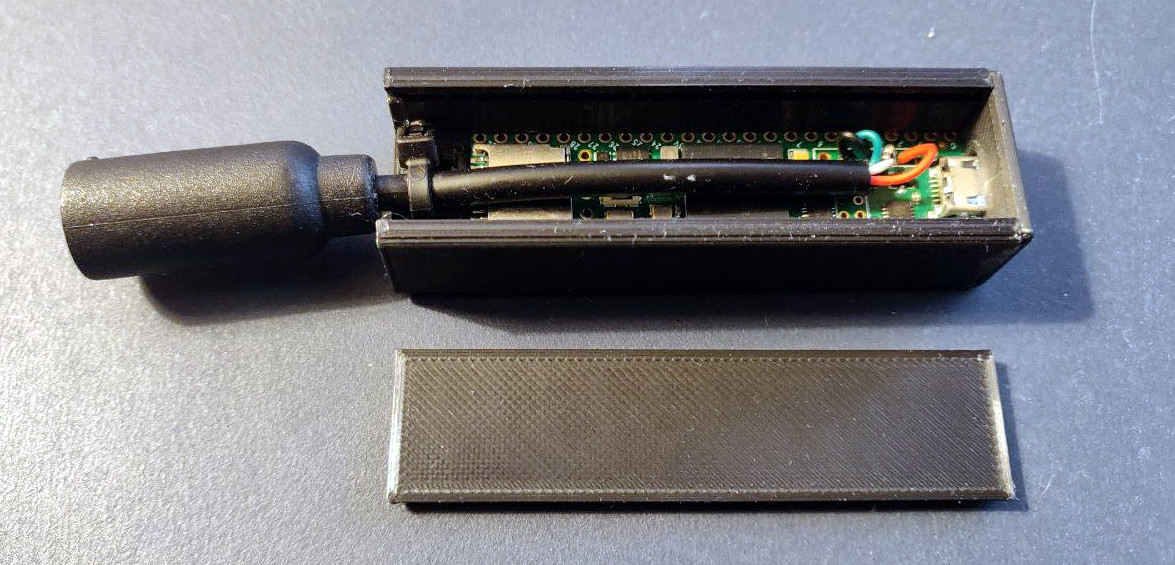
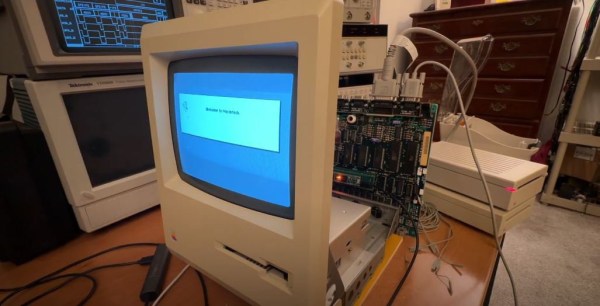
The emulator itself runs on a Teensy 4.1, a 32-bit ARM microcontroller running at 600 MHz — giving it enough computing power to act as a cycle-accurate emulator not only for the 68000 CPU but also the local bus interface, in this case for a Mac 512K. This capability also makes it a drop-in replacement for the 68000 in these older Macs and the original hardware in these computers won’t notice much of a difference. A few tricks are needed to get it fully operational though, notably using a set of latches to make up for the fact that the Teensy doesn’t have the required number of output pins to interface one-to-one with the original hardware.
While the emulator may currently be able to replace the hardware and boot the computer, there is still ongoing development to get every part of the operating system up and working. The source code is available on the project’s GitHub page though so any updates made in the future can be found there. And if you have a Mac 128k and still haven’t upgraded to the 512k yet, grab one of these memory switching modules for the upgrade too.