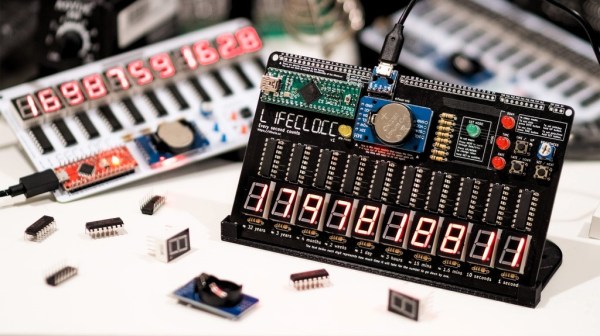
[Oleg] is a software engineer who appreciates a good keyboard, especially since coming over to the dark side of mechanical keebs. It’s true what they say — once you go clack, you never go back.
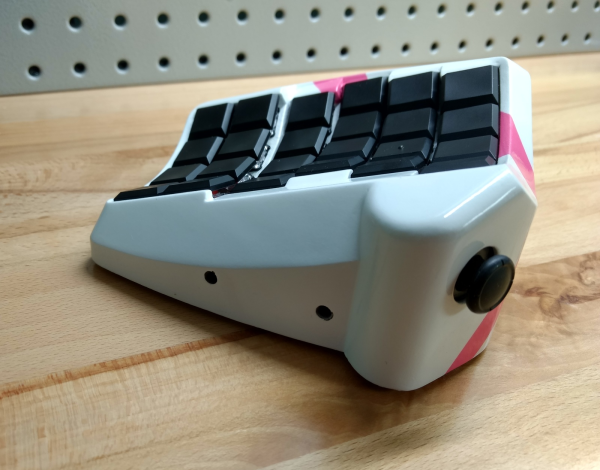
 Anyway, before going full nerd with an ortholinear split ergo keyboard, [Oleg] had a nice little WASD with many upsides. Because the ErgoDox is oh so customizable, his use of the WASD had fallen by the wayside.
That’s because the ErgoDox can run QMK firmware, which allows the user to customize every key they see and add layers of functionality. Many people have converted all kinds of old keebs over to QMK by swapping out the native controller for a Teensy, and [Oleg] was sure it would work for the WASD.
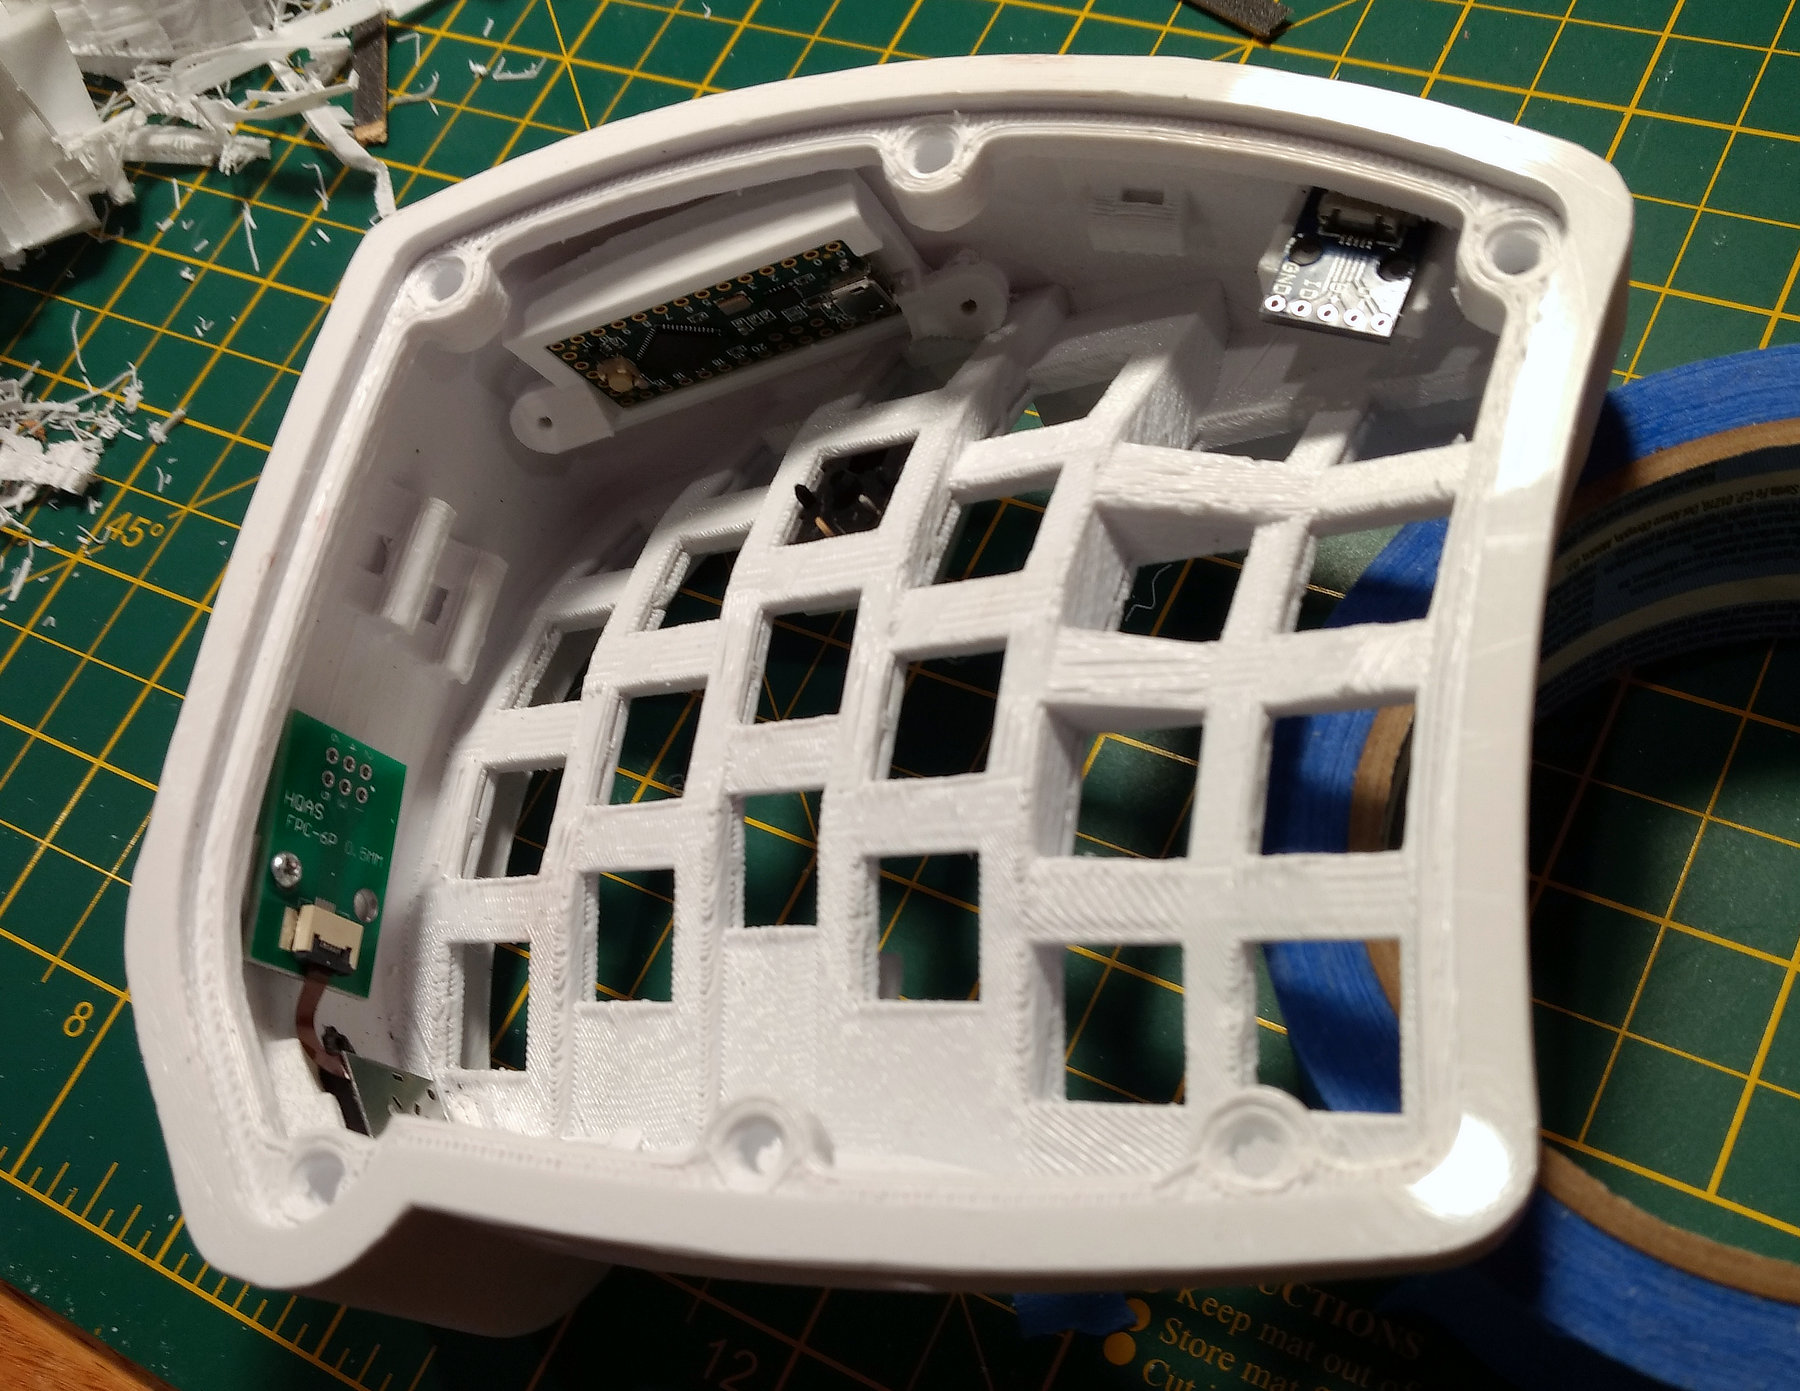
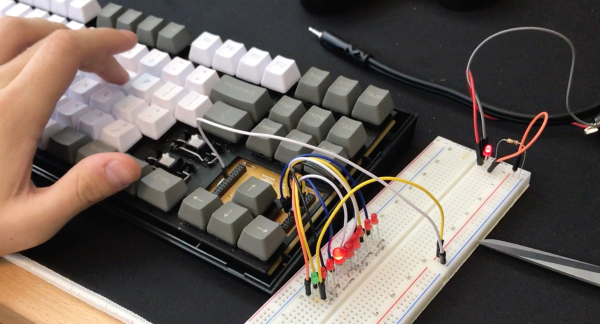
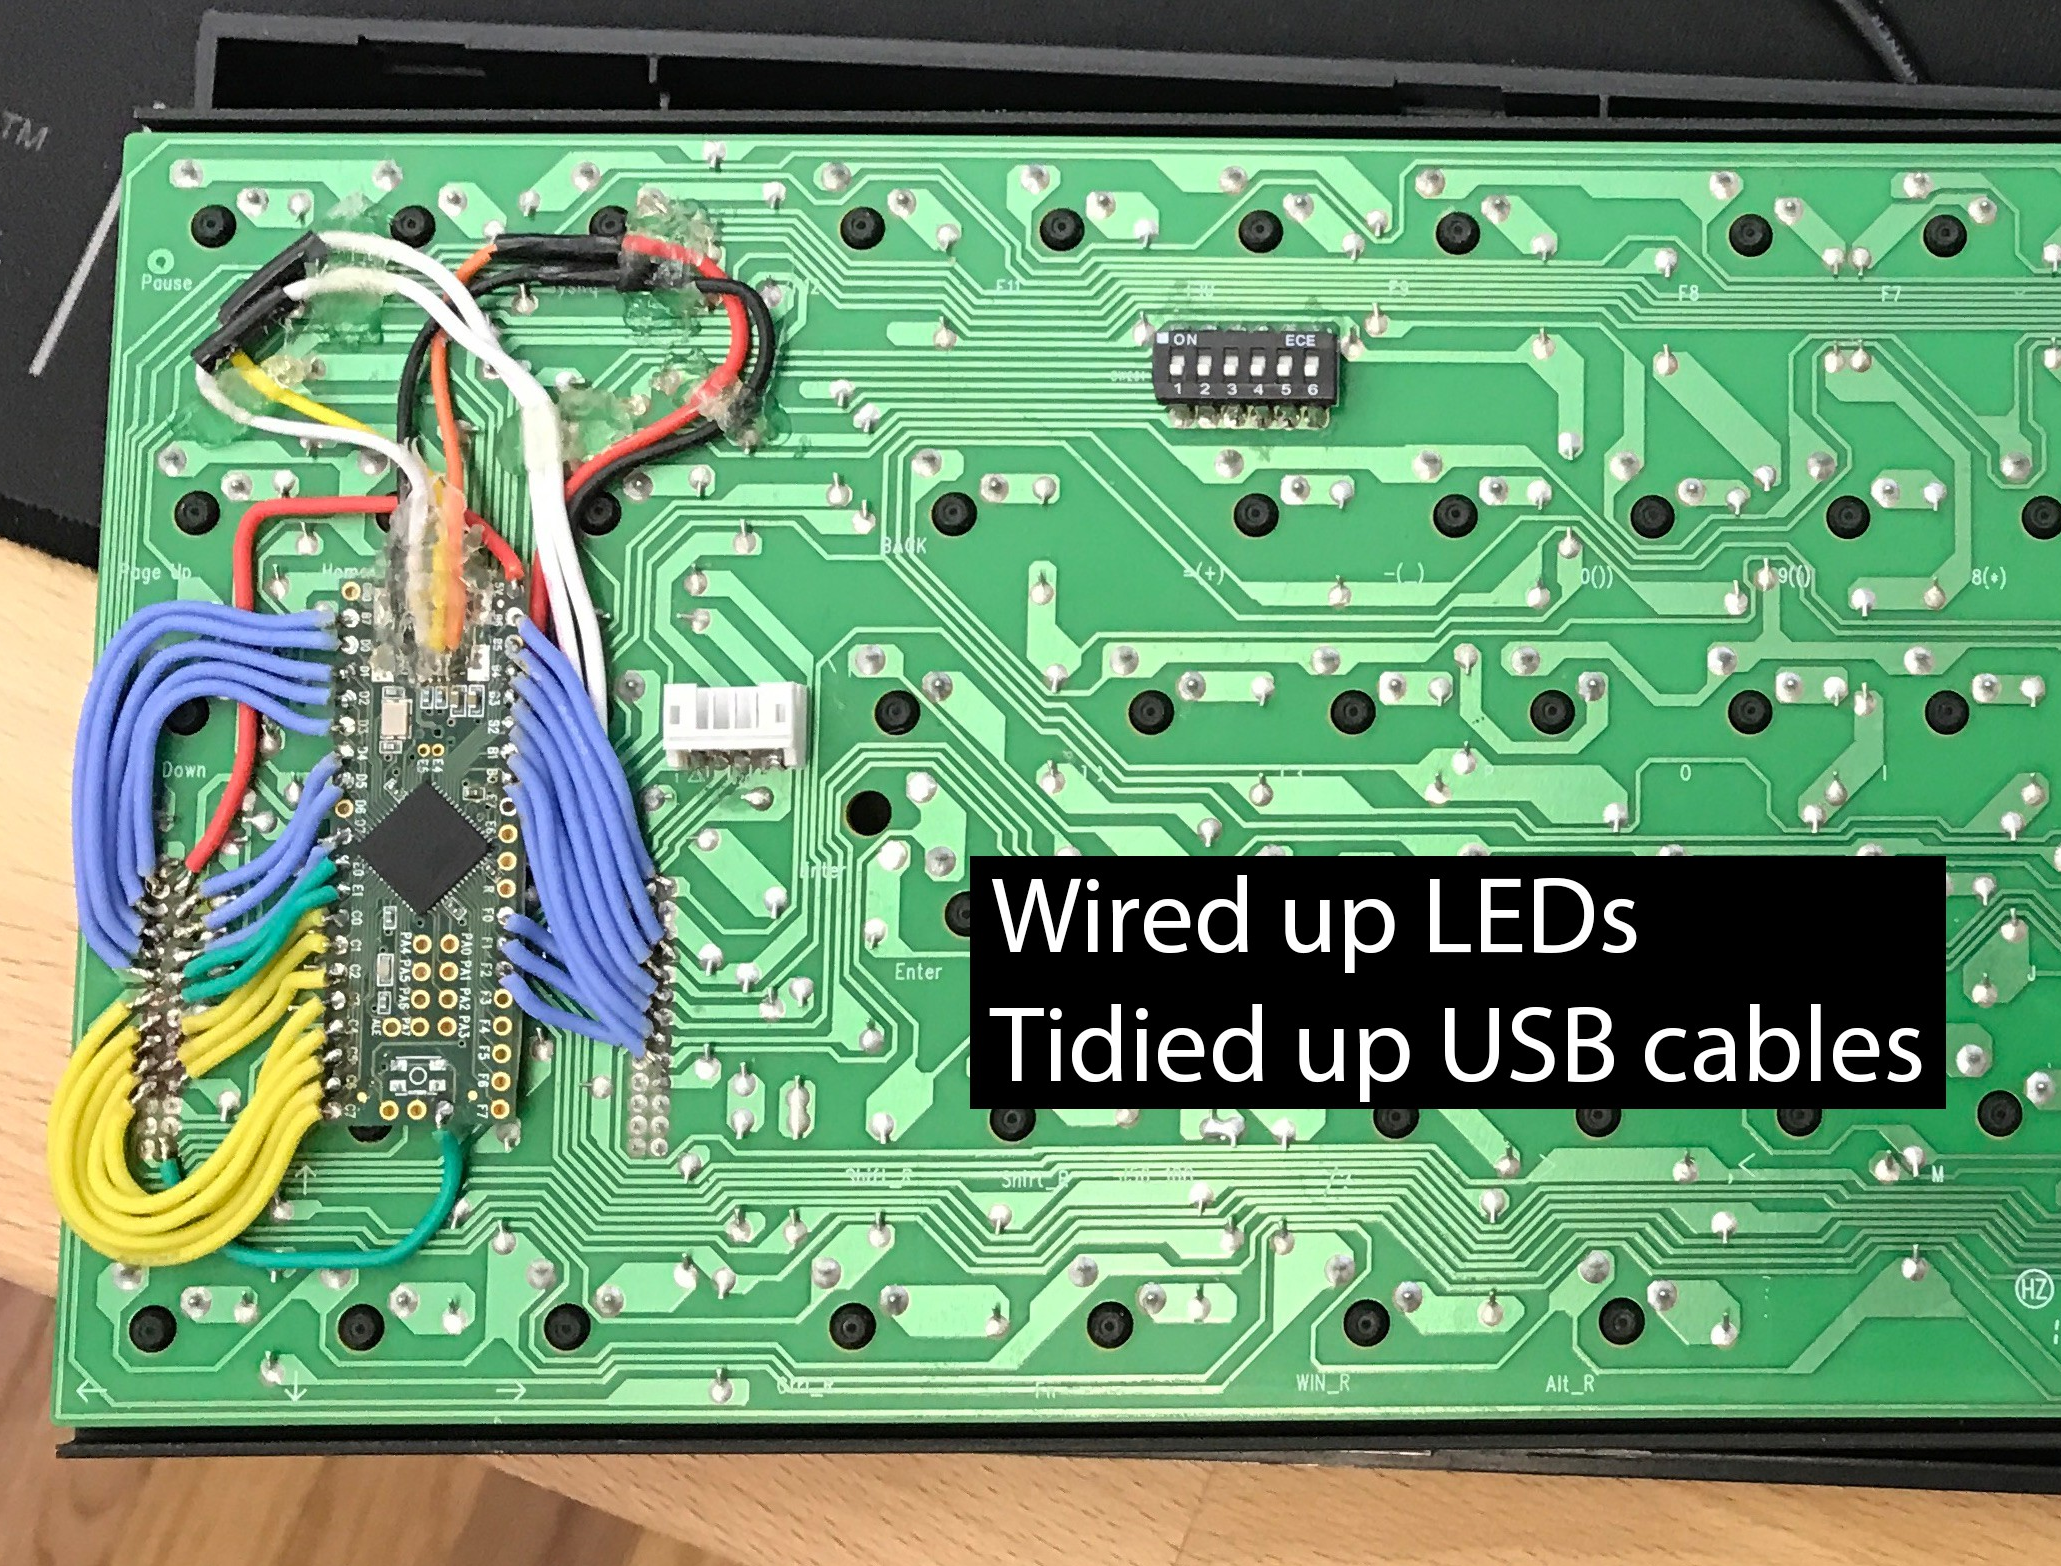
[Oleg] got under the hood and found that the controller sits on a little removable board around the arrow keys and talks to the main PCB through two sets of double-row header pins. After some careful probing with a ‘scope, the controller board revealed its secrets and [Oleg] was able to set up a testing scheme to reverse engineer the keyboard matrix by connecting each row to an LED, and all the columns to ground. With next to no room for the Teensy, [Oleg] ended up strapping it to the back of the switch PCB and wiring it quite beautifully to the header pins.
With Teensy and QMK, it’s easy to make a keyboard any way you want, even if you’re all thumbs.