LEDs Strips Tell You The Trains Aren’t Running

[James] is a frequent user of the London Underground, a subway system that is not immune to breakdowns and delays. He wanted a way to easily tell if any of the trains were being disrupted, and thanks to some LEDs, he now has that information available at a glance without having to check a webpage first.

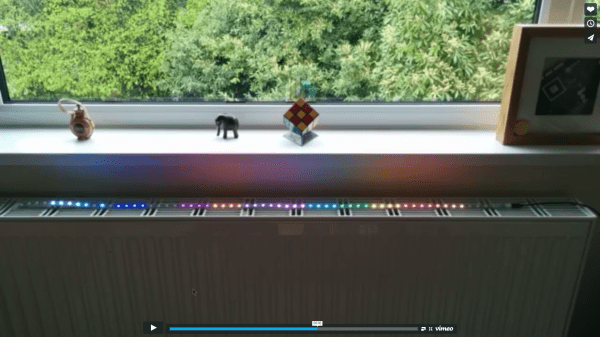
Inspired by the Blinky Tape project at FT Engineering, [James] thought he could use the same strip of addressable LEDs to display information about the tube. A Raspberry Pi B+ gathers data from the London Underground’s TfL API and does a few calculations on the data. If there is a delay, the LEDs in the corresponding section of the strip will pulse, alerting the user to a problem with just a passing glance.

The project is one of many that displays data about the conditions you’ll find when you step outside the house, without having to look at a computer or smartphone. We recently featured an artistic lamp which displays weather forecasts for 12 hours into the future, and there was an umbrella stand which did the same thing. A lot is possible with LEDs and a good API!

Continue reading “LEDs Strips Tell You The Trains Aren’t Running”

Subway radar

LEDs Turn This Paper Map Into A Tram Tracker

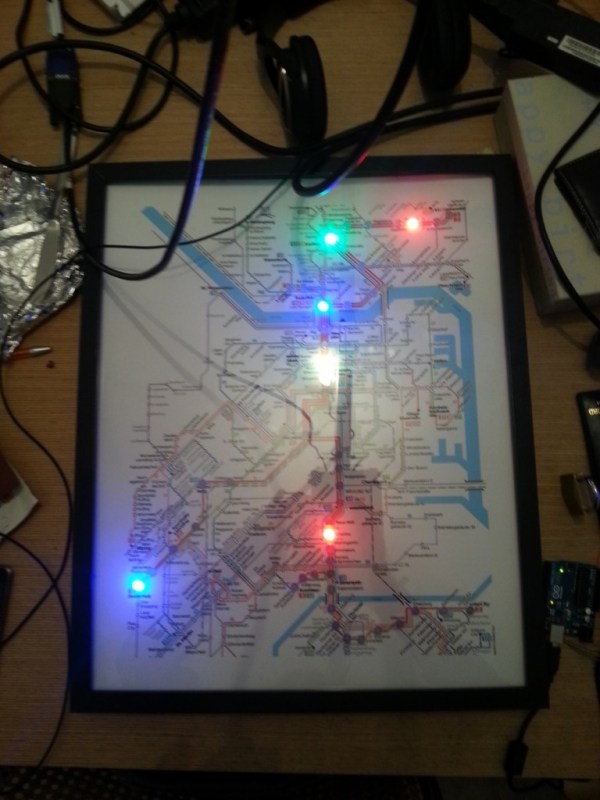
Public transit can be a wonderful thing. It can also be annoying if the trains are running behind schedule. These days, many public transit systems are connected to the Internet. This means you can check if your train will be on time at any moment using a computer or smart phone. [Christoph] wanted to take this concept one step further for the Devlol hackerspace is Linz, Austria, so he built himself an electronic tracking system (Google translate).

[Christoph] started with a printed paper map of the train system. This was placed inside what began as an ordinary picture frame. Then, [Christoph] strung together a series of BulletPixel2 LEDs in parallel. The BulletPixel2 LEDs are 8mm tri-color LEDs that also contain a small controller chip. This allows them to be controlled serially using just one wire. It’s similar to having an RGB LED strip, minus the actual strip. [Christoph] used 50 LEDs when all was said and done. The LEDs were mounted into the photo frame along the three main train lines; red, green, and blue. The color of the LED obviously corresponds to the color of the train line.

The train location data is pulled from the Internet using a Raspberry Pi. The information must be pulled constantly in order to keep the map accurate and up to date. The Raspberry Pi then communicates with an Arduino Uno, which is used to actually control the string of LEDs. The electronics can all be hidden behind the photo frame, out of sight. The final product is a slick “radar” for the local train system.

Retrotectacular: The Science Of Derailing Trains

Look closely above and you’ll see there’s a section of track missing. There are actually two, a section from each side has been plucked out with a pair of eight-ounce plastic explosive charges — and yet the train keeps barreling onward. The World War II era reel is demonstrating some military testing of the effect of damaged tracks on a train. The amount of missing track the train can stand up to came as quite a surprise for us!

The test setup itself is neat. An old derelict locomotive is used. It, as well as a number of trailing cars, is pushed by a functioning engine from behind. Once up to about 26 MPH the pusher stops and the rest keep going. There are many tests, starting with just a few inches of track missing from one side. This gap is increased, then gaps are added both sides, then the two sides are offset. Even a 5-foot gap is crossed easily by the locomotive. The weak link turns out to be the empty cars. We suppose their mass is small enough that they can’t rely on inertia to keep them on the straight path.

If you don’t appreciate the destructive nature of this Retrotechtacular installment, you can still get your train fix. There is another offering which shows off the modernization of a signaling system.

Continue reading “Retrotectacular: The Science Of Derailing Trains”

Retrotechtacular: Upgrading Train Signaling Before The Information Age

retrotechtacular-british-railway-signaling

What’s surprising about the subject of this week’s Retrotechtacular is that the subject is not from that long ago. But looking at the way in which the work was done makes it feel so far in the past. In 1974 the British Railways Board set out to modernize and interconnect the signaling system. What you see above is one of hundreds of old signal control houses slated to be replaced by an interconnected system.

These days we take this sort of thing for granted. But from the start of the project it’s clear how the technology available at the time limited the efficiency of the development process. We’re not talking about all of the electro-mechanical parts shown during the manufacturing part of the video. Nope, right off the bat the volumes of large-format paper schematics and logic diagrams seem daunting. Rooms full of engineers with stacks of bound planning documents feel alien to us since these days even having to print out a boarding pass seems antiquated.

With fantastic half-hour videos like this one available who needs television? We’d recommend adding this to your watch list so you can properly enjoy it. They show off everything; manufacturing the cables, stringing them between the signal towers, assembling the control panels, testing, and much more.

Continue reading “Retrotechtacular: Upgrading Train Signaling Before The Information Age”

The Model Engineer

engineer


As a child, [Mike Chrisp] saw a film featuring one of the great narrow gauge English locomotives. While the story was inordinately heartening, as soon as he walked out of the theatre, [Mike] said to himself that he had to have one of these locomotives. Thus began a lifelong adventure in model engineering.

[Mike] builds model locomotives and other steam-powered means of motive power. Everything from five-inch gauge locomotives to small steam tractors is liable to come out of his small workshop, all built with the machining and engineering excellence only a lifetime of experience can provide.

As for what drives [Mike] to stay in his workshop for long hours, he says his shop is just a place to be, a place to tinker, and a place to simply think about things, even if his hands aren’t getting dirty.  There’s something beautiful about that, even if [Mike] were to hide the products of his skill away from the world.

Preserving Locomotives With 3D Laser Scanning And 3D Printing

[Chris Thorpe] is a model railroading aficionado, and from his earliest memories he was infatuated with the narrow gauge locomotives that plied their odd steel tracks in northern Wales. Of course [Chris] went on to create model railroads, but kit manufacturers such as Airfix and Hornby didn’t take much interest in the small strange trains of the Ffestiniog railway.

The days where manufacturing plastic models meant paying tens of thousands of dollars in tooling for injection molds are slowly coming to an end thanks to 3D printing, so [Chris] thought it would be a great idea to create his own models of these small locomotives with 3D laser scanners and high quality 3D printers.

[Chris] started a kickstarter to fund a 3D laser scanning expedition to the workshop where the four oldest locomotives of the Ffestiniog railway were being reconditioned for their 150th anniversary. The 3D printed models he’s able to produce with his data have amazing quality; with a bit of paint and a few bits of brass, these models would fit right in to any model railway.

Even better than providing scale narrow gauge engines to model railway enthusiasts around the world is the fact that [Chris] has demonstrated the feasibility of using modern technology to recreate both famous and underappreciated technological relics in plastic for future generations. There’s a lot that can be done with a laser scanner in a railway or air museum or [Jay Leno]’s garage, so we’d love to see more 3D printed models of engineering achievements make their way onto Kickstarter.

Picture Frame That Scrapes Train Times From The Web

rpi-train-times-fixture

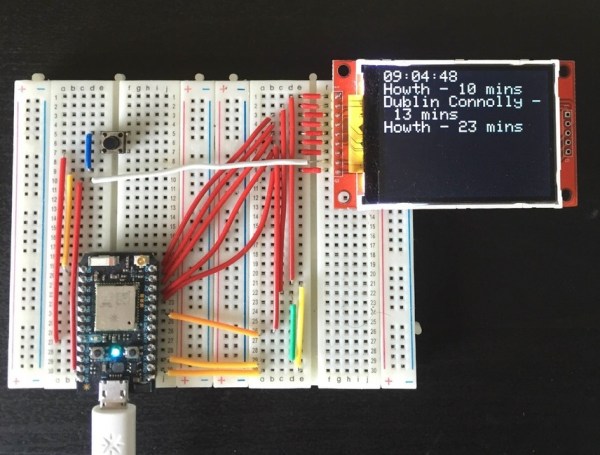
Whenever [Gareth James] needs to catch a train he has only to push a button on this frame and the next three departure times will be displayed. As you can see from the post-processing in the photo, this is accomplished by a Raspberry Pi board using a few familiar tools.

Let’s take a look at the hardware first. He acquired a 7″ LCD display which he removed from its plastic case. The bare screen will easily fit inside of the rather deep wood frame and its composite video input makes it quite simple to interface with the RPi board. There was a little work to be done for power. The LCD needs 12V so he’s using a 12V wall wart to feed the frame, and including a USB car charger to power the RPi. The last thing he added is a button connected to the GPIO header to tell the system to fetch a new set of times.

A Python script monitors the button and uses Beautiful Soup to scrape the train info off of a website. To get the look he wanted [Gareth] wrote a GUI using tkinter. Don’t miss the demo after the jump.

If you need a bit of a primer on scraping web data take a look at this guide.

Continue reading “Picture Frame That Scrapes Train Times From The Web”