For any given processor it’s generally easy to find a statistic on the number of transistors used to construct it, with the famous Intel 8086 CPU generally said to contain 29,000 transistors. This is where [Ken Shirriff] ran into an issue when he sat down one day and started counting individual transistors in die shots of this processor. To his dismay, he came to a total of 19,618, meaning that 9,382 transistors are somehow unaccounted for. What is going on here?
The first point here is that the given number includes so-called ‘potential transistors’. Within a section of read-only memory (ROM), a ‘0’ would be a missing transistor, but depending on the programming of the mask ROM (e.g. for microcode as with a CISC x86 CPU), there can be a transistor there. When adding up the potential but vacant transistor locations in ROM and PLA (programmable logic array) sections, the final count came to 29,277 potential transistors. This is much closer to the no doubt nicely rounded number of 29,000 that is generally used.
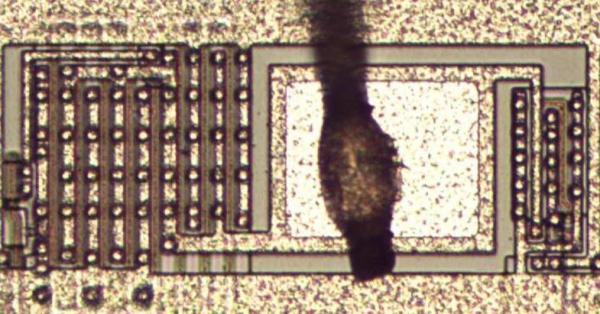
[Ken] also notes that further complications here are features such as driver transistors that are commonly found near bond wire pads. In order to increase the current that can be provided or sunk by a pad, multiple transistors can be grouped together to form a singular driver as in the above image. Meanwhile yet other transistors are used as (input protection) diodes or even resistors. All of which makes the transistor count along with the process node used useful primarily as indication for the physical size and complexity of a processor.
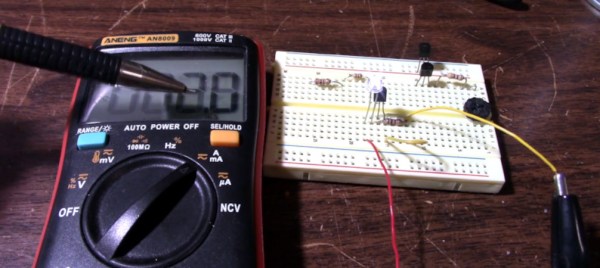


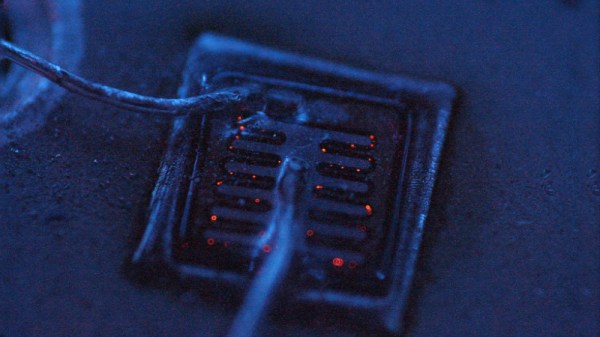
 The key to the trick is the breakdown voltage of the transistor; normally somewhere around 7-8 volts for a typical small NPN transistor. At this point, where the base-emitter junction enters the breakdown regime, it begins to emit light. This light actually travels through the silicon lattice, where it reaches the base-collector junction, which acts like a photodiode under the right conditions. This generates the negative voltage seen at the collector under these conditions.


