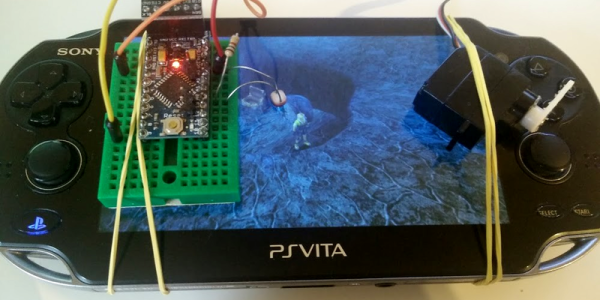
Believe it or not, some video games are still developed for the PC. With video games come cheat codes, and when they’re on the PC, that means using a keyboard. You can easily program any microcontroller to send a string of characters over a USB port with the touch of a button. Believe it or not, a lot of people haven’t put these two facts together. [danjovic] has, leading him to build a simple and cheap USB keystroke generator for quickly typing in cheat codes.
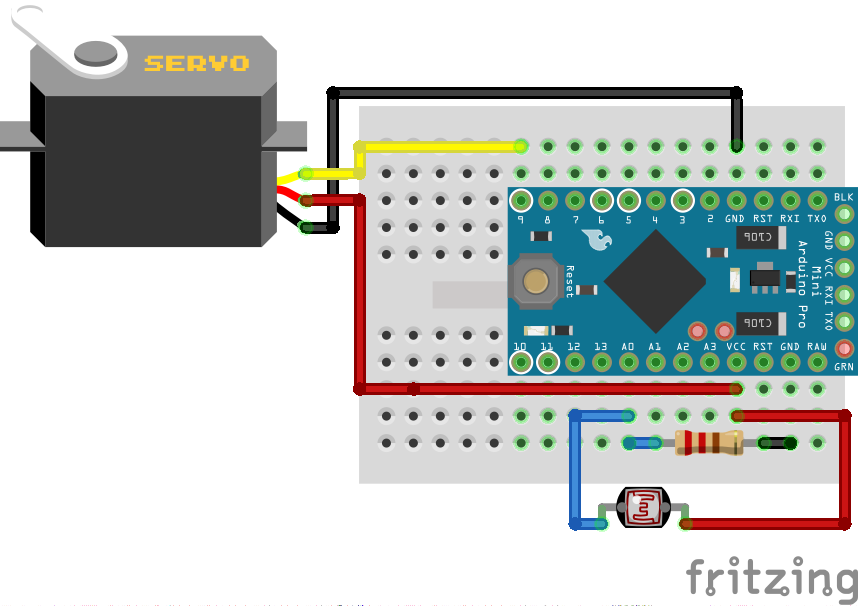
[danjovic] is basing his build around a Digispark, a cheap, USB-enabled ATtiny85 dev board. This, of course, means there’s not a lot of pins to play with – there are only four I/O pins, and one of them is connected to ground by a LED. That leaves only three I/O pins, but [danjovic] managed to put seven different cheats in his project using diodes and something that is almost charlieplexing.
If you’re wondering, this is a very inexpensive project. [danjovic] is using a Chinese digispark clone, a handful of 1N4148 diodes, and a few tact switches. Anyone with a well-stocked part drawer or a tenner on eBay could build this. If you want the proof of work for this project, you can check out the demo video below.
Continue reading “Hackaday Prize Entry: A Better Way Of Cheating”