Yes, rolling tool cabinets in every conceivable shape, size, arrangement of drawers, and even color are readily available commercially, and you probably shouldn’t build your own. But as [Bob] from “Making Stuff” points out, where’s the fun in that?
Still, we can think of plenty of reasons to make your own rolling tool cabinets from scratch. Aside from the obvious benefits of practicing your metalworking skills and putting your tools to good use, rolling your own means you can get exactly what you want. Almost every tool cabinet we’ve purchased has ended up being just a bit sub-optimal in some way — too wide for the available space, or perhaps with drawers a touch too shallow to fit that one oddball tool. Being able to create your own cabinet means you can hit the specs exactly, and as [Bob] shows, it’s not even that hard if you have the right tools.
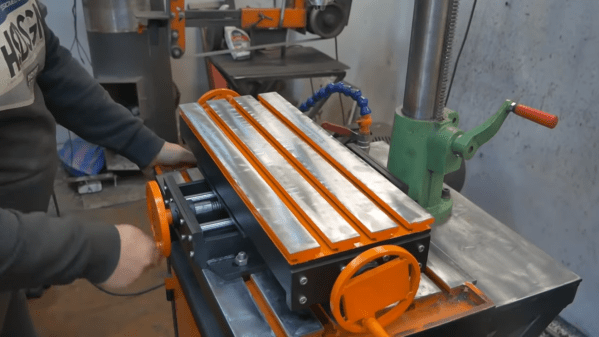
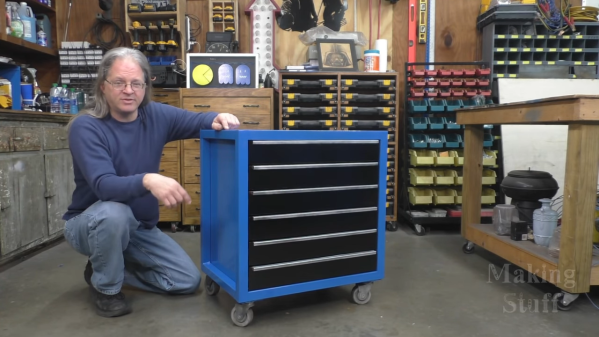
The build starts on [Bob]’s CNC plasma cutter, a shop-built machine that’s seen several upgrades over the years. The plasma cutter makes quick work of cutting the drawer blanks from sheet steel, complete with slots to make forming the sheets into drawers easy. The frame of the cabinet is steel tubing, which is welded up and filled in with more sheet steel. Full-extension ball-bearing slides are added to the sides to support the drawers; we have to admit that welding what appears to be zinc-coated steel makes us nervous, but we assume [Bob] took precautions against the potential for toxic fumes.
The video below shows the whole build process and shows off the very sharp-looking final product. It also puts us very much in the mood to build our own plasma cutter.
Continue reading “Scratch-Built Rolling Tool Cabinet Is A Metalworking Skill-Builder”