Not Just Your Average DIY Spot Welder

Microwave oven transformer spot welder builds are about as common as Nixie tube clocks around here. But this spot welder is anything but common, and it has some great lessons about manufacturing techniques and how to achieve a next level look.

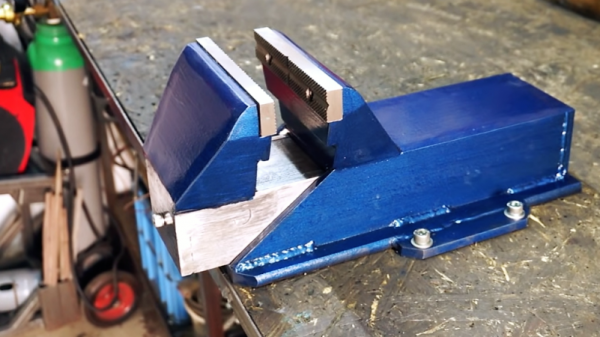
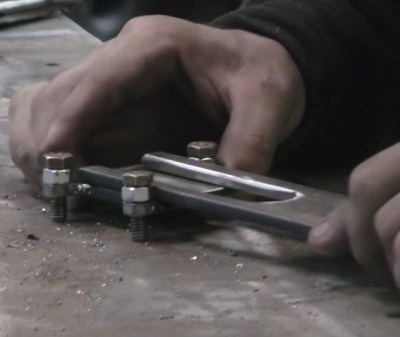
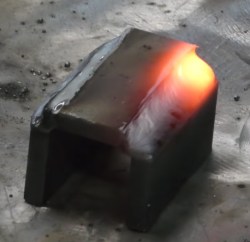
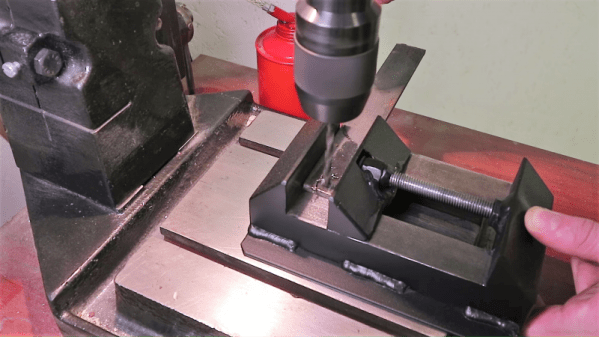
Far warning that [Mark Presling] has devoted no fewer than five videos to this build. You can find a playlist on his YouTube channel, and every one of them is well worth the time. The videos covering the meat of what went into this thing of beauty are below. The guts are pretty much what you expect from a spot welder — rewound MOT and a pulse timer — but the real treat is the metalwork. All the very robust parts for the jaws of the welder were sand cast in aluminum using 3D-printed patterns, machined to final dimensions, and powder coated. [Mark] gives an excellent primer on creating patterns in CAD, including how to compensate for shrinkage and make allowance for draft. There are tons of tips to glean from these videos, and plenty of inspiration for anyone looking to achieve a professional fit and finish.

In the category of Best Appearing Spot Welder, we’ll give this one the nod. Runners-up from recent years include this plastic case model and this free-standing semi-lethal unit.

Continue reading “Not Just Your Average DIY Spot Welder”

3D Printering: Printing Sticks For A PLA Hot Glue Gun

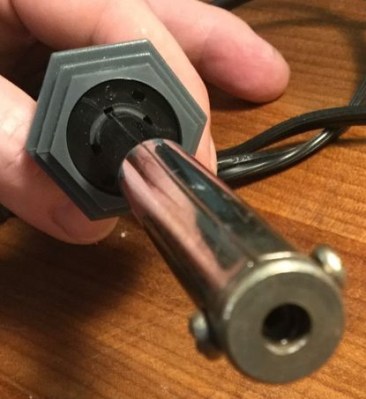
When is a hot glue stick not a hot glue stick? When it’s PLA, of course! A glue gun that dispenses molten PLA instead of hot glue turned out to be a handy tool for joining 3D-printed objects together, once I had figured out how to print my own “glue” sticks out of PLA. The result is a bit like a plus-sized 3D-printing pen, but much simpler and capable of much heavier extrusion. But it wasn’t quite as simple as shoving scrap PLA into a hot glue gun and mashing the trigger; a few glitches needed to be ironed out.

Why Use a Glue Gun for PLA?

Some solutions come from no more than looking at two dissimilar things while in the right mindset, and realizing they can be mashed together. In this case I had recently segmented a large, hollow, 3D model into smaller 3D-printer-sized pieces and printed them all out, but found myself with a problem. I now had a large number of curved, thin-walled pieces that needed to be connected flush with one another. These were essentially butt joints on all sides — the weakest kind of joint — offering very little surface for gluing. On top of it all, the curved surfaces meant clamping was impractical, and any movement of the pieces while gluing would result in other pieces not lining up.

An advantage was that only the outside of my hollow model was a presentation surface; the inside could be ugly. A hot glue gun is worth considering for a job like this. The idea would be to hold two pieces with the presentation sides lined up properly with each other, then anchor the seams together by applying melted glue on the inside (non-presentation) side of the joint. Let the hot glue cool and harden, and repeat. It’s a workable process, but I felt that hot glue just wasn’t the right thing to use in this case. Hot glue can be slow to cool completely, and will always have a bit of flexibility to it. I wanted to work fast, and I wanted the joints to be hard and stiff. What I really wanted was melted PLA instead of glue, but I had no way to do it. Friction welding the 3D-printed pieces was a possibility but I doubted how maneuverable my rotary tool would be in awkward orientations. I was considering ordering a 3D-printing pen to use as a small PLA spot welder when I laid eyes on my cheap desktop glue gun.

Continue reading “3D Printering: Printing Sticks For A PLA Hot Glue Gun”

Wrecked Civic Rides Again As Cozy Camp Trailer

It may not be the typical fare that we like to feature, but you can’t say this one isn’t a hack. It’s a camp trailer fashioned from the back half of a wrecked Honda Civic, and it’s a pretty unique project.

We don’t know about other parts of the world, but a common “rural American engineering” project is to turn the bed and rear axle of an old pickup truck into a trailer. [monickingbird]’s hacked Civic is similar to these builds, but with much more refinement. Taking advantage of the intact and already appointed passenger compartment of a 1997 Civic that had a really bad day, [monickingbird] started by lopping off as much of the front end as possible. Front fenders, the engine, transmission, and the remains of the front suspension and axle all fell victim to grinder, drill, and air chisel. Once everything in front of the firewall was amputated, the problem of making the trailer safely towable was tackled. Unlike the aforementioned pickup trailers, the Civic lacks a separate frame, so [monickingbird] had to devise a way to persuade the original unibody frame members to accept his custom trailer tongue assembly. Once roadworthy, the aesthetics were tackled — replacing the original interior with a sleeping area, installing electrics and sound, and a nice paint job. Other drivers may think the towing vehicle is being seriously tailgated, but it seems like a comfy and classy way to camp.

Now that the trailer is on the road, what to do with all those spare Civic parts? Sure, there’s eBay, but how about a nice PC case featuring a dashboard gauge cluster?

Print A Sacrificial Magnet Square

Here’s your quick and dirty hack for the day. Sometimes you just need something that will work for what you’re trying to do, and you don’t want to go through the motions of doing what’s prescribed. When this happens, it’s a cheap, disposable tool that fits the bill. No, we’re not talking about Harbor Freight—we mean those need-driven tools you make yourself that get the job done without fuss. If you’re really lucky, you can use them a couple of times before they break.

This is one of those tools. [Jake’s Workshop] wanted to be able to quickly tack a corner weld without getting out the clamps, so he thought, why not print some magnet squares? [Jake] hollowed out the triangle to save filament, but this also gives it a nice advantage over store-bought magnet squares: instead of grasping and pulling it off,  you can hook your finger through it and then hang it on the pegboard for next time.

[Jake] got lucky with the pocket sizes and was able to press fit the magnets in place, but it would be worth it to add a drop of CA glue to help with strain. He seems to have forgotten to upload the files for his various styles, but a hollow triangle with chamfers and magnet pockets should be easy enough to replicate in OpenSCAD or  SolidWorks, which he used in the video below.

There’s something special about a cheap tool you make yourself. Even though you know it won’t last forever, it’s just more meaningful than some cheap, rage-inducing tchotchke or assemblage from a place where the air is ~85% offgasses. We love necessity-driven self-built tools around here so much that we gave them their own Hacklet.

Continue reading “Print A Sacrificial Magnet Square”

Welding Batteries With Batteries

Welding equipment is always expensive and bulky, right? Heavens no! [Jaromir Sukuba] is making a welder for battery tabs which can fit in a pocket and gets its power from a coin cell. It may be expensive to power compared to a mains welder, but for the sake of portability this is quite the hack. Not only that, but it uses 555 timers in the charging circuit.

His entry for the 2017 Coin Cell Challenge saps every bit of power from a coin cell and stores it up in a 100F supercapacitor bank. All that stored energy takes a long time to get into the supercapacitors but it comes out in a flash. In fact, it can take 12 hours to fully charge. For the convenience of size, we have to trade the convenience of speed. This should be a strong contestant for the Supernova and Heavy Lifting categories.

We see a quick demonstration of a successfully welded tab which shows that using coin cells to weld metal to coin cells is equally ironic and apropos. Other welders on Hackaday feature a quicker way to control your battery tab welding, safety-rich spot welding, or just go off the rails completely and use an arc welder to make a coil gun.

Shop-Made Fixture Turns Out Dream Welds

You can tell a lot about a person by the company they keep, and you can tell a lot about a craftsman by the tools and jigs he or she builds. Whether for one-off jobs or long-term use, these ad hoc tools, like this tubing rotator for a welding shop, help deliver results beyond the ordinary.

What we appreciate about [Delrin]’s tool is not how complex it is — with just a motor from an old satellite dish and a couple of scooter wheels, it’s anything but complicated. What we like is that to fabricate some steering links, each of which required three passes of TIG welding to attach a threaded bung to the end of a rod, [Delrin] took the time to build just the tool for the job. The tools slowly rotates the rod, letting the welder keep the torch in one position as the workpiece moves under it. The grounding method is also simple but clever — just a wide strap of braid draped over the rod. The result is some of the prettiest and most consistent welds we’ve seen in a while, and with an order for 28 steering links, it ought to be a huge time saver.

It may be time for a little more TIG welding love around here. Sure, we’ve covered the basics of oxy-acetylene welding, and even talked about brazing aluminum. Perhaps your humble Hackaday writer will take the plunge into a new TIG welder and report from a newbie’s perspective. You know, for science.

[via r/welding]

A Battery-Tab Welder With Real Control Issues

Spot welding should easier than it looks. After all, it’s just a lot of current in a short time through a small space. But it’s the control that can make the difference between consistently high-quality welds and poor performance, or maybe even a fire.

Control is where [WeAreTheWatt]’s next-level battery tab spot welder shines. The fact that there’s not a microwave oven transformer to be seen is a benefit to anyone sheepish about the usual mains-powered spot welders we usually see, even those designed with safety in mind. [WeAreTheWatt] chose to power his spot welder from a high-capacity RC battery pack, but we’d bet just about any high-current source would do. The controller itself is a very sturdy looking PCB with wide traces and nicely machined brass buss bars backing up an array of MOSFETs. A microcontroller performs quite a few functions; aside from timing the pulse, it can control the energy delivered, read the resistance of the 8AWG leads for calibration purposes, and even detect bad welds. The welder normally runs off a foot switch, but it can also detect when the leads are shorted and automatically apply a pulse — perfect for high-volume production. See it in action below.

There may be bigger welders, and ones with a little more fit and finish, but this one looks like a nicely engineered solution.

Continue reading “A Battery-Tab Welder With Real Control Issues”