CRISS CP/M Provides Modern Hardware For A Classic OS

Today you might choose run Windows, Linux, MacOS or some other OS on your computer. Back in the 1980s however, you generally had little choice: a certain home computer came with a certain OS, and that was it. If yours was based on a Z80 processor, chances are it ran CP/M. While differences in hardware often made direct data exchange difficult, CP/M provided at least a basic level of software compatibility between various Z80-based computers. Although eventually supplanted by MS-DOS (which initially aimed to be compatible with CP/M), enthusiasts kept the classic OS running on old hardware throughout the 90s and even beyond.

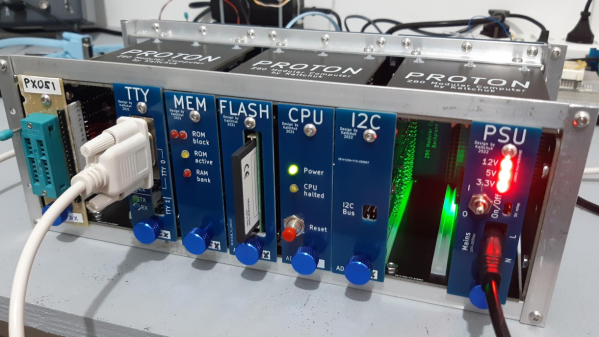
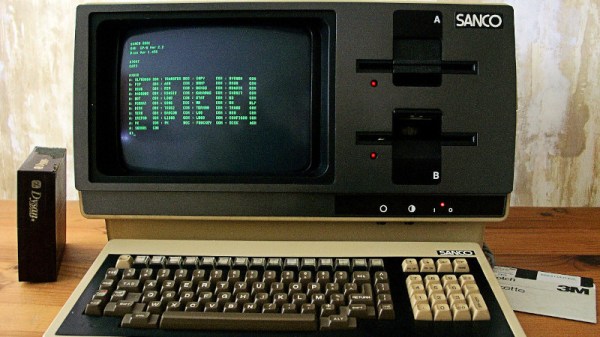
[Igor] decided to make a 21st-century CP/M machine by designing the CRISS, a single-board computer based mainly on AVR microcontrollers. The CPU is a 20 MHz ATMEGA1284P, which imitates a 4 MHz Z80 through machine-code emulation. A pair of ATMEGA328s run the peripheral controller and a VGA output, so the CRISS can be used with modern monitors. True to its heritage however, the image is monochrome green-on-black, looking instantly familiar to users of Kaypros, Osbornes and other contemporary CP/M machines.

Software is loaded through an SD card that holds floppy images. The CRISS can directly run programs written for the Kaypro II and Robotron 1715 computers, although other platforms can be supported as well with a software upgrade. [Igor] shows it running programs ranging from the Turbo Pascal compiler to games like Xonix and Tetris.

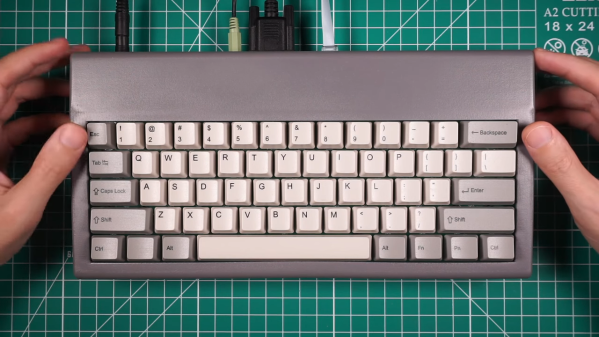
Housed in a neat little case, the CRISS can communicate with standard PS/2 keyboards and serial printers. Even an Ethernet port is provided for those willing to experiment with network connectivity (a rare feature in the 1980s).

We love seeing modern retro builds like this; similar projects we’ve covered before include the compact ZZ80MB and the huge Z20X. Others have used different ways of running CP/M on modern hardware, such as booting it directly on a Raspberry Pi or emulating an Altair on an ESP32.

Teardown: VTech Smart Start

Regular readers may be aware that I have a certain affinity for vintage VTech educational toys, especially ones that attempted to visually or even functionally tie in with contemporary computer design. In the late 1980s, when it became obvious the personal computer was here to stay, these devices were seen as an affordable way to give kids and even young teens hands-on time with something that at least somewhat resembled the far more expensive machines their parents were using.

Much Smarter: VTech PreComputer 1000

A perfect example is the PreComputer 1000, released in 1988. Featuring a full QWERTY keyboard and the ability to run BASIC programs, it truly blurred the line between toy and computer. In fact from a technical standpoint it wasn’t far removed from early desktop computers, as it was powered by the same Zilog Z80 CPU found in the TRS-80 Model I.

By comparison, the Smart Start has more in common with a desktop electronic calculator. Even though it was released just two years prior to the PreComputer 1000, you can tell at a glance that it’s a far more simplistic device. That’s due at least in part to the fact that it was aimed at a younger audience, but surely the rapid advancement of computer technology at the time also played a part. Somewhat ironically, VTech did still at least attempt to make the Smart Start look like a desktop computer, complete with the faux disk drive on the front panel.

Of course, looks can be deceiving. While the Smart Start looks decidedly juvenile on the outside, that doesn’t mean there aren’t a few surprising technical discoveries lurking under its beige plastic exterior. There’s only one way to find out.

Continue reading “Teardown: VTech Smart Start”

Chip Transplant Brings Timex 2048 Back From Grave

The 1984 Timex Computer 2048 that [Drygol] recently got his hands on was in pretty poor shape. Not only did it have the mangled exterior that comes from several decades of hard use and furious typing, but the internals appeared to be shot as well, with the machine showing nothing but vertical lines when powered up. Thankfully, this retro computer virtuoso was more than up to the challenge of bringing it back from the brink.

After a good cleaning and the installation of a reproduction front panel, the Timex was already looking much better. Unfortunately [Drygol] says he doesn’t currently have the equipment necessary to touch up the graphics and lettering on the key caps, but the fact that he had to qualify that statement with “currently” has us all sorts of excited to see what he’s planning down the line.

A bevy of fresh chips.

Of course beauty is only skin deep, and this particular TC-2048 was still bad to the bone. [Drygol] had a hunch its Z80 processor was dead, but after swapping it and its socket out, the machine still wouldn’t start. Though he did note that the garbled graphics shown on the screen had changed, which made him think he was on the right track. He then replaced all the RAM on the board, but that didn’t seem to change anything.

There isn’t a whole lot else to go wrong on these old machines, so the final step was to try and replace the ROM. Sure enough, after installing a new Winbond W27C512 chip with the appropriate software burned onto it, the nearly 40 year old computer sprang back to life.

Another classic computer saved from the trash heap, but it’s all in a day’s work for [Drygol]. Over the years we’ve seen him perform meticulous repairs on computer hardware that any reasonable person would have given up on. Even if you’re not into retro hardware, his restorations are always full of fascinating tips and tricks that can be applied when repairing gadgetry from whatever era happens to tickle your fancy.

Z80 Family Reunion Discovered In Old PoS Card Swiper

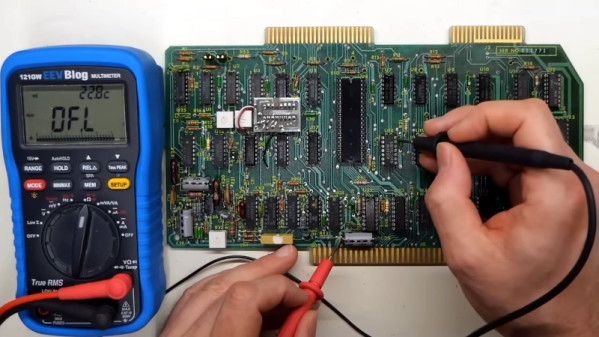
[Ben Heck] found an old card-swipe point-of-sale box at the Goodwill store, took it home, and tore it down to see what was inside. He found a completely serviceable single board computer based on the Z80. In fact, there’s a whole family of four Z80 chips: the CPU itself, the DART chip (dual UART), the PIO chip (parallel input/output interface), and the CTC chip (counter/timer circuit). That’s not all — there’s a landline telephone modem, a real time clock, 32K of RAM and UV-EPROM. The second PCB of this assembly holds a hefty sixteen-key keypad and a sixteen-character vacuum fluorescent alphanumeric display. All this for the bargain price of $2.99.

Surely [Ben] will dig into the Z80 system in the future, but in this video he tries to make the display work. An OKI Semiconductor controller drives the VFD. After tracking down the data sheet, [Ben] wires it up to an Arduino and writes a quick program. Only a few YouTube minutes later, he conquers the display, drawing sample text anywhere he wants on the screen with any brightness he desires.

You never know what you may find lurking inside old equipment like this. You might find a proprietary ASIC with no documentation, or like [Ben] did here, you could find a fully functioning embedded computer. If [Ben] can whip up a RAM-based emulator to replace the 32K UV-EPROM, he’ll have a perfect evaluation board for Z80 projects.

Let us know in the comments if you have found any treasures like this. Also, how would you use this board if you had found it? Thanks to reader [Nikša Barlović] for sending in the tip.

Continue reading “Z80 Family Reunion Discovered In Old PoS Card Swiper”

Cerberus 2080 — Three-Headed Retro Computing Project

For seven months, [Bernardo Kastrup] at [TheByteAttic] has been realizing his childhood dream of building his own computer. It was this dream that steered him into the field of computer design at the age of 17. After thirty years in the industry, he finally has some time to design the computer he dreamt about as a kid. His requirements are ambitious: fully open design, gate-level details, thru-hole or PLCC for easy hacking, well-established processors with existing tool chains, low-cost development tools for CPLDs, no FPGA, standard ITX case compatible, and so on. He quite reasonably decides to use more modern electronics for video (VGA), keyboard (PS/2), and program storage (flash drive). Along the way, he chooses to put three processors on the board instead of one:

  • Zilog Z84C0010 (Z80)
  • WDC W65C0256 (6502)
  • AVR ATMEGA328 (RISC Controller)

When coming up with the concept and requirements, [Bernardo] had a fictitious alternate history in mind — one where there were follow-ups to the ZX80, PET/CBM, or TRS-80 from the late 1970s that were extensions to the original systems. But he also wanted a clean design, without cost-cutting gimmicks, in order to make it easier for learners to focus on computing itself — a didactic architecture, as he describes it. Turn the crank for seven long months, and we have the Cerberus 2080. [Bernardo] has put the design on GitHub, and made a video series out of the whole process, of which the introduction video is below the break. There’s even an online emulator developed by retro hacker  [Andy Toone].

We wrote about the 6502-based ERIC-1 project back in 2014 which shared the bus with an ATMEGA simulating ROM. The Minty Z80 project from 2019 also uses a similar technique. Thanks to [Frédéric] for sending us the tip.

Continue reading “Cerberus 2080 — Three-Headed Retro Computing Project”

Interfacing A Z80 CPU With The Raspberry Pi

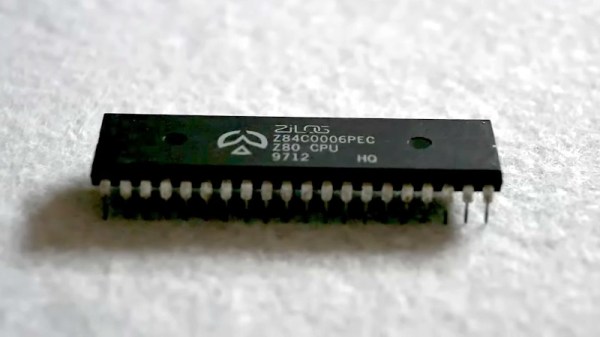
The Z80 was a big deal in the 1970s and 1980s, and while its no longer a dominant architecture today, its legacy lives on. [James Andrew Fitzjohn] is a fan of the Z, and decided to interface the real silicon with the Raspberry Pi, by and large for the fun of it!

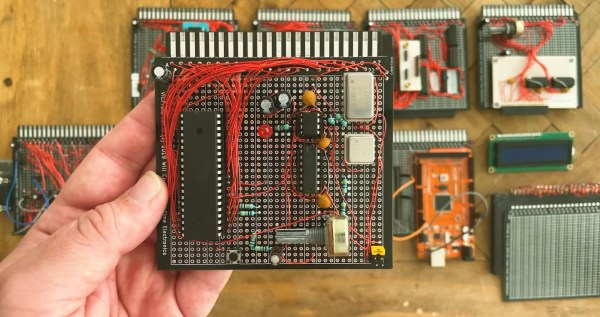
The Z80’s address and data lines, as well as the clock, are hooked up to the Raspberry Pi through several MCP23017 GPIO expanders. The Pi’s GPIO lines aren’t known for their speed, of course, and using expanders through I2C isn’t exactly quick either. However, speed isn’t necessary, as the clock only goes as fast as the Raspberry Pi desires, since it’s controlling the clock along with everything else. There’s also an LCD for viewing the Z80s status, along with some era-appropriate blinkenlights.

This setup allows the Pi to run code directly on the Z80 itself, while managing the CPU’s RAM in its own memory, all through a Python script. It’s a fun hack that lets you run retro code on retro silicon without using an emulator. Techniques like these are useful for finding undocumented or edge case performance of a processor. If this hack isn’t enough Zilog for your liking, consider throwing one in your pocket as well!

A Lambda 8300 Lives Again

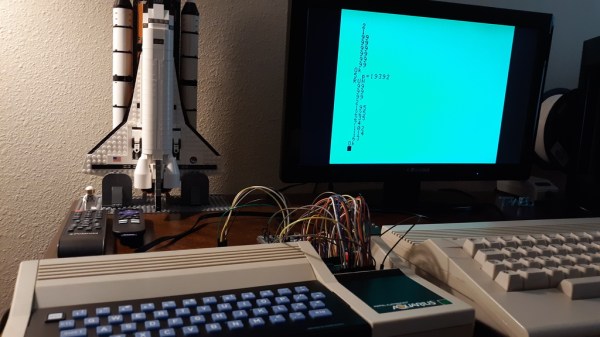
If you follow retrocomputing — or you are simply old enough to remember those days — you hear the same names over and over. Commodore, Apple, Radio Shack, and Sinclair, for example. But what about the Lambda 8300? Most people haven’t heard of these but [Mike] has and he has quite a few of them. The computer is similar to a Sinclair ZX81, but not an exact clone. All of his machines need some repairs (he’s promised repair videos are on their way), but for the video below he wired a monitor directly to the PCB to get steady output, so apparently the RF modulator is the failing subsystem in this case.

Once the video cleared up, you can see a walkthrough of running a simple BASIC program. As was common in those days, the computer used an audio cassette recorder for data storage. [Mike] picked up some dedicated recorders meant for computer use, but neither were in working shape. However, a consumer player works fine.

Continue reading “A Lambda 8300 Lives Again”