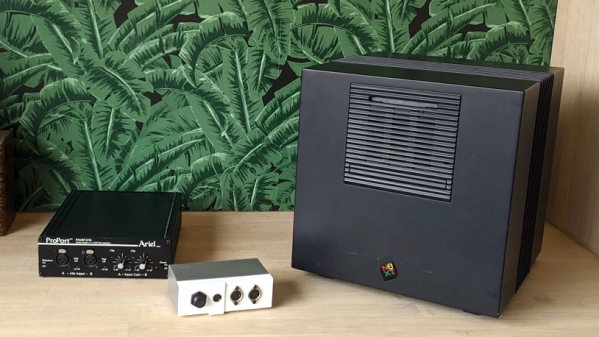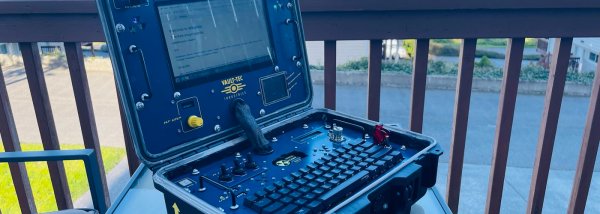
There’s always an appeal to a cool-looking computer case or cyberdeck – and with authentic-looking Vault-Tec style, [Eric B] and [kc9psw]’s fallout-themed cyberdeck is no exception.
The case looks like it came straight out of one of the Fallout games and acts the part: while (obviously) not capable of withstanding a direct nuclear bomb impact, it can protect the sensitive electronics inside from the electromagnetic pulse and shockwave that follows – if you keep it closed.
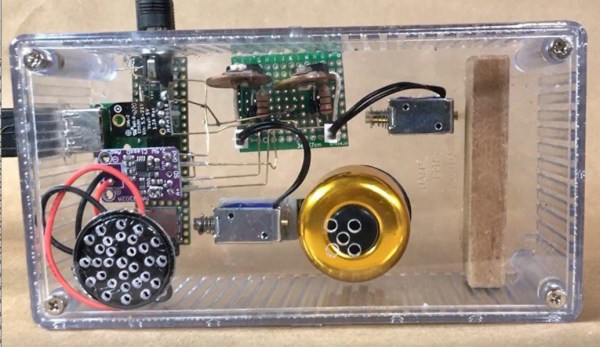
And it’s not just the case that’s cool: This cyberdeck is packed full of goodies like long-range radios, SDRs, ADSB receivers, a Teensy 4.1, and dual Raspberry Pis. But that’s just the hardware! It also comes with gigabytes upon gigabytes of Wikipedia, Wikihow, TED talks, and other information/entertainment, for the less eventful days in the wastelands.
If you, too, would like to have one, fret not! The parts list and design files are public, even though some assembly is required.