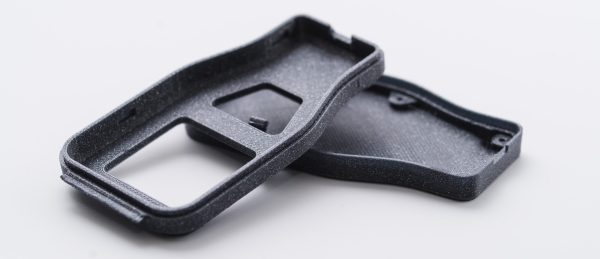
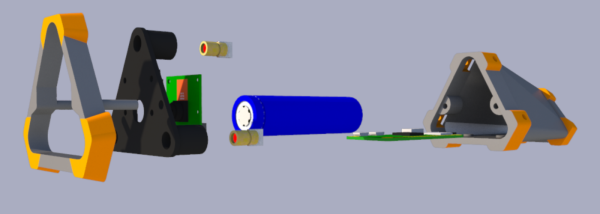
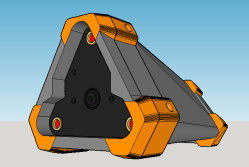
[3D Hubs] have shared a handy guide on designing practical and 3D printing-friendly enclosures. The guide walks through the design of a two shell, two button remote control enclosure. It allows for a PCB mounted inside, exposes a USB port, and is optimized for 3D printing without painting itself into a corner in the process. [3D Hubs] uses Fusion 360 (free to hobbyists and startups) in their examples, but the design principles are easily implemented with any tool.
One of the tips is to design parts with wall thicknesses that are a multiple of the printer’s nozzle diameter. For example, a 2.4 mm wall thickness may sound a bit arbitrary at first, but it divides easily by the typical FDM nozzle diameter of 0.4 mm which makes slicing results more consistent and reliable. Most of us have at some point encountered a model where the slicer can’t quite decide how to handle a thin feature, delivering either a void between perimeters or an awkward attempt at infill, and this practice helps reduce that. Another tip is to minimize the number of sharp edges in the design, because rounded corners print more efficiently and with smoother motions from the print head.
The road to enclosures has many paths, including enclosures made from FR4 (aka PCB material) all the way down to scrap wood with toner transfer labeling, and certainly desktop 3D printing has been a boon to anyone who’s had to joylessly drill and saw away at a featureless plastic box.


 The Raspberry Pi uses the camera board plus some forward-pointing laser dots as a rangefinder; as long as at least two laser dots are visible on the subject, the distance between the device and the subject can be calculated. The Pi then uses the knowledge of how near or far the subject is to present a final image whose zoom level has been adjusted to match (and offset) the range of the subject from the camera, in effect canceling out the way an object appears larger or smaller based on distance.


