Back when one of the best paths to desktop 3D printer ownership was building the thing yourself from laser cut wood with some string thrown in for good measure, just saying you had one at home would instantly boost your hacker street cred. It didn’t even need to work particularly well (which is good, since it probably didn’t), you just had to have one. But now that 3D printers have become so common, the game has changed. If you want to keep on the cutting edge, you’ve got to come up with a unique hook.
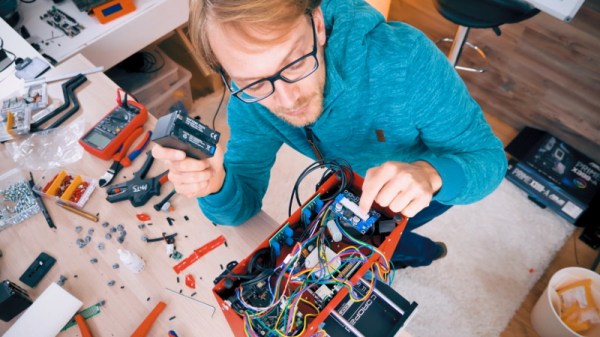
Luckily for us, [Thomas Sanladerer] is here to advance the status quo of desktop 3D printing. Not content with a 3D printer that spends its time loafing around the workshop, he decided to build a completely mobile 3D printer. For a guy who spends a lot of time traveling to different 3D printing conferences and shows, this is actually a pretty handy thing to have around, but there are probably some lessons to be learned here even if you aren’t a 3D printing YouTube celebrity.
 Given the wide array of very popular low cost 3D printers out there, some will likely be surprised that [Thomas] decided to mobilize a printer which is nearly an antique at this point: the PrinterBot Play. But as he explains in the video after the break, the design of the Play really lends itself perfectly to life on the road. For one, it’s an extremely rigid printer thanks to its (arguably overkill) steel construction. Compared to most contemporary 3D printers which are often little more than a wispy collection of aluminium extrusion and zip ties, the boxy design of the Play also offers ample room inside for additional electronics and wiring
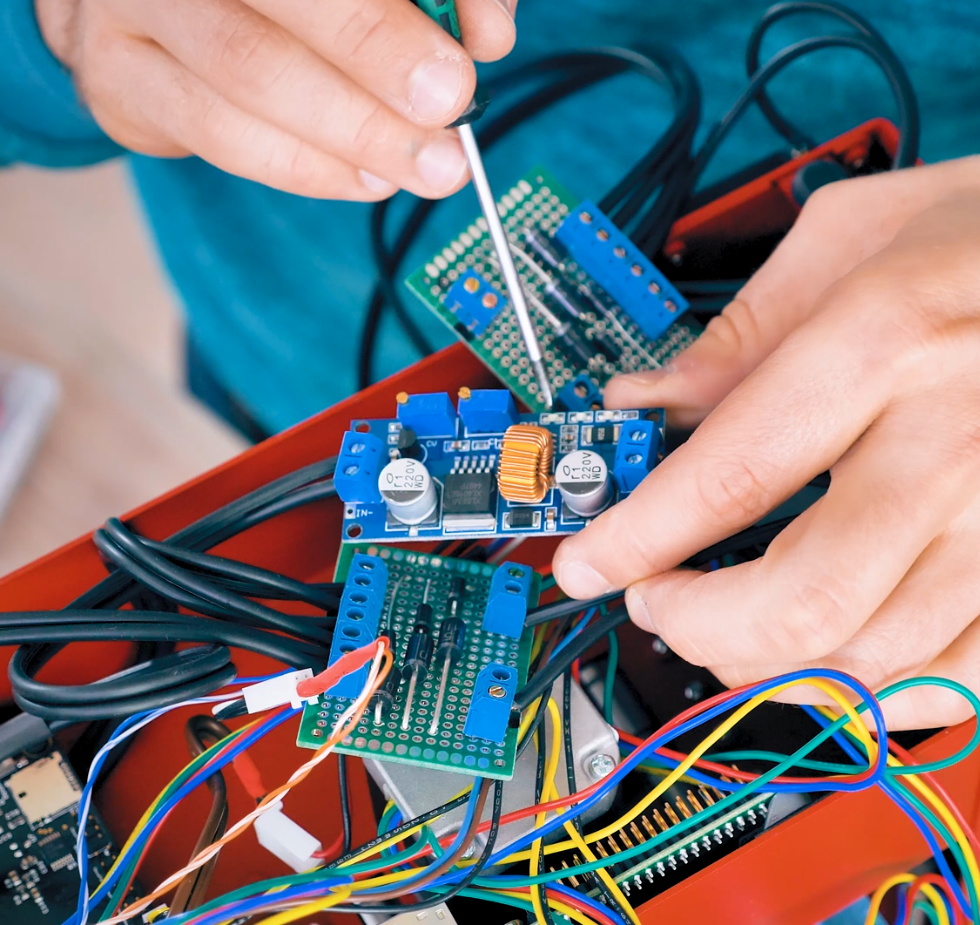
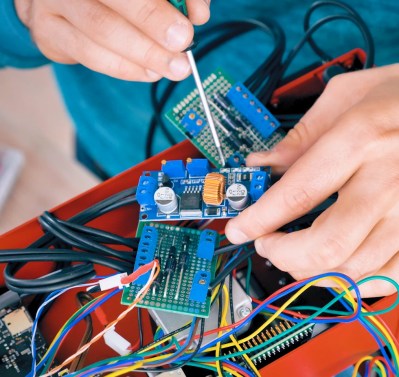
The most obvious addition to the PrintrBot is the six Sony NP-F camera batteries that [Thomas] attaches to the back of the printer by way of 3D printed mounts, but there’s also quite a bit of hardware hidden inside to break the machine free from its alternating current shackles. The bank of batteries feed simultaneously into a DC boost converter which brings the battery voltage up to the 12 V required for the printer’s electronics and motors, and a DC regulator which brings the voltage down to the 5 V required by the Raspberry Pi running OctoPrint. There’s even a charge controller hiding in there which not only frees him from carrying around a separate charger, but lets him top up the cells while the printer is up and running.
On the software side of things, the Raspberry Pi is configured to work as a WiFi access point so that OctoPrint can be controlled with a smartphone even if there’s no existing network in place. A fact demonstrated when he takes the printer outside for a walk while it’s in the middle of a job. The ability to control the printer without any existing infrastructure combined with the estimated six hour runtime on a charge means this modified PrinterBot can get the job done no matter where [Thomas] finds himself.
The hacker community was saddened by the news that PrintrBot was closing its doors last year, an unfortunate casualty of an increasingly competitive desktop 3D printing market. But perhaps we can take some comfort from the fact that their eminently hackable open source printers still live on in projects such as this.
Continue reading “Building A 3D Printer That Goes Where You Do” →
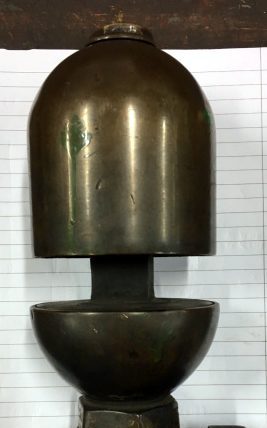 The original whistles are a peek into a different era. The bell type whistle has three major components: a large bell at the top, a cup at the base, and a central column through which steam is piped. These whistles were usually made by apprentices, as they required a range of engineering and manufacturing skills to produce correctly, but were not themselves a critical mechanical component.