Auto-Trickler Gently Doles Out Powder To Assist Reloading

Do you even trickle?

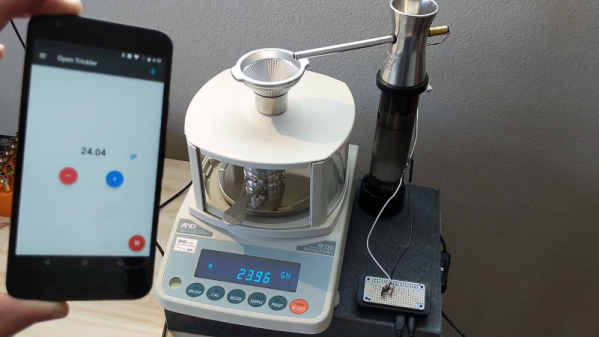
[Eric] does, and like everything else about reloading, trickling is serious business. Getting an exact charge of powder to add to a cartridge is not a simple task, and very tedious when done manually. This smartphone-controlled auto-trickler is intended to make the job easier, safer, and more precise.

Reloading ammunition is a great way for shooters to save money and recycle the brass casings that pile up at the end of a long day at the range. It can be a fairly simple process of cleaning the casings, replacing the spent primers, adding the correct powder charge, and seating a new bullet. It’s all pretty straightforward, but the devil is in the details, especially with the powder charge. A little too much can be a big problem, so tricklers were invented to allow the reloader to sneak up on the proper charge. [Eric]’s auto-trickler interfaces to a digital powder scale and uses a standard cell phone vibration motor to gently coax single kernels of powder from a hopper until the proper charge has accumulated. It’s easier to understand by watching the video below.

The hardware behind the trickler is pretty standard — just a Raspberry Pi Zero to talk to the smartphone UI via Bluetooth, and to monitor and control the scale via USB. [Eric] has made all the code open source so that anyone can build their own auto-trickler, which we applaud; he did the same thing with his rifle-mounted accelerometer. This project might have applications far beyond reloading where precision dispensing is required.

Continue reading “Auto-Trickler Gently Doles Out Powder To Assist Reloading”

A Mainframe Tape Drive Emulator

Retro computer fans come in all shapes and sizes. Some like the big name machines from the dawn of the home computer era, others like collecting quirky pieces like early laptops and handheld devices. Even more obscure are those who choose to collect old mainframe hardware. This can be challenging, due to its relative obscurity and the limited resources available. [skaarj] is just one such fanatic, however, and has begun creating a PERTEC tape drive emulator for his Cold War era mainframe.

For those of us who didn’t work in industrial computing back in the 1980s, the PERTEC interface is an unfamiliar beast. It became somewhat of a defacto standard for connecting tape drives to mainframes. [skaarj] aims to understand and emulate this interface, creating a device with a full suite of capabilities. The PERTEC Whisperer is intended to be capable of reading and writing from PERTEC tape drives, including dumping tapes to an integrated SD card. The device will also be able to emulate a drive when connected to a mainframe.

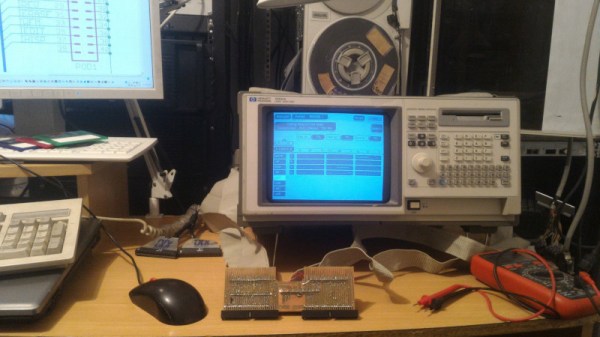
Thus far, the adventure has already netted some successes. [skaarj] learned useful tricks, like rewinding a 9-track Qualstar 1260 with VHS tape, and how to pull apart the protocols involved using an old-school HP1662 logic analyzer. We can’t wait to see where the project goes next, and it might just have us hunting for a mainframe to call our very own.

How-To: Mapping Server Hits With ESP8266 And WS2812

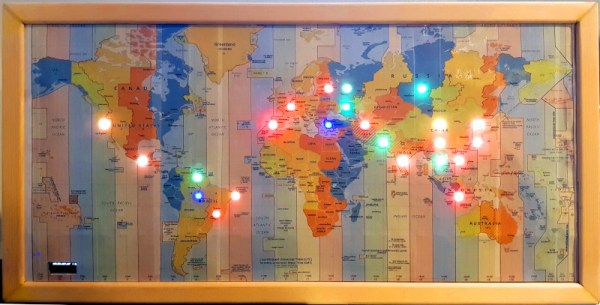
It has never been easier to build displays for custom data visualization than it is right now. I just finished one for my office — as a security researcher I wanted a physical map that will show me from where on the planet my server is being attacked. But the same fabrication techniques, hardware, and network resources can be put to work for just about any other purpose. If you’re new to hardware, this is an easy to follow guide. If you’re new to server-side code, maybe you’ll find it equally interesting.

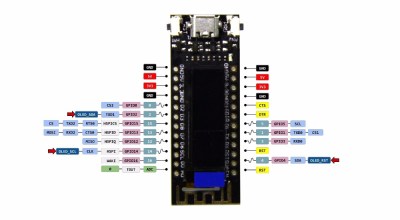
I used an ESP8266 module with a small 128×32 pixel OLED display connected via an SSD1306 controller. The map itself doesn’t have to be very accurate, roughly knowing the country would suffice, as it was more a decorative piece than a functional one. It’s a good excuse to put the 5 meter WS2812B LED strip I had on the shelf to use.

The project itself can be roughly divided into 3 parts:

  1. Physical and hardware build
  2. ESP8266 firmware
  3. Server-side code

It’s a relatively simple build that one can do over a weekend. It mashes together LED strips, ESP8266 wifi, OLED displays, server-side code, python, geoip location, scapy, and so on… you know, fun stuff.

Continue reading “How-To: Mapping Server Hits With ESP8266 And WS2812”

Creating A Touch Pad Without Dedicated Hardware

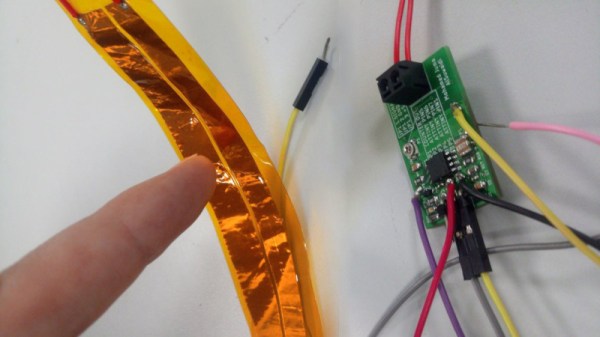
Year on year, microcontrollers and development platforms are shipping with ever-increasing feature sets. In the distant past, if you wanted an analog to digital converter or a PWM driver, you had to tack extra ICs on to your design. Nowadays, it’s all baked in at the factory. Of course, you may still find yourself working with a platform that lacks capacitive touch inputs. That’s no problem, though – you can do it all without dedicated hardware anyway!

Capacitive touch sensing works by creating an RC oscillator, and allowing the user to affect the capacitance in the circuit through touch or proximity. By sensing the changes in the frequency of the oscillator, it’s possible to determine whether the object or pad is being touched or not. As the capacitance changes can be small, sometimes it’s desired to use a high frequency oscillator, and then pass the output through a frequency divider, which allows changes to be measured more easily by a slower microcontroller.

[Gabriel] does a great job of both explaining the theory involved, as well as presenting a practical way to achieve this with basic hardware. If you need to add touch sensitivity to an existing or otherwise limited platform, this is an easy way to go about doing it. There are definitely some interesting things you can do with the technology, after all.

Twenty Five Years Since The End Of Commodore

This week marks the twenty-five year anniversary of the demise of Commodore International. This weekend, pour one out for our lost homies.

Commodore began life as a corporate entity in 1954 headed by Jack Tramiel. Tramiel, a Holocaust survivor, moved to New York after the war where he became a taxi driver. This job led him to create a typewriter repair shop in Bronx. Wanting a ‘military-style’ name for his business, and the names ‘Admiral’ and ‘General’ already taken, and ‘Lieutenant’ simply being a bad name, Tramiel chose the rank of Commodore.

Later, a deal was inked with a Czechoslovakian typewriter manufacture to assemble typewriters for the North American market, and Commodore Business Machines was born. Of course, no one cares about this pre-history of Commodore, for the same reason that very few people care about a company that makes filing cabinets. On the electronics side of the business, Commodore made digital calculators. In 1975, Commodore bought MOS, Inc., manufacturers of those calculator chips. This purchase of MOS brought Chuck Peddle to Commodore as the Head of Engineering. The calculators turned into computers, and the Commodore we know and love was born.

Continue reading “Twenty Five Years Since The End Of Commodore”

A Raspberry Pi Is A Hardware Hacker’s Swiss Army Knife

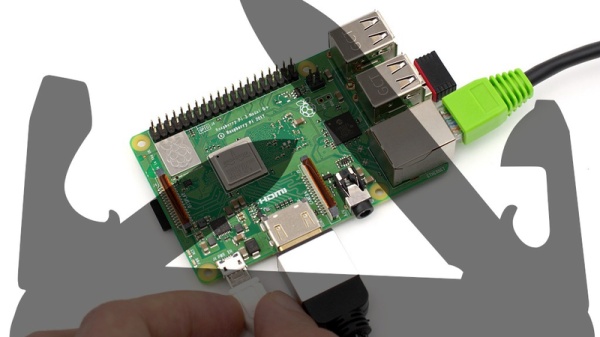
By now most of us have used a Raspberry Pi at some level or another. As a headless server it’s a great tool because of its price point, and as an interface to the outside world the GPIO pins are incredibly easy to access with a simple Python script. For anyone looking for guidance on using this device at a higher level, though, [Arun] recently created a how-to for using some of the Pi’s available communications protocols.

Intended to be a do-everything “poor man’s hardware hacking tool” as [Arun] claims, his instruction manual details all the ways that a Raspberry Pi can communicate with other devices using SPI and I2C, two of the most common methods of interacting with other hardware beyond simple relays. If you need to go deeper, the Pi can also be used as a full JTAG interface or SWD programmer for ARM chips. Naturally, UART serial is baked in. What more do you need?

As either a tool to keep in your toolbox for all the times you need to communicate with various pieces of hardware, or as a primer for understanding more intricate ways of using a Raspberry Pi to communicate with things like sensors or other computers, this is a great write-up. We also have more information about SPI if you’re curious as to how the protocol works.

Thanks to [Adrian] for the tip!

Simple, Self-Contained LoRa Repeater In About An Hour

[Dave Akerman]’s interest in high-altitude projects means he is no stranger to long-range wireless communications, for which LoRa is amazingly useful. LoRa is a method of transmitting at relatively low data rates with low power over long distances.

Despite LoRa’s long range, sometimes the transmissions of a device (like a balloon’s landed payload) cannot be received directly because it is too far away, or hidden behind buildings and geography. In these cases a useful solution is [Dave]’s self-contained LoRa repeater. The repeater hardware is simple, and [Dave] says that if one has the parts on hand, it can be built in about an hour.

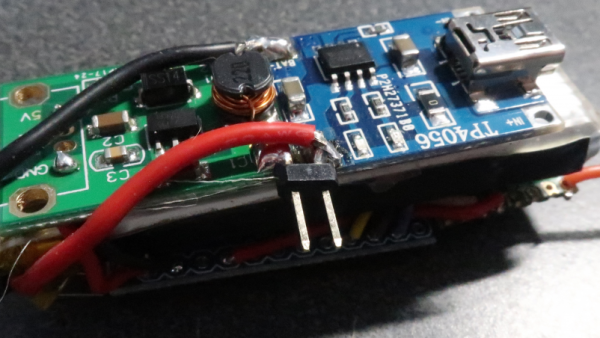
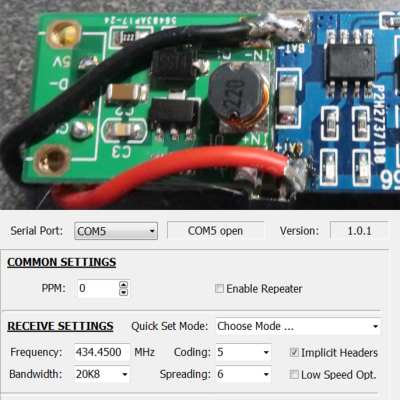
The device simply re-transmits any telemetry packets it receives, and all that takes is an Arduino Mini Pro and a small LoRa module. A tiny DC-DC converter, battery, and battery charger rounds out the bill of materials to create a small and self-contained unit that can be raised up on a mast, flown on a kite, or carried by a drone.

The repeater’s frequency and other settings can even be reprogrammed (using a small windows program) for maximum flexibility, making the little device invaluable when going hunting for landed payloads like the one [Dave] used to re-create a famous NASA image using a plastic model and a high-altitude balloon. Check out the details on the GitHub repository for the project and start mashing “add to cart” for parts at your favorite reseller.