Four On The Floor For Your Virtual Race Car

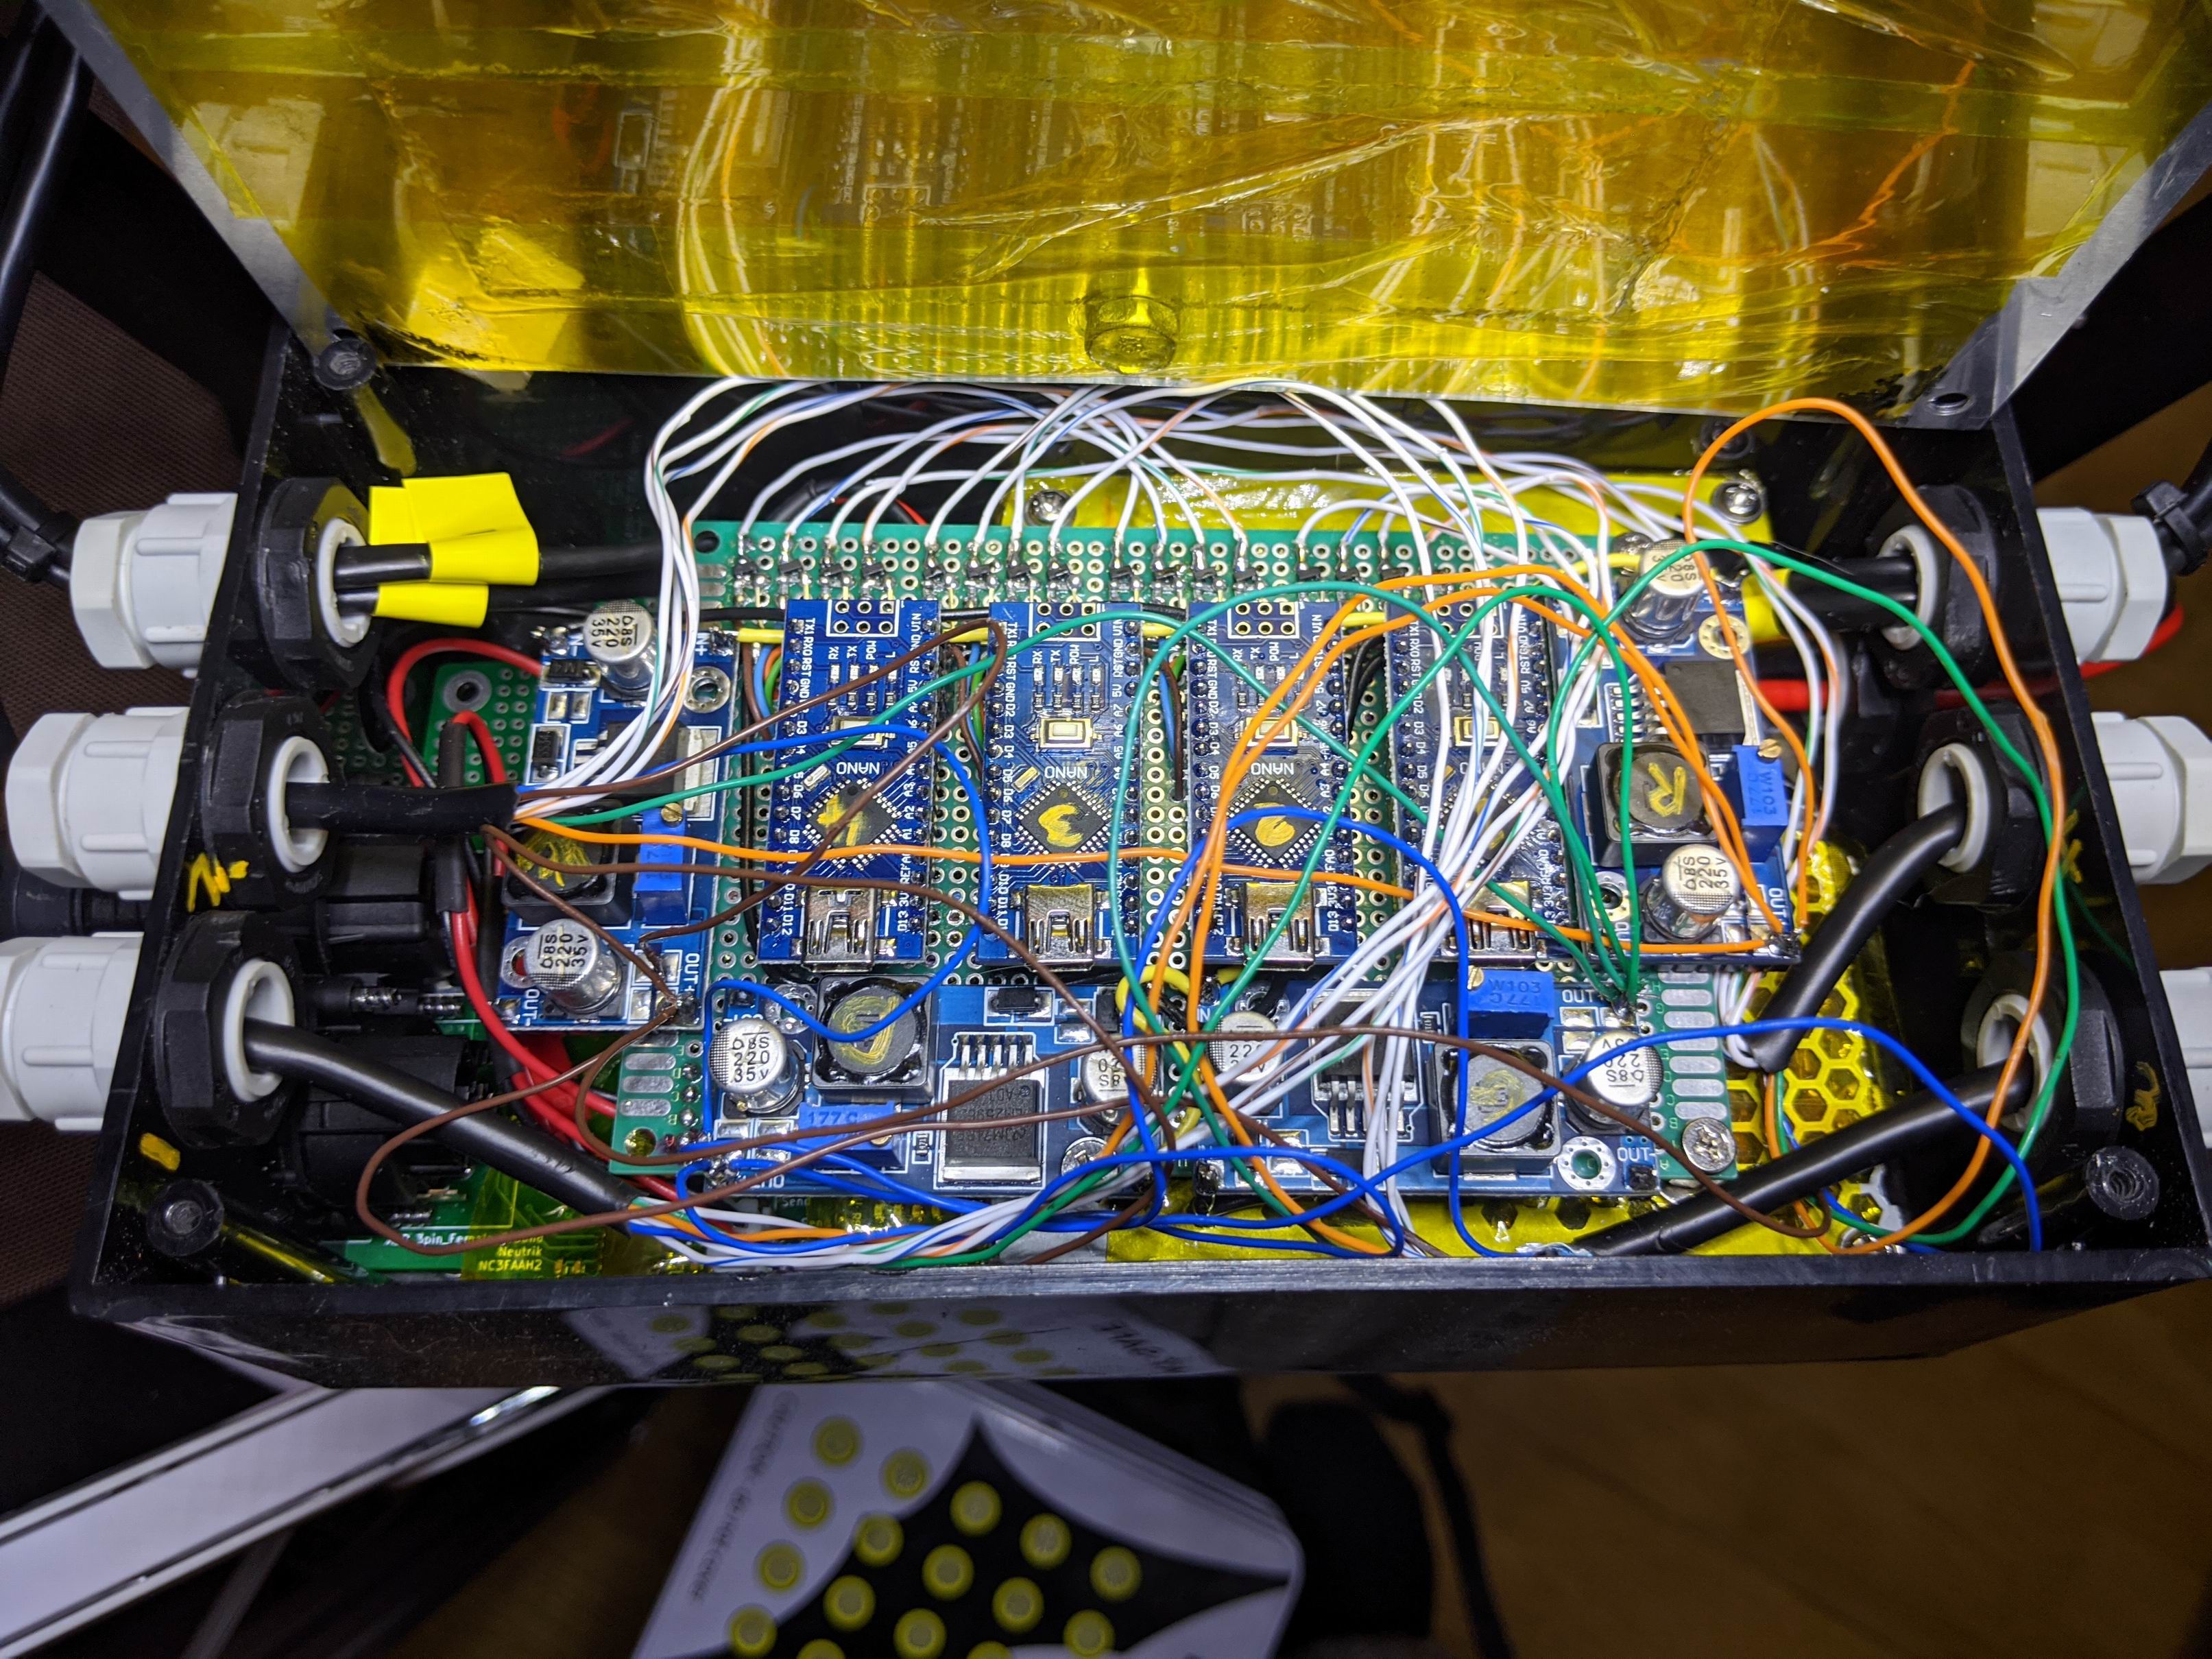
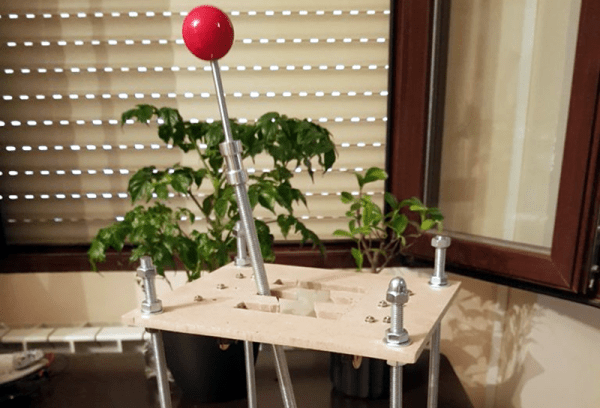
There was a time when building realistic simulations of vehicles was the stuff of NASA and big corporations. Today, many people have sophisticated virtual cockpits or race cars that they use with high-resolution screens or even virtual reality gear. If you think about it, a virtual car isn’t that hard to pull off. All you really need is a steering wheel, a few pedals, and a gear shifter. Sure, you can build fans to simulate the wind and put haptics in your seat, but really the input devices alone get you most of the way there. [Oli] decided he wanted a quick and easy USB gear shifter so he took a trip to the hardware store, picked up an arcade joystick, and tied it all together with an Arduino Leonardo. The finished product that you can see in the video below cost about $30 and took less than six hours to build.

The Leonardo, of course, has the ability to act like a USB human interface device (HID) so it can emulate a mouse or a keyboard or a joystick. That comes in handy for this project, as you would expect. The computer simply has to read the four joystick buttons and then decide which gear matches which buttons. For example up and to the left is first gear, while 4th gear is only the down button depressed. A custom-cut wooden shifter plate gives you the typical H pattern you expect from a stick shift.

Continue reading “Four On The Floor For Your Virtual Race Car”

This Week In Security: Twitter, Windows DNS, SAP RECON

Twitter just had their biggest security breach in years. Mike warned us about it on Wednesday, but it’s worth revisiting a few of the details. The story is still developing, but it appears that malicious actors used social engineering to access an internal Twitter dashboard. This dashboard, among other interesting things, allows directly changing the email address associated with an account. Once the address is changed to the attacker’s, it’s simple to do a password reset and gain access.

The bitcoin address used in the crypto scam ended up receiving nearly $120,000 USD worth of bitcoin, all of which has been shuffled off into different accounts. It’s an old and simple scam, but was apparently rather believable because the messages were posted by verified Twitter accounts.

Screenshot from Motherboard

A series of screenshots have been posted, claiming to be the internal Twitter dashboard used in the attack. More than a few eyebrows have been raised, as a result of that dashboard. First off, the fact that Twitter employees can directly change an account’s email address is asking for trouble. Even more interesting are the tags that can be added to an account. “Trends Blacklist” and “Search Blacklist” do call to mind the rumors of shadow-banning, but at this point it’s impossible to know the details. Motherboard is reporting that Twitter is removing that screenshot across the board when it’s posted, and even suspending accounts that post it. Of course, they’d do that if it were faked as well, so who knows? Continue reading “This Week In Security: Twitter, Windows DNS, SAP RECON”

Make Your Own Filament

According to [Alex] it is easy to make your own rolls of 3D printing filament, even though existing off-the-shelf solutions don’t work very well. His explanation for this is economics. He built a filament extruder using a high torque induction motor and gearbox that was locally sourced. He argues that shipping heavy gear around would make a similar extruder commercially unattractive. He sunk about $600 into the device but estimates that a company would need to charge at least $1,500 or more for the same thing. That may seem steep but as [Alex] points out, a 1 kg roll of filament really only has about 750 grams for filament and plastic pellets cost $2 to $3 per kilogram.

There are other costs, of course, like the electricity required to heat and move the plastic. Still, the system appears to use about $1 of electricity for every 10 kg of filament. You can see the process in the video below.

Continue reading “Make Your Own Filament”

The Mother(board) Of All CNC Controllers

If you’re building a CNC machine from scratch, the number of decisions you have to make is nearly boundless. Metal or wood construction? Welded or bolted? Timing belts or lead screws? And even once the mechanical bits are sorted, you still face a universe of choices in terms of control electronics. That’s where something like this modular CNC controller could really prove to be a game-changer.

The idea behind [Barton Dring]’s latest creation started with his port of GRBL to the ESP32. In fact, the current controller bears a strong family resemblance to his version 1.0 dev board, with a few conspicuous and intriguing additions. First, everything is modular — the main PCB is basically a motherboard with little more than a 5-volt power supply and some housekeeping electronics, plus a lot of headers. There’s support for up to six channels of steppers, either directly on the board with Pololu-style modules or as external drivers using pluggable screw terminal blocks. There’s also room for five IO modules; the current collection of modules includes a four-channel switch input, a relay output, an RS-485 module and a 0-10-V interface for talking to a variable frequency drive (VFD) spindle controllers, and buffered 5-V output module. The best part is that the IO module spec is completely open, so designing custom modules should be a snap.

The video below gives a quick tour of the controller. We’re really impressed with the thought that went into this, and we’ll venture a guess that having something like this available is going to kickstart a lot of stalled CNC machine projects. We can think of one shop that finally lost its last excuse for making the move.

Continue reading “The Mother(board) Of All CNC Controllers”

Smooth(er) Text Scrolling On HD44780 LCDs

Most Hackaday readers are likely to be familiar with character LCDs driven by the extremely common Hitachi HD44780 controller chip. If you’re looking for a cheap and easy way for your microcontroller project to display some data, they’re pretty much the go-to solution. But as popular as these displays are, there’s no denying that they’re starting to look a bit dated in 2020. Which is why the tweaks [Joseph Rautenbach] is working on are so interesting.

With one of these displays, the controller puts a single character on each 5×8 block of pixels. There’s also support for creating custom characters, which can be used for rudimentary icons. You’re pretty limited by the per-block resolution, but with a little imagination, you can usually get the point across. With a bit of dead space between each block of the display there’s little point in trying to make icons that “bridge” multiple blocks, as they’ll always be segmented.

Hardware support is not guaranteed.

But as [Joseph] realized, that’s less of a problem for scrolling text. So he wrote some code that takes an ASCII string and breaks it down into partial letters and numbers which can be displayed as custom characters. The controller only has space for 8 of these characters though, so the code needs to continually step through the string and generate the appropriate offset characters as the position of the text changes.

While the effect looks pretty good in the video after the break, [Joseph] has found that real-world utilization is a bit finicky. He tried the same code on one of the displays that uses white text on a blue background, and the scrolling text ended up ghosting together so it looked like gibberish. So while he’s released the source code for others to experiment with this trick, your mileage may vary.

This certainly isn’t the first time we’ve seen somebody make clever use of custom characters on the HD44780. We’ve seen it used for an exceptionally tiny game of Tetris, a rendition of Conway’s Game of Life, and even a horizontal space-shooter.

Continue reading “Smooth(er) Text Scrolling On HD44780 LCDs”

Ham Radio Mobile Operations Circa 1919

You used to be able to tell a die-hard ham radio operator on the road by the number and length of antennas protruding porcupine-like from their vehicle. There are still some mobile high frequency operators that have respectable car-mounted antenna farms, but they have nothing on Alfred H. Grebe. In 1919, he fitted a medium wave transmitter in his car that operated around 2 MHz. Since it needed a very large antenna, Grebe rigged a wire antenna that looked like a clothesline between the two bumpers. Obviously, you had to stop, set up your antenna, and then operate — you couldn’t talk and drive. But this may have been the world’s first automotive radio setup for voice communication.

The car had a separate battery for the radio and a dynamotor to generate high voltage for the tubes. Although many radio enthusiasts found ways to add receivers to their cars in the 1920s, it would be 1930 before Motorola made radios especially for cars in production quantities.

Continue reading “Ham Radio Mobile Operations Circa 1919”

Ljusmaskinen Takes The Rave To The Streets (Eventually)

When humanity comes out the other side of this pandemic there will be a mountain of awesome projects to show off in person. For instance, this backpack mounted DMX lighting was built to be worn as a mobile rave rig by Swedish hacker [Tim Gremalm]. In-person raves aren’t happening right now but that just means there’s time to add waaaaay to many features to this thing until lockdowns become a thing of the past.

The frame holding the lighting integrates into this backpack and we assume that’s where the battery is stored. The Y-shaped masts hold four PAR lights. Incidentally, that mean parabolic aluminized reflectors, which are commonly used for stage lighting, but in this case the halogen bulbs have been torn out for a trio of 4 W RGBW LEDs. The yellow rectangles are 10 W Chip-on-Board LED panels that serve as strobe lights.

But merely having the lights does not make it a Rave — this party needs both music and a way to synchronize the lighting effects with it. The music part was already built and used at the West Pride Gothenburg festival (the second largest in Sweden after Stockholm) five years ago. That project, called Festmaskinen, works in conjunction with Ljusmaskinen (the Light Machine). So two people carry the rave on their backs, one with music, the other with the lighting, now that’s a party!

The light controller board uses a set of four Arduino Nano boards along with four voltage regulators to provide control to each of the PAR lights. All of it is stitched together by control from a DMX input board which also controls the COBs. (In this image the DMX board is hidden below the light control board.) Of course you need something that can process the audio and turn it into DMX512 to bring those lighting animations to life and for that he reached for a Raspberry Pi.

[Tim] has a quick demo of the rig at work which we’ve embedded below. What we’re missing is seeing how the top-heavy structure handles when worn as a backpack. Hopefully he’ll be able to get out of his low-ceilinged home and let the stage lights fly before too long!