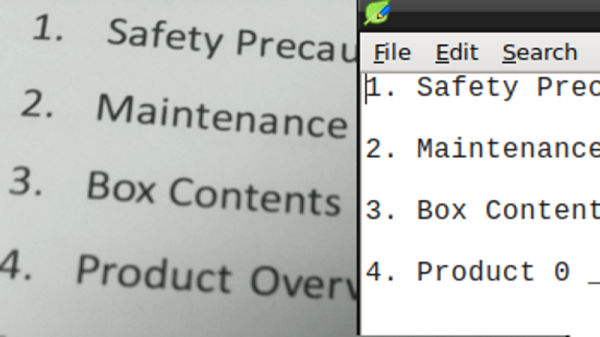
[Kevin Norman] got himself a smart body scale with the intention of logging data for his own analysis, but discovered that extracting data from the device was anything but easy. It turns out that the only way to access data from his scale is by viewing it in a mobile app. Screen-scraping is a time-honored method of pulling data from uncooperative systems, so [Kevin] committed to regularly taking a full-height screenshot from the app and using optical character recognition (OCR) to get the numbers, but making that work was a surprisingly long process full of dead ends.
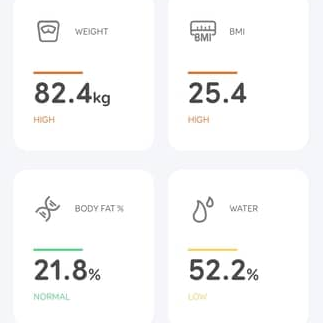 First of all, while OCR can be reliable, it needs the right conditions. One thing that ended up being a big problem was the way the app appends units (kg, %) after the numbers. Not only are they tucked in very close, but they’re about half the height of the numbers themselves. It turns out that mixing and matching character height, in addition to snugging them up against one another, is something tailor-made to give OCR reliability problems.
The solution for this particular issue came from an unexpected angle. [Kevin] was using an open-source OCR program called Tesseract, and joined an IRC community #tesseract to ask for advice after exhausting his own options. The bemused members of the online community informed [Kevin] that they had nothing to do with OCR; #tesseract was actually a community for an open-source 3D FPS shooter of the same name. But as luck would have it, one of the members actually had OCR experience and suggested the winning approach: pre-process the image with OpenCV, using cv2.findContours() to detect and create a bounding box around each element. If an element is taller than a decimal point but shorter than everything else, throw it out. With that done, there were still a few more tweaks required, but the finish line was finally in sight.
Now [Kevin] can use the scale in the morning, take a screenshot, and in less than half a minute the results are imported into a database and visualizations generated. The resulting workflow might look like something Rube Goldberg would approve of, but it works!