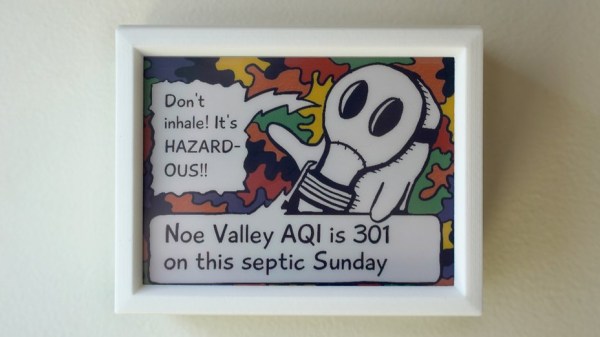
Air Quality Index for one’s region can be a handy thing to know, but it’s such a dry and humorless number, isn’t it? Well, all that changes with [Andrew Kleindolph]’s AQI Funnies: a visual representation of live AQI data presented by a friendly ghost character in a comic panel presentation. The background, mood, and messaging are all generated to match the current conditions, providing some variety (and random adjectives) to spruce things up.
 We love the attention paid to the super clean presentation, and the e-paper screen looks fantastic. Inside the unit is a Raspberry Pi using Python to talk to the AirNow.gov API to get local conditions and update every four hours (AirNow also has a number of useful-looking widgets, for those interested.)
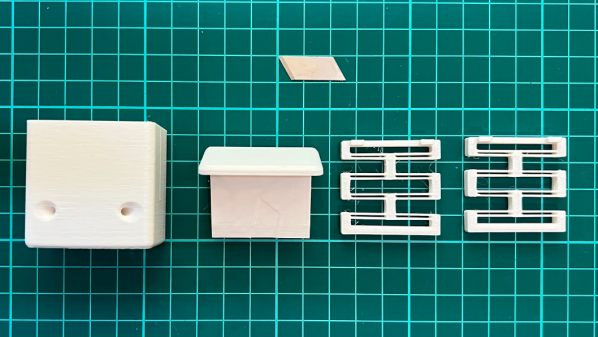
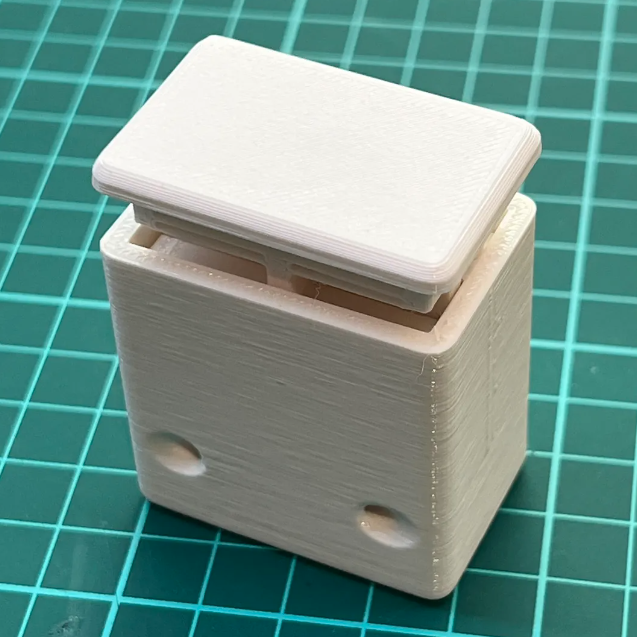
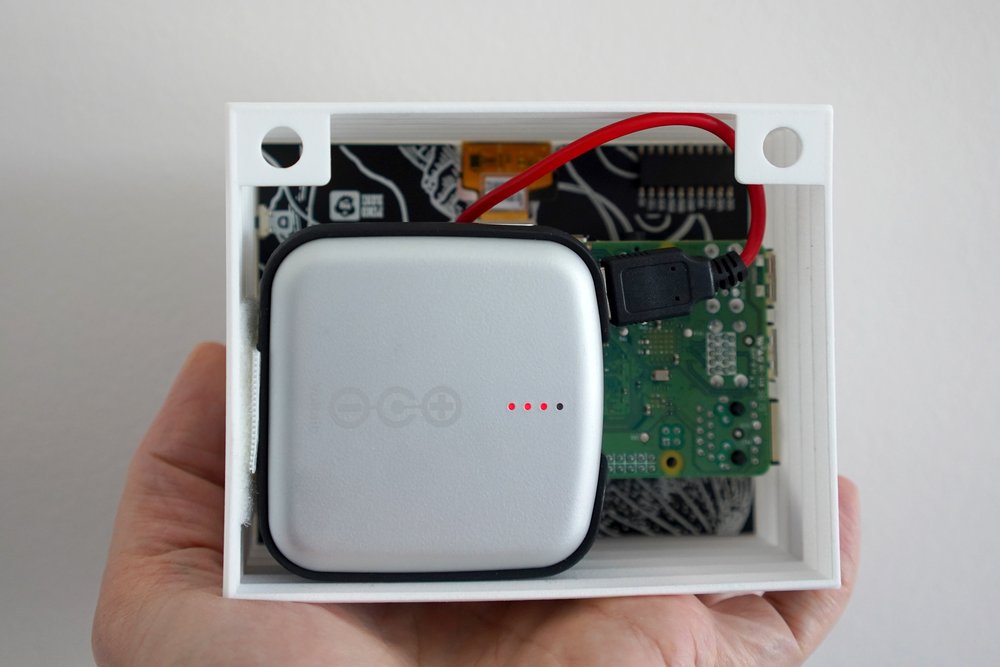
The enclosure is 3D printed, and [Andrew] uses a Witty Pi for power management and battery conservation. The display is a color e-paper display that not only looks great, but has the advantage of not needing power unless the display is updating. The Pi can be woken up to update the screen with new info when needed, but otherwise can spend its time asleep.
[Andrew] has a knack for friendly presentations of information with an underlying seriousness, as we saw with his friendly reminders about nasty product recalls.