Making conference badges is a tough job. Unless you’re sitting on a gold mine, you have to contact a whole bunch of sponsors for help, work the parts that you can get into a coherent design, and do it all on the quick for a large audience. The EMF team is this close to getting it done, but they need some sponsorship for the assembly. If you know anyone, help them out! If they can’t line something up in the next two weeks, they’ll have to pull the plug on the badge entirely.
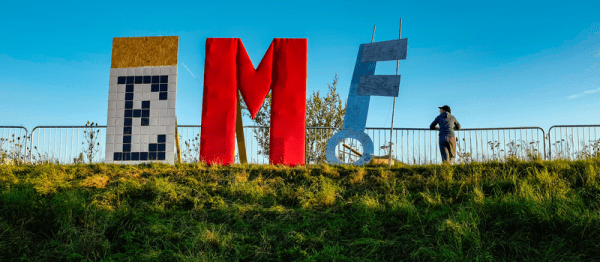
Electromagnetic Field is a summer-camp hacker convention / festival that takes place in England and is now in its third iteration. As with other big cons, the badge is a good part of the fun.
The 2016 EMF badge looks to be amazing. It’s powered by an ST STM32L4 low-power micro, a color LCD screen, a TI CC3100 WiFi radio module onboard, and a ridiculous number of other features including a gyro and magnetometer, and a giant battery. It’s also a testbed for the brand-new MicroPython, which aims to bring everyone’s favorite scripting language to embedded processors. In fact, they’ve largely built the MicroPython WiFi drivers for the badge.
If they can’t get a sponsor, all is not lost because everything is open source. We’ll all reap the benefits of their hard work. But that’s not the point. The point is that hundreds of hackers will be standing around in a field outside of London without the most audacious badge that we’ve seen designed dangling from their necks.
If you know anyone who can help, get in touch?
Thanks [schneider] for the tip!