If you worked with computers back in the 1970s, there’s a good chance you used a light pen at some point: a simple input device that you’d point at the CRT screen to highlight text, choose menu options or manipulate graphic objects. Although ubiquitous in those days, the light pen lost the battle for ergonomics to the humble mouse and was all but extinct by the late 1980s. Touchscreen styluses implement a similar function today, but touching the screen somehow doesn’t feel the same as simply pointing at it.
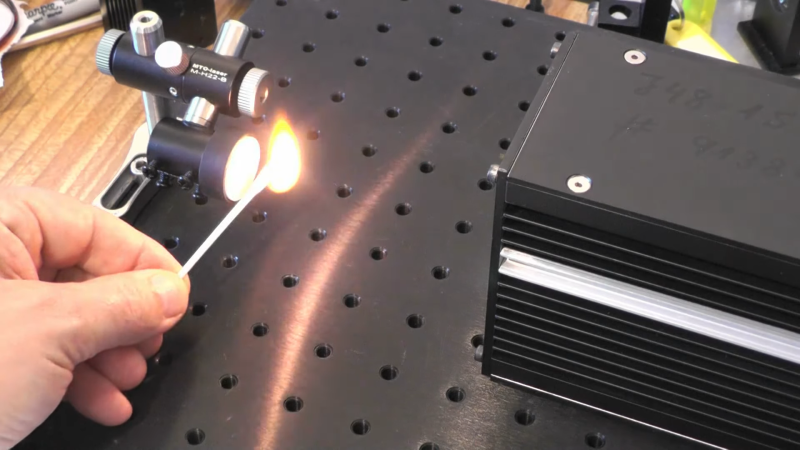
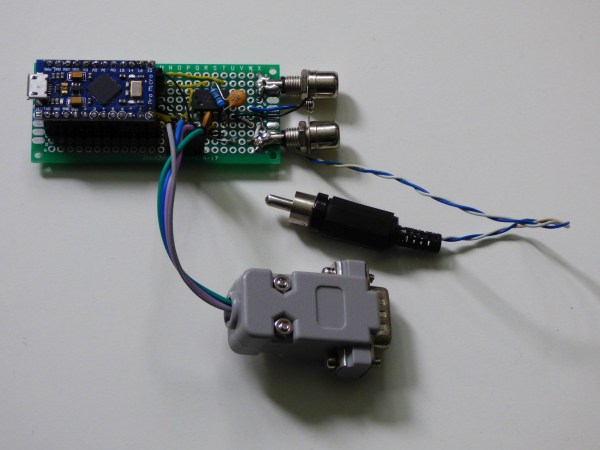
We therefore applaud [Maciej Witkowiak]’s efforts to bring the light pen into the 21st century by building a USB interface for a Commodore 64/128 light pen. At its heart is an Arduino Micro Pro that implements the USB HID protocol to communicate with any modern computer. It connects to the classic light pen as well as to the computer’s analog display signal and uses those to calculate the delay between the video synchronization pulses and the light pen’s output. The sync pulses are extracted from the video signal by an LM1881, a sync separator chip that will be familiar to anyone who’s worked with analog video signals.
The Arduino calculates the light pen’s position based on the measured timing intervals and reports it to the computer, using the absolute positioning mode that’s also used by things like drawing pads. [Maciej] demonstrates his system in the video embedded below, in which he uses it to operate the menus on an X window system. A great success then, although there’s one catch: light pens only work on CRT displays, so you’ll need to drag one of those big glass beasts out of storage if you want to try this yourself.
We’ve featured the Commodore light pen before in this odd gaming input device. A similar device built with a discrete LED matrix is a good illustration of the light pen’s working principle.