It is a good bet that if you look around you, you’ll be able to find at least one smoke detector in sight. If not, there’s probably one not too far away. Why not? Fires happen and you’d like to know about a fire even if you are sleeping or alert others if you are away. During the cold war, there were other things that people didn’t want to sleep through. [Msylvain59] tears down two examples: a Soviet GSP-11 nerve agent detector and a Polish RS-70 radiation alarm. You can see both videos, below.
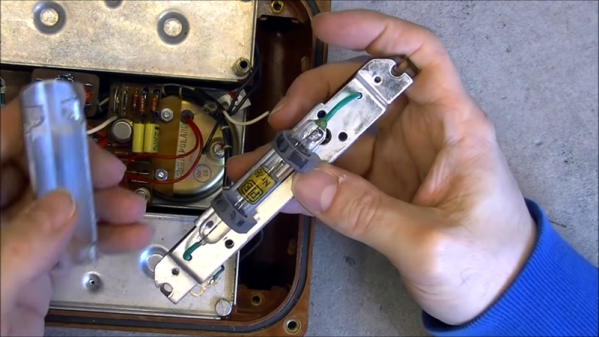
In all fairness, the GSP-11 is clearly not meant for consumer use. It actually uses a test strip that changes colors and monitors the color change. Presumably, the people operating it were wearing breathing gear because the machine could take quite a while to provide a positive output. Inside reminded us of a film processing machine, which isn’t too far off.
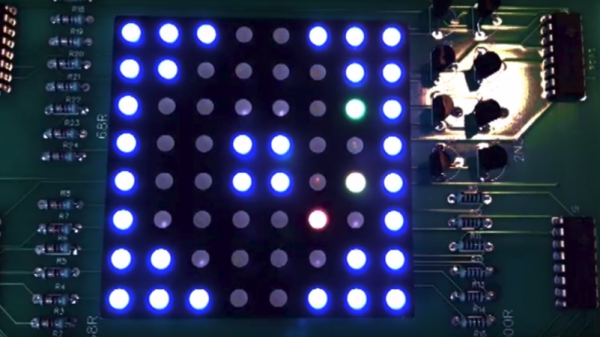
The radiation monitor looks more like a miniature version of an old floor-standing radio. The case design, the thick-traced, single-sided, hand-drawn printed wiring board, and the –by today’s standards — huge parts within all contribute to making this look like a piece of radio gear from the 1970s or even earlier.