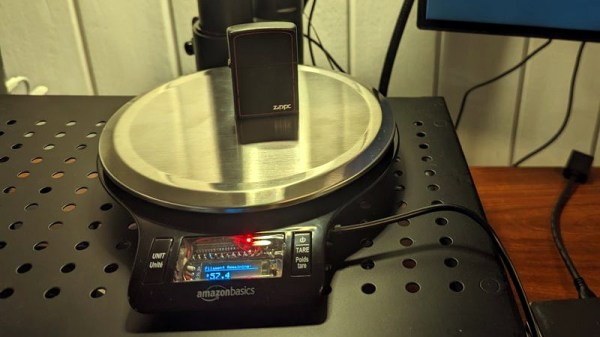
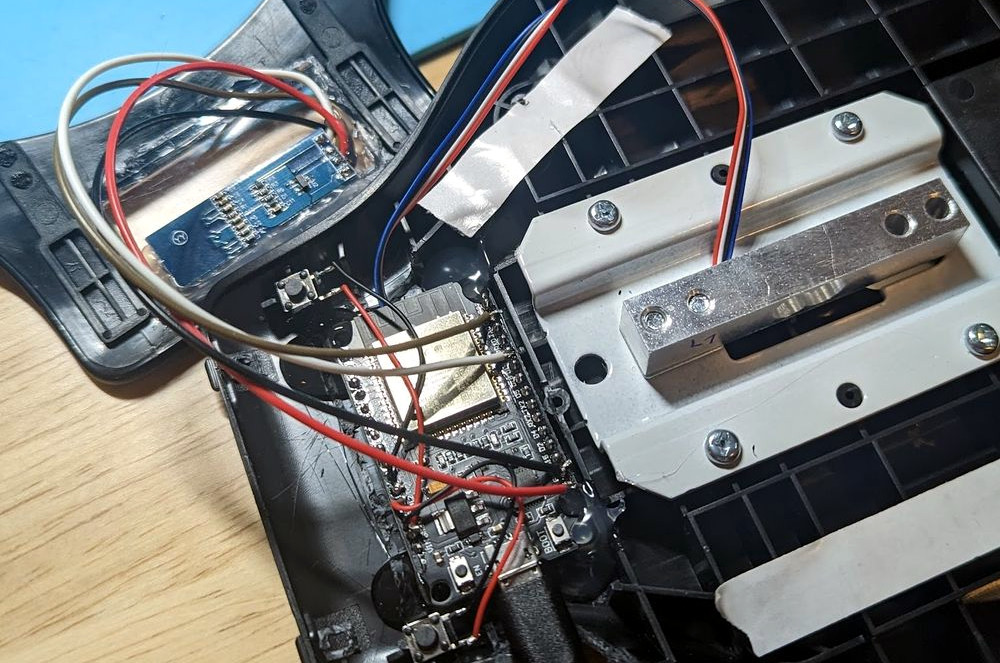
Smart kitchen appliances are expensive, and more often than not, your usage data goes to whichever company operates the inevitable cloud service. Meanwhile the cheap ones contain substantially the same components without the smarts, so surely a hardware hacker can add a microcontroller to a cheap appliance for a bit of smart home technology without the privacy issues? It’s something [Liore] has done with an Amazon Basics kitchen scale, removing the electronics and wiring up an ESP32 to the load cell instead.
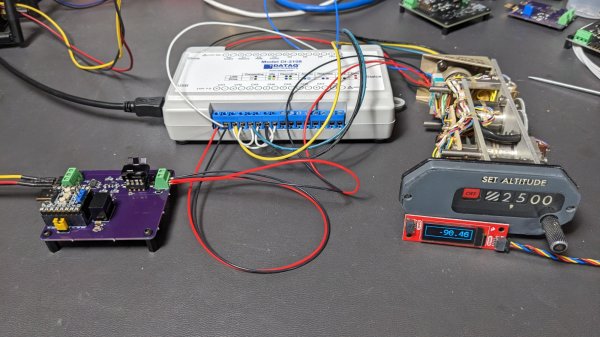
The Wheatstone bridge load cell circuit generates a tiny voltage difference that’s far too small for an ESP32 to measure, so in between the pair is an Avia Semiconductor HX711 strain gauge amplifier module. In addition, there’s a small OLED screen and the two buttons used in the Amazon scale are wired in too, providing the the kitchen scale functionality you’d expect.
 Naturally the ESP32 brings along with it WiFi networking capabilities, which [Liore] has taken full advantage of here. By navigating a web browser to its IP address, you’ll receive the scale’s current reading in JSON format. This should make it easy to integrate with other systems, from Home Assistant to OctoPrint. We can see that there is plenty of scope for further enhancements for those prepared to write a little code.
Of course, this isn’t the first enhanced scale we’ve brought you, here’s one with Bluetooth. We’ve also seen hackers dispense with the kitchen-safe trappings and build the load cell directly into their own contraptions.