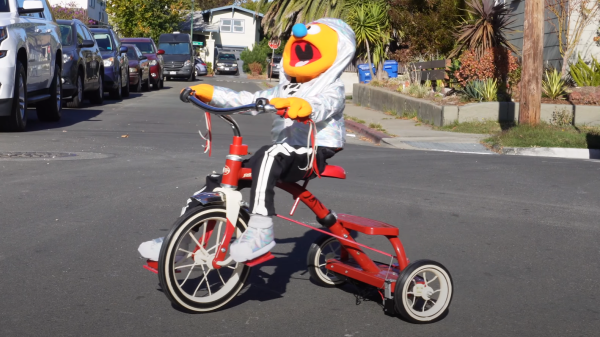
[Donald Bell] wanted to recreate the magic of seeing Kermit on a tricycle from a 2018 NY Maker Faire he attended, so he created his own take of a Muppet on a Radio Flyer kids tricycle bike.
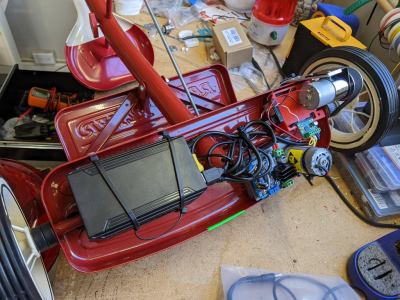
He started by attaching a ready made puppet to a classic Radio Flyer dual deck toddler tricycle using zip ties and split pipe insulation to give the limbs stiffness. [Donald] then put all the electronics, including the 12 V 50 RPM DC motor, 24 V 22.4 Ah Li-Ion battery pack, TB67H420FTG motor driver, and the Arduino Uno microcontroller under the back axle.
The motor transfers power to one of the back wheels via pulleys and timing belts with an additional ASMC-04B 24 V servo used to steer the tricycle via a steel pushrod. The RC communication is done with a FlySky FS-GT2 2.4 GHz 2-channel system. [Donald] gives a detailed list of parts that he uses in a Google doc for anyone wanting to know more.
[Donald] goes into great length about the limitations of the build, including the low clearance of the electronics underneath, the finicky nature of the timing belts and the “uncanny valley” that the size of the puppet induces to a casual observer. Regardless, the build is exceptional and paves the way for a variety of improvements for anyone wanting to extend the idea either further into the creepy or cute domain.
Retrofitting vehicles with motorized control are a crowd favorite, as seen with some projects like a stroller controller from Maker Faires of the past.