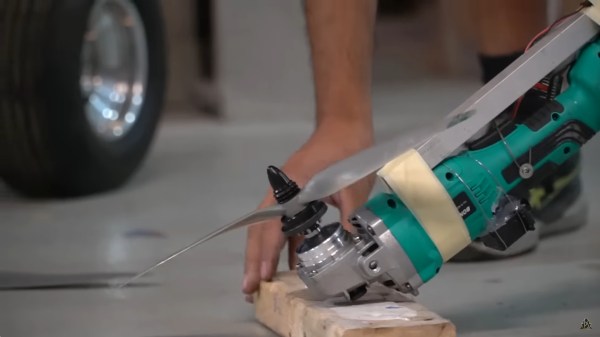
In a straight fight between a houseplant and a human, you might expect the plant to be at a significant disadvantage. So [David Bowen] has decided to even the odds a little by arming this philodendron with a robot arm and a machete.
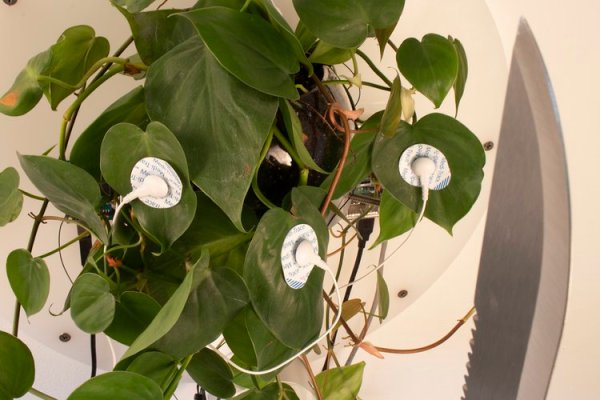
The build is a little short on details but, from the video, it appears that adhesive electrodes have been attached to the leaves of the recently-empowered plant and connected directly to analog inputs of an Arduino Uno. From there, the text tells us that the signals are mapped to movements of the industrial robot arm that holds the blade.
It’s not clear if the choice of plant is significant, but an unarmed philodendron appears to be otherwise largely innocuous, unless you happen to be a hungry rodent. We hope that there is also a means of disconnecting the power remotely, else this art installation could defend itself indefinitely! (or until it gets thirsty, at least.) We at Hackaday welcome our new leafy overlords.
We have covered the capabilities of plants before, and they can represent a rich seam of research for the home hacker. They can tell you when they’re thirsty, but can they bend light to their will? We even held a Plant Communication Hack Chat in 2021.
Continue reading “(Mostly) Harmless Houseplant Wields Machete”