What do you think of when you hear the word pond? If you’re like most people, it conjures up images of a simple water-filled hole in the ground, maybe with a few fish added in for good measure. But not [Anders Johansson] — his pond is a technical marvel, utilizing more unique pieces of hardware and software than many of the more traditional projects that have graced these projects over the years.
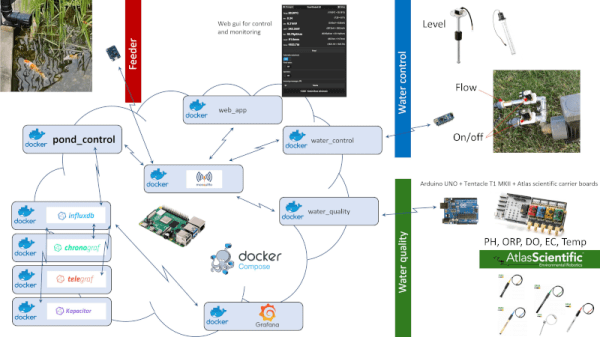
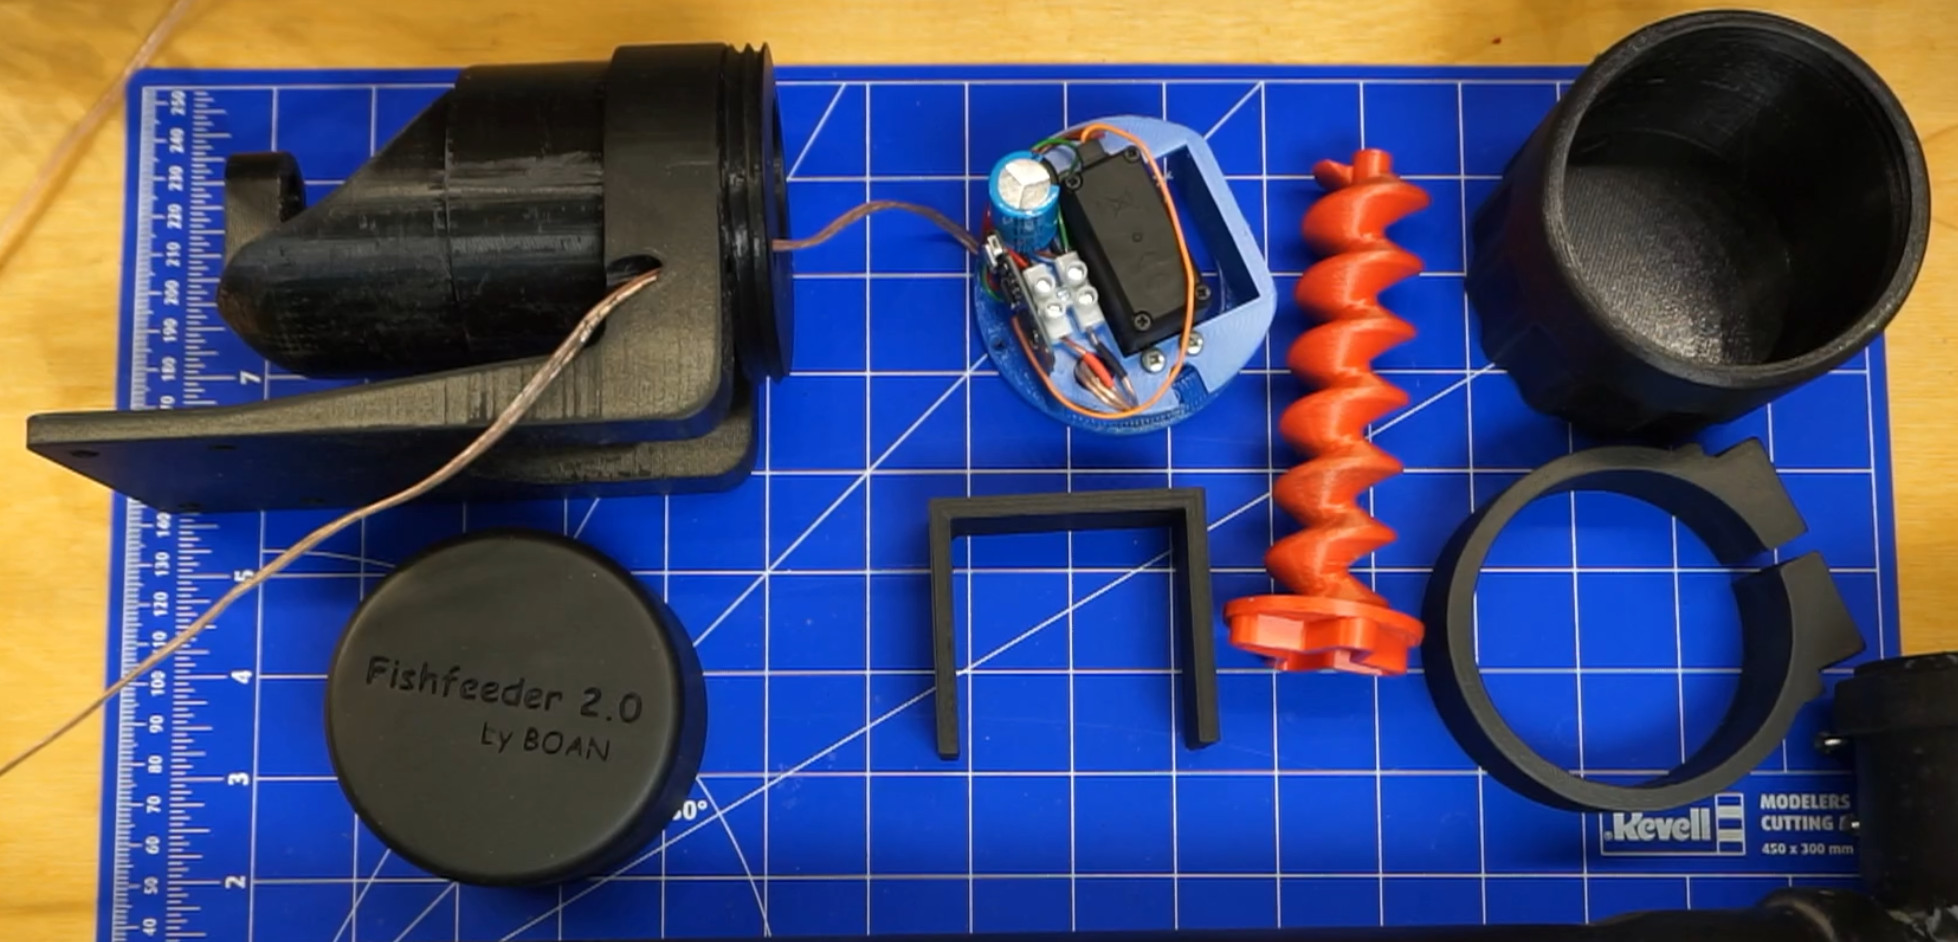
In fact, this is one of those projects that is so grand in scope that any summary we publish here simply can’t do it justice. The aptly-named Poseidon project is built up of several modular components, ranging from an automated fish feeder to an array of sensors to monitor the condition of the water itself. How many other ponds can publish their current water level, pH, and oxygen saturation over MQTT?
[Anders] has provided schematics, 3D models, and source code for all the various systems built into the pond, but the documentation is where this project really shines. Each module has it’s own detailed write-up, which should provide you with more than enough guidance should you want to recreate or remix what he’s put together. Even if you use only one or two of the modules he’s put together, you’ll still be ahead of the game compared to the chumps who have to maintain their pond the old fashioned way.
In the past we’ve seen projects that tackled some of the individual elements [Anders] has developed, such as 3D printed fish feeders, but after searching through the archives we can’t find anything that’s even half as ambitious as Poseidon. At least, not for ponds. It reminds us more of a highly advanced aquaponics setup, and we wonder if that might not be a possible spin-off of the core project in the future.