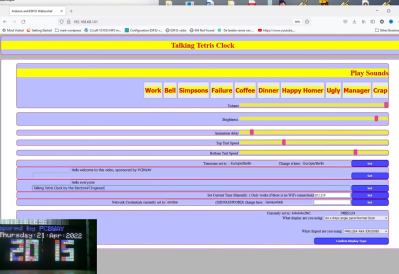
The web interface allows the various sound options to be easily configured.
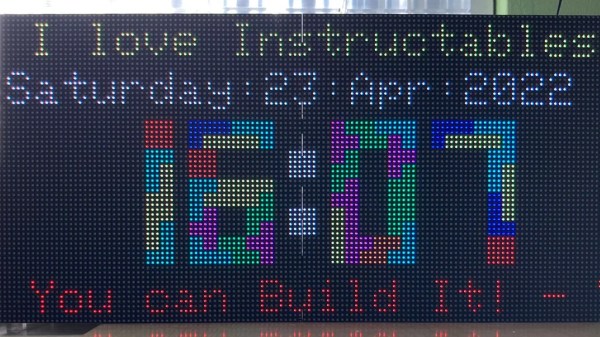
The basic concept of the Tetris clock is that falling bricks stick together in the shape of numbers to display the time. In this case, the clock is based on the version created by [Brian Lough] which we featured previously. It relies on an RGB LED matrix as a display.
However, the build has had a few upgrades courtesy of [The Electronic Engineer]. With the help of an I2S audio breakout board, the clock can play sounds at various times of day. It’s currently set up with clips from various cartoons announcing lunch and coffee break times. There’s also a web interface added in for configuration purposes, and some text tickers too.
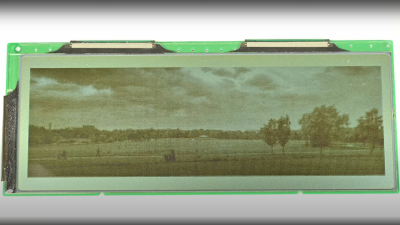
[Wenting Zhang] is clearly a fan of old school STN LCD displays, and was wondering how various older portable devices managed to drive monochrome LCDs panels with multiple grey levels. If the display controller supports multiple bits per pixel, it can use various techniques, such as PWM, in order to produce a pseudo-grayscale image. But, what if you have a monochrome-only display controller? With a sufficiently high pixel clock, can you use software on the application side of things to flip those pixels in such a manner as to give a reasonable looking grayscale image?
Simple dithering – don’t look too close!PDM greyscale approximation in a 1-bit display
[Wenting] goes through multiple techniques, showing the resulting image quality in a clear, systematic manner. The first idea is to use a traditional dithering technique. For each pixel, it is set to black if the grey value is below some threshold. The resulting error value, is then propagated to neighbouring pixels. This error diffusion process smears the error out over the whole display, so spatially speaking, on average the pixel values correspond roughly to the original gray values. But, the pixels themselves are still either on or off. This isn’t quite enough. The next idea is to PWM the individual pixels over multiple frames, to approximate different grey levels. But, that gives a worst case effective refresh rate of 8 Hz with a PWM period of 15 frames, at 120 fps, and that flickers. Badly. One way to mitigate that is to switch to PDM (pulse density modulation) which selects different length sequences to give the same duty cycle but at higher frequency, at least for some grey values. Slightly better, but there’s more that can be done. Continue reading “Monochrome LCD Video Hacks Galore!”→
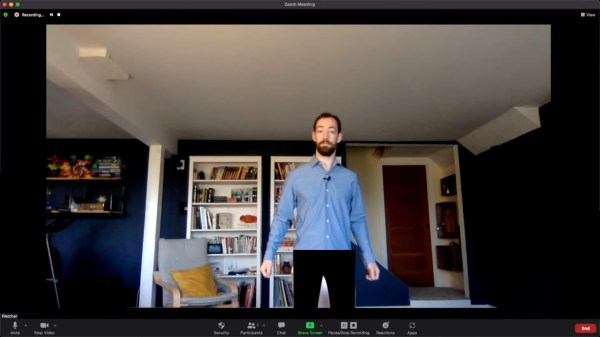
With so many of us working from home over the last two years, it’s really become apparent that people generally dislike sitting all day with pants on. Until such a utopian time when all clothing is considered unisex, and just as many men as women are kicking it in loose, flowing skirts and dresses, you may want to remember to actually wear something on your lower half, uncomfortable though pants may be. But there is another way — you could build [Everything Is Hacked]’s pants filter and continue to be a chaos agent. Check out the video after the break.
These pants go as wide as you please.
That’s right, whether you forego or just forget to dress yourself below the equator, the pants filter has you covered. It works like you might expect — machine learning tracks body landmarks and posture to figure out where your NSFW region is and keep it under wraps.
By default, it blurs everything below the belt, or you can draw on pants if you’re inclined to be in revealing tighty-whities and prefer more coverage. You can adjust the width of the pants to cover the covid-19 you may have put on since 2020, and even change the pants to match your shirt.
We love that [Everything Is Hacked] had the um, gumption to test the pants filter in public at what appears to be a local taco joint. After the first few rounds of weird looks, he switched to a pants moustache to save face.
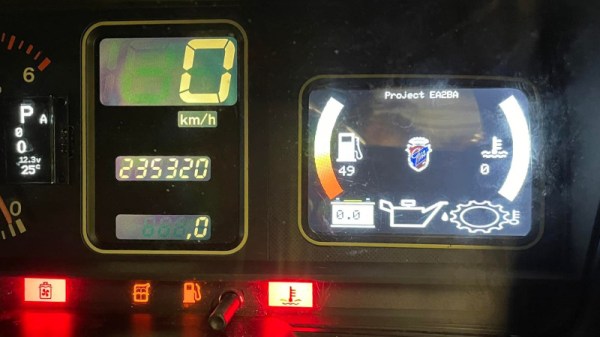
The EA Falcon took Ford’s popular Australian sedan line into the 1990s, even if it gave way to the EB Falcon by the end of 1991. Few would call it high tech, but it introduced several innovations to the platform that were very of its time. One hacker, however, has taken a humble EA Falcon and given it a set of homebrewed modern upgrades.
The maroon EA Falcon has scored a Barra heart transplant as well as some nifty digital upgrades.
The example in question is an EA Fairmont Ghia, which featured a handful of high-tech displays in the dash cluster, which was very on trend in the late 80s and early 90s. This dash has seen much revision, however, and now features a large TFT display and a smaller OLED unit, both of which show various vital statistics for the car. The screens have been neatly hacked in, one as part of the tachometer, the other replacing the original fuel and temperature gauges. With the data displayed on the screen instead, there’s no need for the original dials. Continue reading “’90s Ford Gets Shift Paddles And A Digital Dash Upgrade”→
Nine years ago, MakerBot was acquired by Stratasys in a deal worth slightly north of $600 million. At the time it was assumed that MakerBot’s line of relatively affordable desktop 3D printers would help Stratasys expand its reach into the hobbyist market, but in the end, the company all but disappeared from the hacker and maker scene. Not that many around these parts were sad to see them go — by abandoning the open source principles the company had been built on, MakerBot had already fallen out of the community’s favor by the time the buyout went through.
So today’s announcement that MakerBot and Ultimaker have agreed to merge into a new 3D printing company is a bit surprising, if for nothing else because it seemed MakerBot had transitioned into a so-called “zombie brand” some time ago. In a press conference this afternoon it was explained that the new company would actually be spun out of Stratasys, and though the American-Israeli manufacturer would still own a sizable chunk of the as of yet unnamed company, it would operate as its own independent entity.
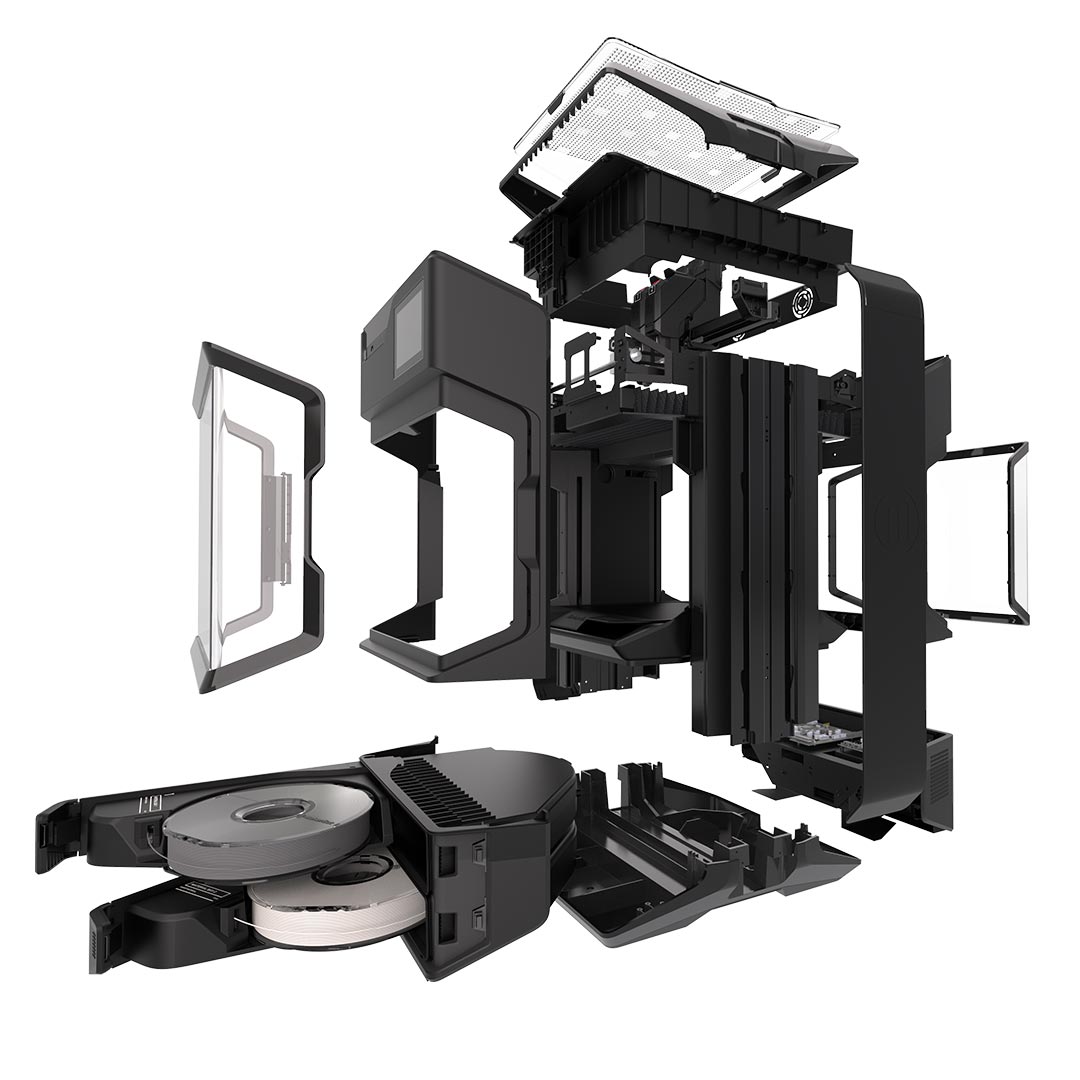
MakerBot has been courting pro users for years.
In the press conference, MakerBot CEO Nadav Goshen and Ultimaker CEO Jürgen von Hollen explained that the plan was to maintain the company’s respective product lines, but at the same time, expand into what they referred to as an untapped “light industrial” market. By combining the technology and experience of their two companies, the merged entity would be uniquely positioned to deliver the high level of reliability and performance that customers would demand at what they estimated to be a $10,000 to $20,000 USD price point.
When MakerBot announced their new Method 3D printer would cost $6,500 back in 2018, it seemed clear they had their eyes on a different class of clientele. But now that the merged company is going to put their development efforts into machines with five-figure price tags, there’s no denying that the home-gamer market is officially in their rear-view mirror. That said, absolutely zero information was provided about the technology that would actually go into said printers, although given their combined commercial experience, it seems all but a given that these future machines will use some form of fused deposition modeling (FDM).
Now we’d hate to paint with too broad a brush, but we’re going to assume that the average Hackaday reader isn’t in the market for a 3D printer that costs as much as a decent used car. But there’s an excellent chance you’re interested in at least two properties that will fall under the umbrella of this new printing conglomerate: MakerBot’s Thingiverse, and Ultimaker’s Cura slicer. In the press conference it was made clear that everyone involved recognized both projects as vital outreach tools, and that part of the $62.4 million cash investment the new company is set to receive has been set aside specifically for their continued development and improvement.
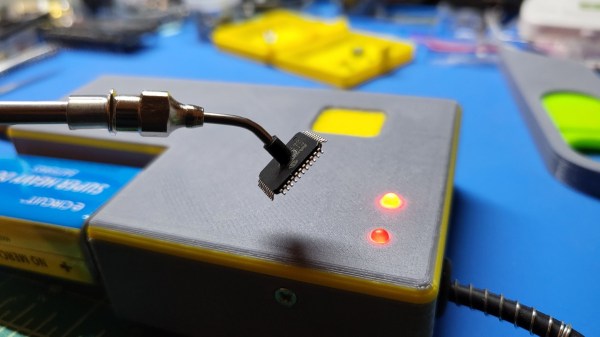
Anyone who’s ever assembled a PCB full of tiny SMD parts will have found that tweezers are not always the best tool when it comes to accurate positioning. Thin, flat components like microcontrollers can be awkward to pick up securely, while small resistors and capacitors have a tendency of snapping out of your tweezers’ grip and flying off into the sunset (or your carpet). Vacuum pickup tools can be a great help, but the most convenient models, with an electric air pump and a foot switch, can be a bit expensive. [sjm4306] shows that it doesn’t have to be that way: he built his “VacPen” mostly from reused components.
At the heart of the project is a little vacuum pump with a pen-like device hooked up to it through a flexible hose. The tip of the pen holds a pickup nozzle that came from a cheap manual pick and place tool. Both the pump and pen were salvaged from some gas analysis instrument that [sjm4306] tore apart a long time ago; the pen is especially convenient since it comes with a built-in brush-like filter that can trap any debris or tiny parts that might be accidentally swallowed.
The VacPen controller is housed inside a neat 3D printed enclosure that holds a custom PCB with an ATtiny microcontroller. The pump can be operated either through a foot switch, or by pressing on the touch-sensitive pad on top of the enclosure. [sjm4306] made this by soldering a wire to a copper penny and sticking it on the inside of the lid: simple, effective and cheap.
As you can see in the video embedded below, the VacPen is perfectly capable of picking up any kind of SMD component, and just as importantly, immediately releasing it at the desired moment. If you’re new to SMD technology, we can recommend this tutorial by [Bil Herd] that covers vacuum tweezers as well. If you’re more into automating vacuum pickup tools, this cool robot might be of your interest.
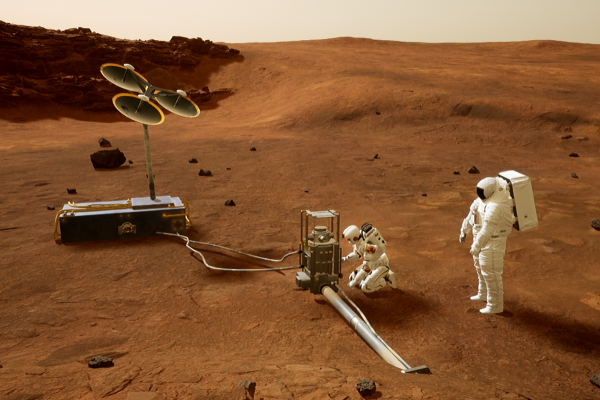
No matter your project or field of endeavor, simulation is a useful tool for finding out what you don’t know. In many cases, problems or issues aren’t obvious until you try and do something. Where doing that thing is expensive or difficult, a simulation can be a low-stakes way to find out some problems without huge costs or undue risks.
Going to Mars is about as difficult and expensive as it gets. Thus, it’s unsurprising that NASA relies on simulations in planning its missions to the Red Planet. Now, the space agency is working to create a Mars sim in VR for training and assessment purposes. The best part is that you can help!