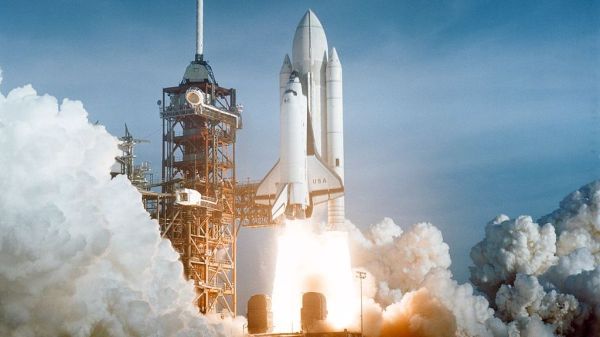
For those who grew up watching the endless coverage of the Apollo program in the 60s and 70s, the sight of OV-102, better known as the Space Shuttle Columbia, perched on pad 39A at the Kennedy Space Center was somewhat disconcerting. Compared to the sleek lines of a Saturn V rocket, the spacecraft on display on April 12, 1981, seemed an ungainly beast. It looked like an airplane that had been tacked onto a grain silo, with a couple of roman candles attached to it for good measure. Everything about it seemed the opposite of what we’d come to expect from spaceflight, but as the seconds ticked away to liftoff 40 years ago this day, we still had hope that this strange contraption wouldn’t disappoint.
At first, as the main engines ignited, it seemed that Columbia would indeed disappoint. The liquid hydrogen exhaust plume seemed anemic, at least compared to the gout of incandescent kerosene that had belched out from every rocket I’d ever seen launched. But then those magnificent — and as it later turned out, deadly dangerous — solid rocket boosters came to life, and Columbia fairly leaped off the launchpad. Americans were on their way to space again after a six-year absence, and I remember cheering astronauts John Young and Bob Crippen on as I watched the coverage with my dad that early Sunday morning.
Continue reading “Space Shuttle Program: 40th Anniversary Of The First Launch Of Columbia”
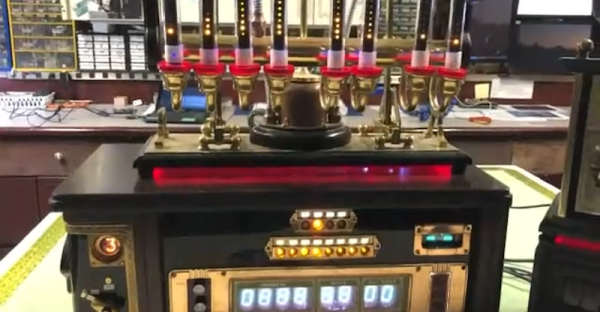
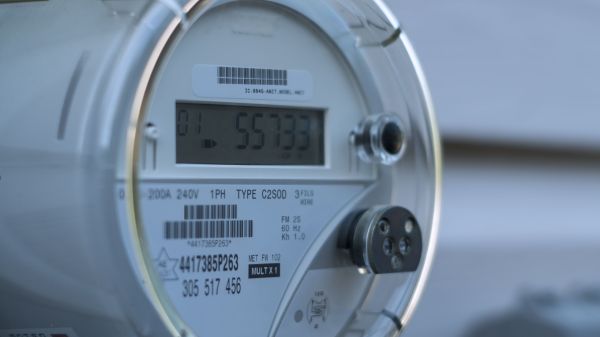
 These questions and more burn within [Hash], a hardware hacker and security researcher who runs the