If you think polyimide-based flexible PCBs are cool, wait until you get a load of what polymerized liquid metal networks can do.
Seems like [CNLohr] has some pretty cool friends, and he recently spent some time with a couple of them who are working with poly LMNs and finding out what they’re good for. Poly LMNs use a liquid metal composed of indium and gallium that can be sprayed onto a substrate through a laser-cut stencil. This results in traces that show the opposite of expected behavior; where most conductors increase in resistance when stretched, pol LMNs stay just as conductive no matter how much they’re stretched.
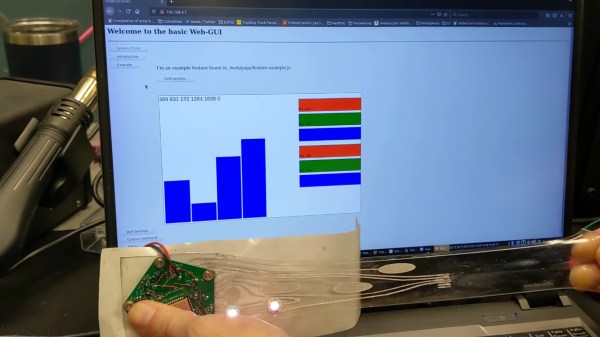
The video below shows [CNLohr]’s experiments with the stuff. He brought a couple of traditional PCB-based MCU circuits, which interface easily with the poly LMN traces on a thick tape substrate. Once activated by stretching, which forms the networks between the liquid metal globules, the traces act much like copper traces. Attaching SMD components is as simple as sticking them to the tape — no soldering required. The circuits remain impressively stretchy without any apparent effect on their electrical properties — a characteristic that should prove interesting for wearables circuits, biological sensors, and a host of real-world applications.
While poly LMNs aren’t exactly ready for the market yet, they don’t seem terribly difficult to make, requiring little in the way of exotic materials or specialized lab equipment. We’d love to see someone like [Ben Krasnow] pick this up and run with it — it seems right up his alley.
Continue reading “Circuit Boards You Can Stretch: Liquid Metal Nanomaterials Make A Strange Flex”