As more and more people spend their working hours behind a computer, bad posture and the accompanying back pain and back problems become a growing epidemic. To combat this in his own daily life, [ImageryEel] made PosturePack, a wearable Bluetooth-enabled posture sensor.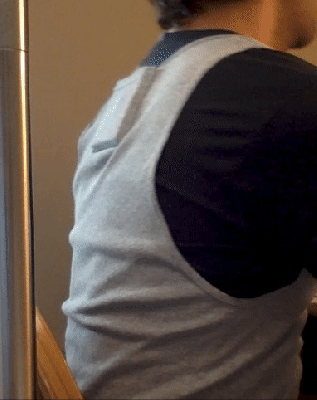
The PosturePack is designed to fit into a small pocket sewn into the pack of an undershirt, between the shoulder blades. It consists of a custom PCB with an ATmega32U4, BNO055 IMU, Bluetooth module, small LiPo and power circuitry. Based on the orientation data from the IMU, a notification is sent over Bluetooth to a smartphone whenever the user hunches forward.
[ImageryEel] says although the mobile notifications worked, haptic feedback integrated into the unit would be a better option. This could also be used to remind the user to stand up and take a break now and then, and provide an alternative to a smartwatch for activity monitoring without sending every movement to someone else’s servers. Software will always be the hardest part for projects like these, especially as the device become “smarter”. Learning to recognize activity and postures is actually a good place for tiny machine learning models.
Compared The posture sensors we covered before had to be installed and set up at a specific workstation, like an ultrasound-based version attached to a chair, and a webcam-based version.