Saturday, November 7, 2020 – NOT PASADENA. Remoticon, the virtual version of the annual Hackaday Superconference forced upon us by 2020, the year that keeps on giving, is in full swing. As I write this, Kipp Bradford is giving one of the two keynote addresses, and last night was the Bring a Hack virtual session, which I was unable to attend but seems to have been very popular, at least from the response to it. In about an hour, I’m going to participate in the SMD Soldering Challenge on the Hackaday writing crew team, and later on, I’ll be emceeing a couple of workshops. And I’ll be doing all of it while sitting in my workshop/office here in North Idaho.
Would I rather be in Pasadena? Yeah, probably — last year, Supercon was a great experience, and it would have been fun to get together again and see everyone. But here we are, and I think we’ve all got to tip our hacker hats to the Remoticon organizers, for figuring out how to translate the in-person conference experience to the virtual space as well as they have.
The impact of going to a museum and standing in the presence of a piece of art or a historic artifact is hard to overstate. I once went to an exhibit of artifacts from Pompeii, and was absolutely floored to gaze upon a 2,000-year-old loaf of bread that was preserved by the volcanic eruption of 79 AD. But not everyone can get to see such treasures, which is why Scan the World was started. The project aims to collect 3D scans of all kinds of art and artifacts so that people can potentially print them for study. Their collection is huge and seems to concentrate on classic sculptures — Michelangelo’s David is there, as are the Venus de Milo, the Pieta, and Rodin’s Thinker. But there are examples from architecture, anatomy, and history. The collection seems worth browsing through and worth contributing to if you’re so inclined.
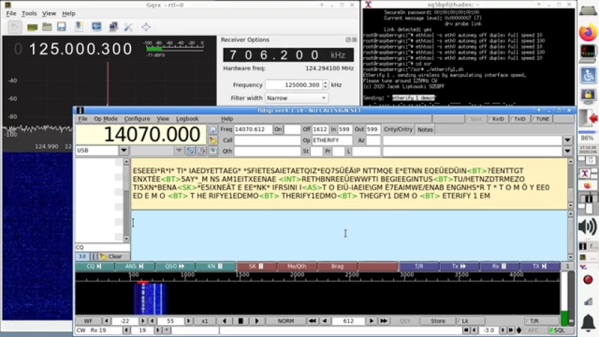
For all the turmoil COVID-19 has caused, it has opened up some interesting educational opportunities that probably wouldn’t ever have been available in the Before Time. One such opportunity is an undergraduate-level course in radio communications being offered on the SDRPlay YouTube channel. The content was created in partnership with the Sapienza University of Rome. It’s not entirely clear who this course is open to, but the course was originally designed for third-year undergrads, and the SDRPlay Educators Program is open to anyone in academia, so we’d imagine you’d need some kind of academic affiliation to qualify. The best bet might be to check out the intro video on the SDRPlay Educator channel and plan to attend the webinar scheduled for November 19 at 1300 UTC. You could also plan to drop into the Learning SDR and DSP Hack Chat on Wednesday at noon Pacific, too — that’s open to everyone, just like every Hack Chat is.
And finally, as if bald men didn’t suffer enough disrespect already, now artificial intelligence is having a go at them. At a recent soccer match in Scotland, an AI-powered automatic camera system consistently interpreted an official’s glabrous pate as the soccer ball. The system is supposed to keep the camera trained on the action by recognizing the ball as it’s being moved around the field. Sadly, the linesman in this game drew the attention of the system quite frequently, causing viewers to miss some of the real action. Not that what officials do during sporting events isn’t important, of course, but it’s generally not what viewers want to see. The company, an outfit called Pixellot, knows about the problem and is working on a solution. Here’s hoping the same problem doesn’t crop up on American football.