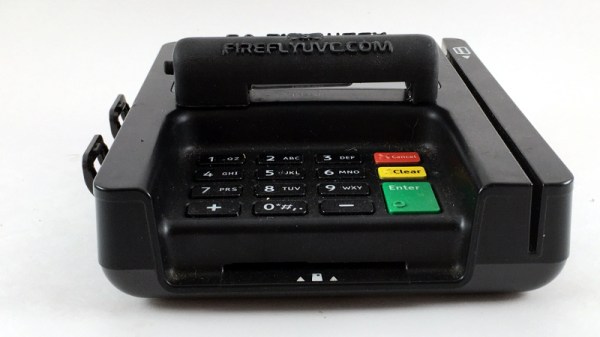
Retailers have instituted enhanced cleaning procedures in response to the COVID-19 pandemic, with an aim to keep frequently touched surfaces as clean as possible. Certainly one of the most commonly handled objects in the entire store is the payment terminal by the register, and the PIN pad specifically. Which is why [Josh Starnes] is working on a UV sterilizer that mounts onto a standard credit card terminal.
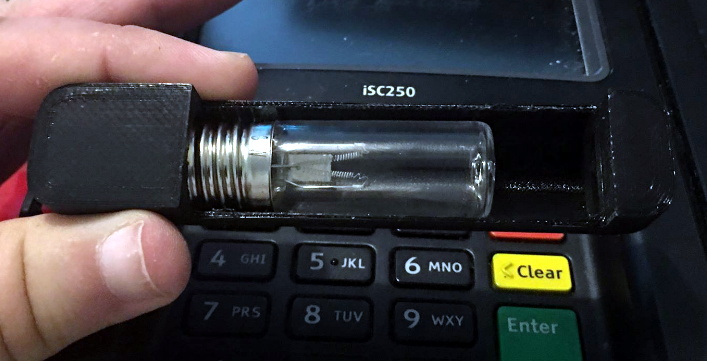 It’s a simple enough idea, but as is often the case, figuring out how to properly execute it is where things get tricky. [Josh] has already moved through several design iterations for his 3D printed enclosure in an attempt to make something that’s unobtrusive enough to be practical. The goal is to make something that the user won’t mistake for some kind of skimming device, which can certainly be tricky.
The skeptics in the audience will be happy to hear that [Josh] isn’t bothering with an LED UV source, either. We’ve all seen the pitfalls of trying to sanitize using UV LEDs, so this design goes old school with a small 12 volt UV bulb. That does mean it will need a dedicated power source however, which it seems like he’ll be addressing in the next phase of the project.