In its heyday, the experience offered by the Heath Company was second to none. Every step of the way, from picking something out of the Heathkit catalog to unpacking all the parts to final assembly and testing, putting together a Heathkit project was as good as it got.
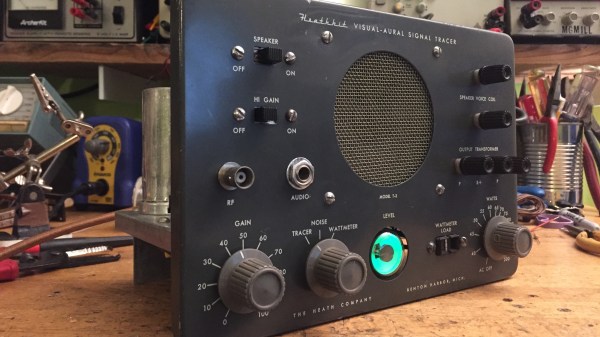
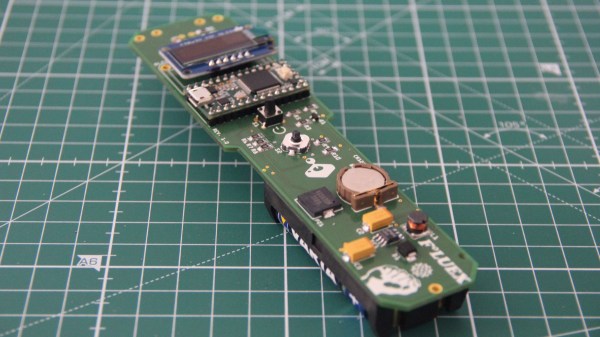
Sadly, those days are gone, and the few remaining unbuilt kits are firmly in the unobtanium realm. But that doesn’t mean you can’t tear down and completely rebuild a Heathkit project to get a little taste of what the original experience was like. [Paul Carbone] chose a T-3 Visual-Aural signal tracer, a common enough piece that’s easy to find on eBay at a price mere mortals can afford. His unit was in pretty good shape, especially for something that was probably built in the early 1960s. [Paul] decided that instead of the usual recapping, he’d go all the way and replace every component with fresh ones. That proved easier said than done; things have changed a lot in five decades, and resistors are a lot smaller than they used to be. Finding hookup wire to match the original was also challenging, as was disemboweling some of the electrolytic cans so they could be recapped. The finished product is beautiful, though — even the Magic Eye tube works — and [Paul] reports that the noise level is so low he wasn’t sure if turned it on at first.
We’ve covered the rise and fall of Heathkit, as well as their many attempted comebacks, including an inexplicable solder-free radio and the “world’s most reliable” clock. Looking at these offerings, we think [Paul] may be onto something here.
 Automated medical diagnostics is certainly an