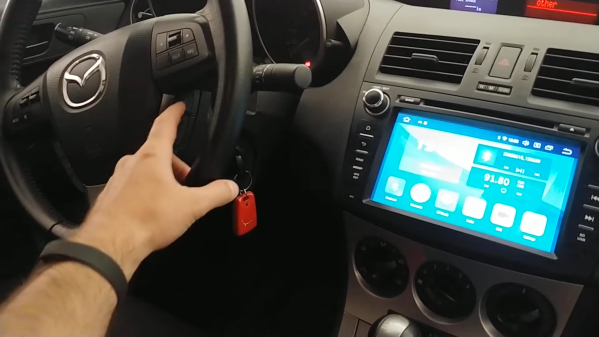
[Arik Yavilevich] recently upgraded his second-gen Mazda’s control console, going from the stock busy box to an Android head unit that does it all on a nice big touchscreen. It can also take input from the handy steering wheel buttons — these are a great option for keeping your eyes on the road and occasionally startling your unsuspecting passengers when the radio station suddenly changes.
 The only problem is that [Arik]’s stock steering wheel doesn’t have any media-specific buttons on it. After a short trip to the junkyard, [Arik] had a fancier wheel to go along with the new head unit.
[Arik] doesn’t use cruise control, and those particular buttons can’t be hooked up with reprogramming the car’s computer, so he made them into macro buttons that control the head unit over Bluetooth, using an STM32 black pill board stashed in the glove box.
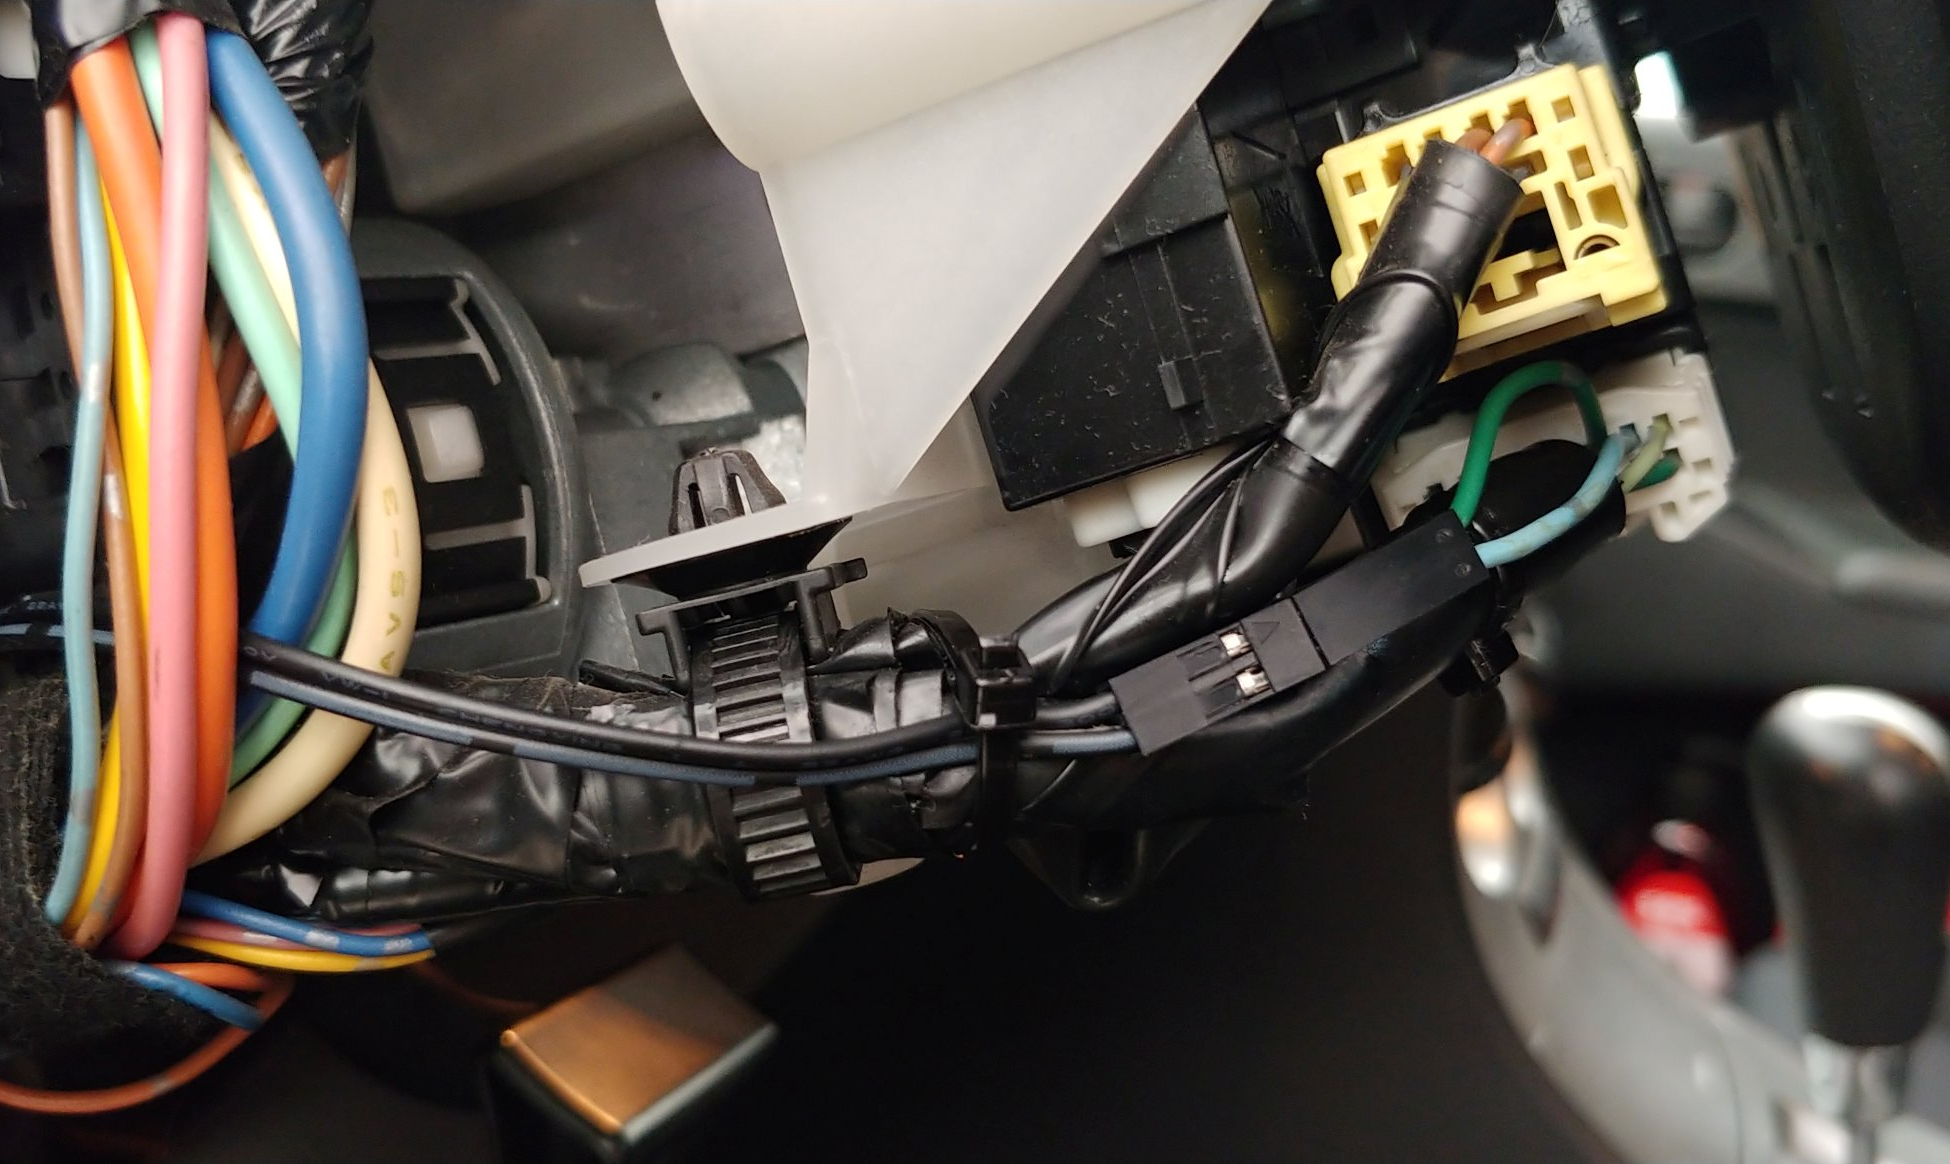
[Arik] found out that the cruise control buttons don’t ride the CAN bus — they use a resistor ladder/voltage divider and go directly into the ECU. After that it was mostly a matter of finding the right wires and then cutting and re-routing them to make the buttons work on the ACC setting as well as ON. A brief demo video is idling after the break.
Have an old smart phone lying around? Of course you do. Why not make your own head unit?