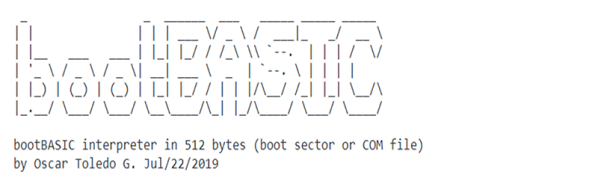
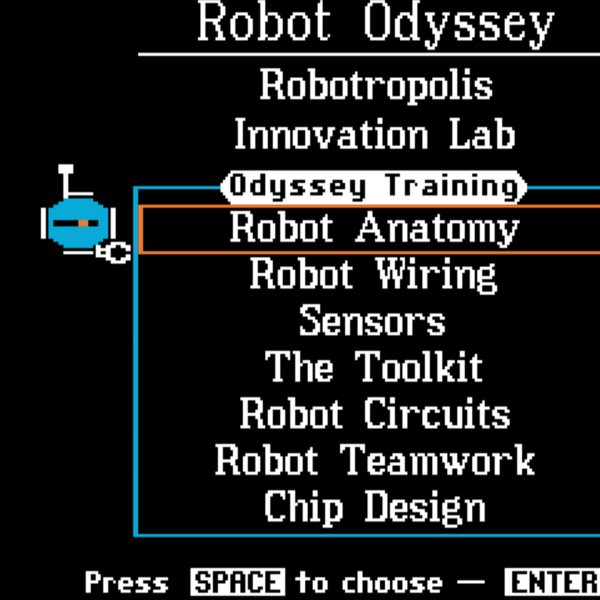
Humans seem to have a need to do things that aren’t practical. Make the biggest ball of twine. Engrave the Declaration of Independence on a grain of rice. We want to make things bigger, smaller, faster, or whatever. That might explain why [nanochess] put out bootBASIC.
The 8088 (or later) assembly code gives you a very restricted BASIC interpreter that you can boot up. That means it has to fit in the 512-byte boot block that the hardware loads to get an operating system running. How restricted? Keep in mind it fits in 512 bytes. Each line can only have 19 characters or less. Backspace works, but doesn’t update the screen. Line numbers range from 1 to 999 and there are only 26 integer variables named a through z that hold 16 bits. All statements are in lower case.
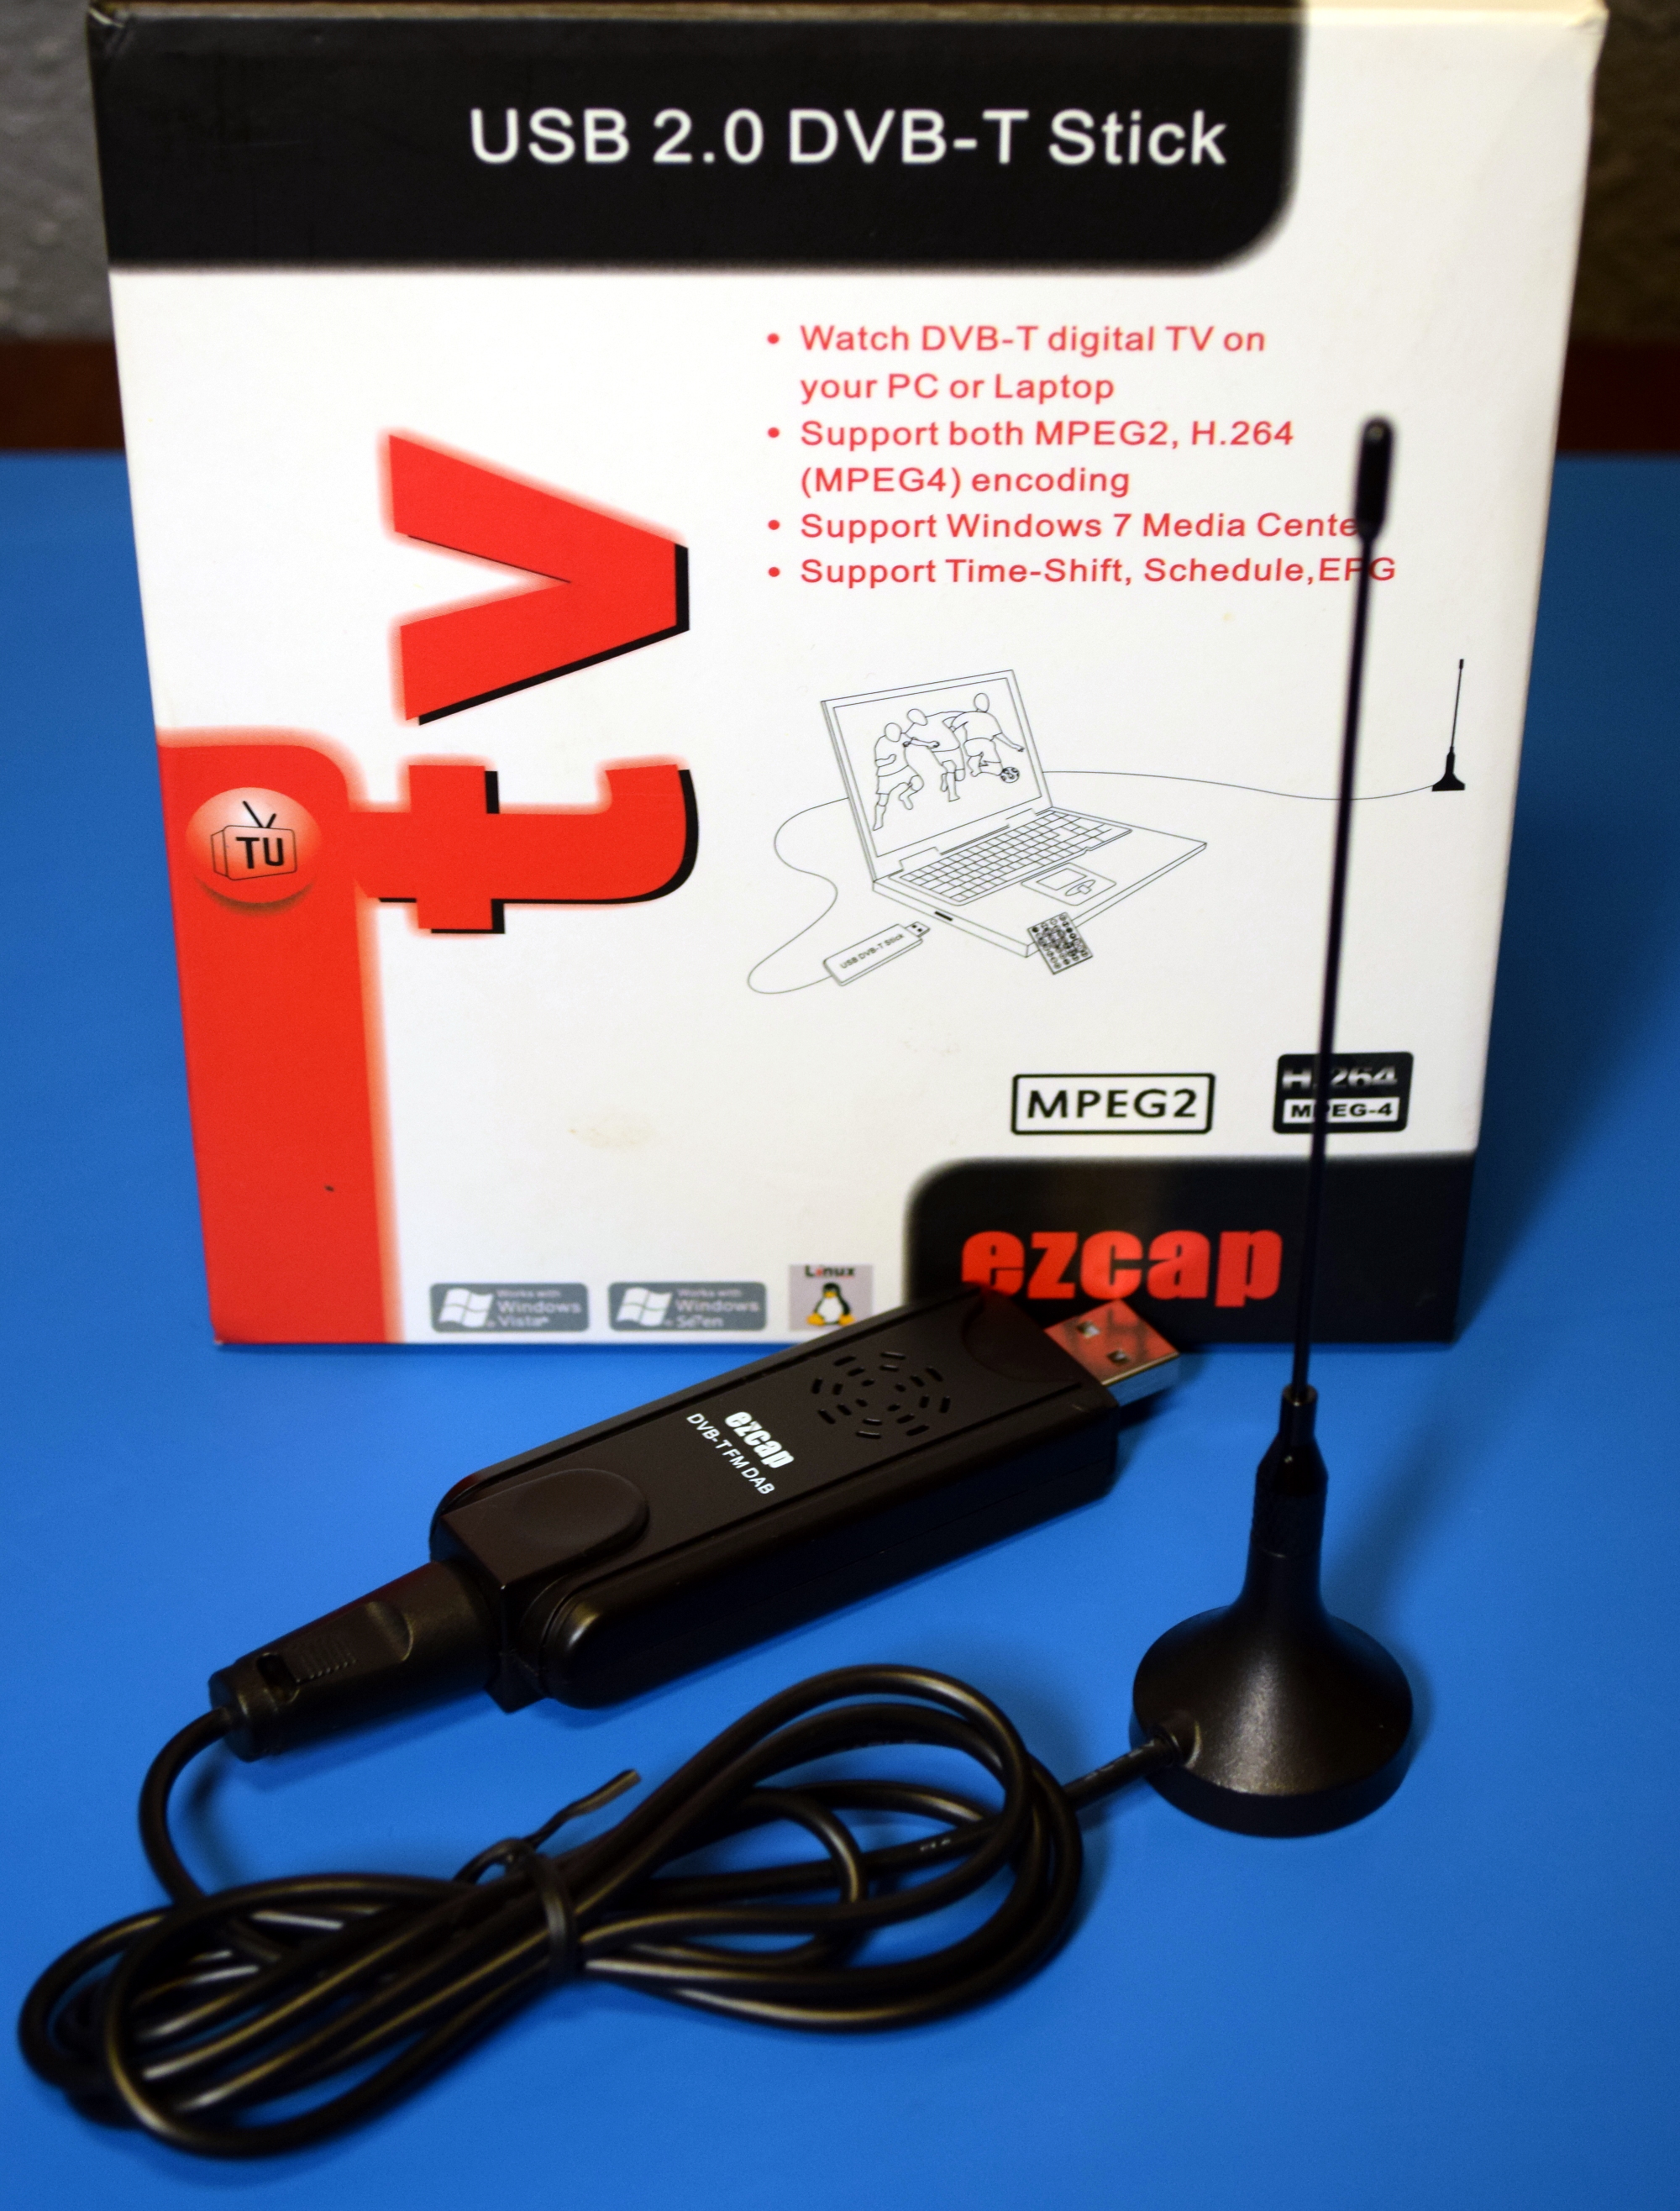
Before swearing my fealty to the Jolly Wrencher, I wrote for several other sites, creating more or less the same sort of content I do now. In fact, the topical overlap was enough that occasionally those articles would get picked up here on Hackaday. One of those articles, which graced the pages of this site a little more than seven years ago, was Getting Started with RTL-SDR. The original linked article has long since disappeared, and the site it was hosted on is now apparently dedicated to Nintendo games, but you can probably get the gist of what it was about from the title alone.
An “Old School” RTL-SDR Receiver
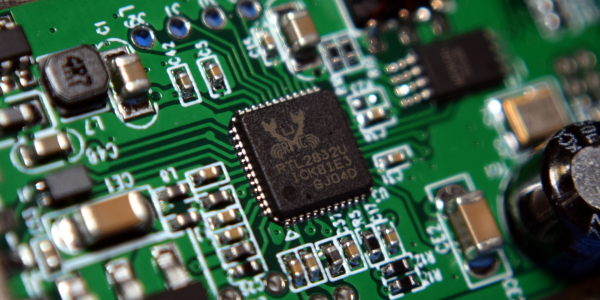
When I wrote that article in 2012, the RTL-SDR project and its community were still in their infancy. It took some real digging to find out which TV tuners based on the Realtek RTL2832U were supported, what adapters you needed to connect more capable antennas, and how to compile all the software necessary to get them listening outside of their advertised frequency range. It wasn’t exactly the most user-friendly experience, and when it was all said and done, you were left largely to your own devices. If you didn’t know how to create your own receivers in GNU Radio, there wasn’t a whole lot you could do other than eavesdrop on hams or tune into local FM broadcasts.
Nearly a decade later, things have changed dramatically. The RTL-SDR hardware and software has itself improved enormously, but perhaps more importantly, the success of the project has kicked off something of a revolution in the software defined radio (SDR) world. Prior to 2012, SDRs were certainly not unobtainable, but they were considerably more expensive. Back then, the most comparable device on the market would have been the FUNcube dongle, a nearly $200 USD receiver that was actually designed for receiving data from CubeSats. Anything cheaper than that was likely to be a kit, and often operated within a narrower range of frequencies.
Today, we would argue that an RTL-SDR receiver is a must-have tool. For the cost of a cheap set of screwdrivers, you can gain access to a world that not so long ago would have been all but hidden to the amateur hacker. Let’s take a closer look at a few obvious ways that everyone’s favorite low-cost SDR has helped free the RF hacking genie from its bottle in the last few years.
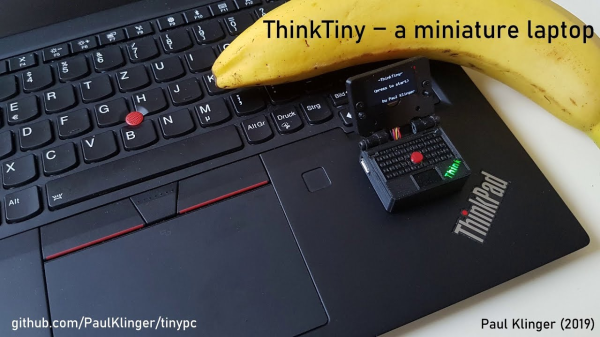
Of course it has the red nipple and lid LED—wouldn’t be a ThinkPad without ’em. ThinkTiny’s nipple is a 5-way joystick that plays Snake, Tetris, Lunar Lander, and more on an OLED screen. Like its predecessor the Tiny PC, [Paul] used an ATtiny1614, which (FYI) has a new one-wire UDPI interface. He can easily reprogram it through pogo pin holes built into the case.
There are some nice stylistic details at play here, too. The lid LED is both delivered and diffused by a 2mm grain of fiber-optic cable. And [Paul] printed the cover with a color change to transparent filament to make the Think logo and the charging LEDs shine through. Maneuver your way past the break to see it in action.
If you haven’t leveled up to AVR programming yet, introduce yourself to Arduboy.
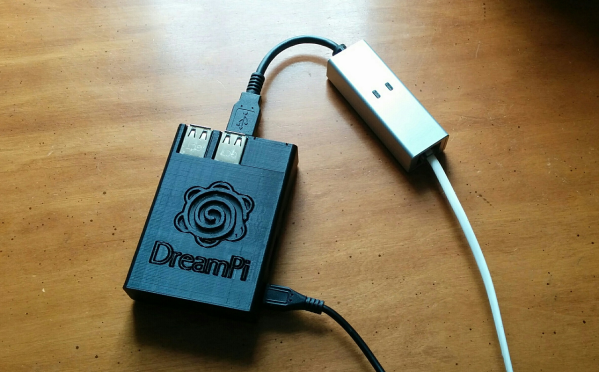
Playing a video game online is almost second nature now. So much so that almost all multiplayer video games have ditched their split-screen multiplayer modes because they assume you’d rather just be alone at your house than hanging out with your friends. This wasn’t always the case though. In the early days of online multiplayer, systems had to rely on dial-up internet before broadband was readily available (and still had split screen if you didn’t even have that). Almost no one uses dial up anymore though, so if you still like playing your old Dreamcast you’re going to have to do some work to get it online again.
Luckily for all of us there’s a Raspberry Pi image to do almost anything now. This project from [Kazade] uses one to mimic a dial-up connection for a Dreamcast so you can connect with other people still playing Quake 20 years later. It’s essentially a network bridge, but you will need some extra hardware because phone lines use a high voltage line that you’ll have to make (or buy) a solution for. Once all the hardware is set up and working, you’ll need to make a few software configuration changes, but it’s a very straightforward project.
Granted, there have been ways of playing Dreamcast games online before, but this new method really streamlines the process and makes it as simple as possible. The Dreamcast was a great system, and there’s an argument to be made that the only reason it wasn’t more popular was that it was just slightly too far ahead of its time.
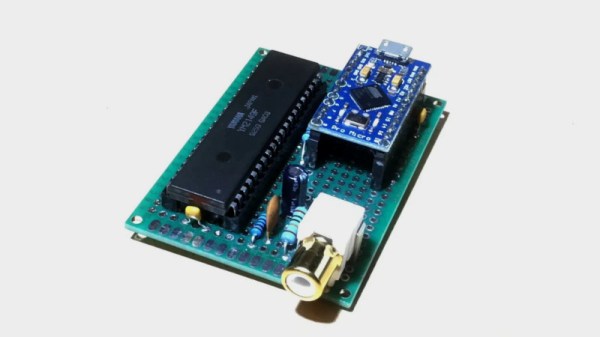
There are many venerable soundchips in the chiptune pantheon, of which the AY-3-8910 is perhaps one of the lesser known. Having not served on active duty for Nintendo or Commodore it’s somewhat unloved in the USA, but it made its name in a variety of arcade and pinball machines and has quite a European following due to its appearance in machines bearing the Amstrad and Sinclair names. [TheSpodShed] decided to whip up a USB MIDI interface for the chip, with the help of the Arduino Pro Micro.
The Arduino Pro Micro is a Sparkfun creation, using the ATmega32U4 microcontroller. Its USB MIDI functionality makes it a perfect candidate for such a build, and it also packs enough digital IO to run the AY-3-8910, with 13 lines required to get things going. [TheSpodShed] whipped up the project on protoboard, with only a few passives needed along with the sound chip and Arduino.
The Arduino code was written with an eye to making the most of the chip’s limited polyphony. The synth prioritises the most recent received notes, while also aiming to keep the highest and lowest of the currently requested notes still playing where possible. This gives the synth the best chance of keeping the expected bass and melody intact when playing a wide variety of MIDI content.
It’s a tidy build, and one that shows some love for a soundchip some have forgotten. Of course, it’s not the only option – we’ve also seen the SAM2695 and YM2612 given the same treatment. Video after the break.
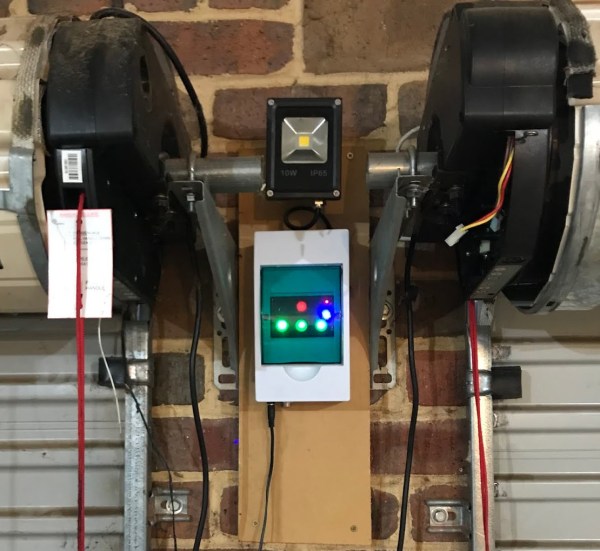
The ESP8266 is a great processor for a lot of projects needing a small microcontroller and Wi-Fi, all for a reasonable price and in some pretty small form factors. [Simon] used one to build a garage door opener. This project isn’t really about his garage door opener based on a cheap WiFi-enabled chip, though. It’s about the four year process he went through to learn how to develop on these chips, and luckily he wrote a guide that anyone can use so that we don’t make the same mistakes he did.
The guide starts by suggesting which specific products are the easiest to use, and then moves on to some “best practices” for using these devices (with which we can’t argue much), before going through some example code. The most valuable parts of this guide especially for anyone starting out with these chips are the section which details how to get the web server up and running, and the best practices for developing HTML code for the tiny device (hint: develop somewhere else).
[Simon] also makes extensive use of the Chrome developers tools when building the HTML for the ESP. This is a handy trick even outside of ESP8266 development which might be useful for other tasks as well. Even though most of the guide won’t be new to anyone with experience with these boards, there are a few gems within it like this one that might help in other unrelated projects. It’s a good read and goes into a lot of detail about more than just the ESP chips. If you just want to open your garage door, though, you have lots of options.
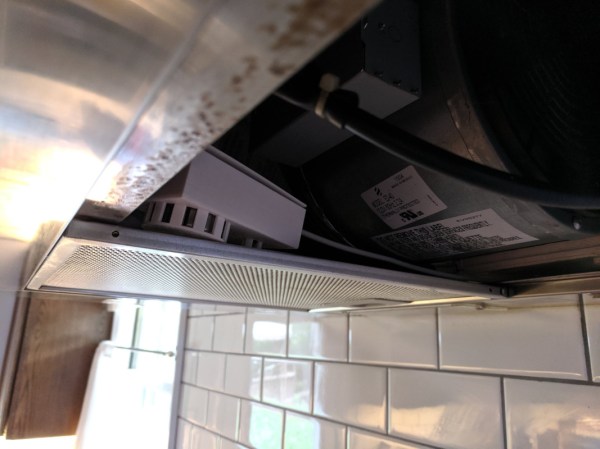
While we’re certainly not denying that smoke detectors are useful, there’s a certain kind of tragedy to the fact that most of them will never realize their true purpose of detecting smoke, and alerting us to a dangerous fire. On the other hand, [Ben] really unlocks the potential hidden deep in every smoke detector with his latest project which uses the smoke-detecting parts of a smoke detector to turn on the exhaust fan over his stove.
The project didn’t start with the noble aim of realizing the hidden and underutilized quiescent nature of a smoke alarm, though. He wanted his range exhaust fan to turn on automatically when it was needed during his (and his family’s) cooking activities. The particular range has four speeds so he wired up four relays to each of the switches in the range and programmed a Particle Photon to turn them on based on readings from an MQ-2 gas-detecting sensor.
The sensor didn’t work as well as he had hoped. It was overly sensitive to some gasses like LPG which would turn the range on full blast any time he used his cooking spray. Meanwhile, it would drift and not work properly during normal cooking. He tried disabling it and using only a temperature sensor, which didn’t work well either. Finally, he got the idea to tear apart a smoke detector and use its sensor’s analog output to inform the microcontroller of the current need for an exhaust fan. Now that that’s done, [Ben] might want to add some additional safety features to his stovetop too.