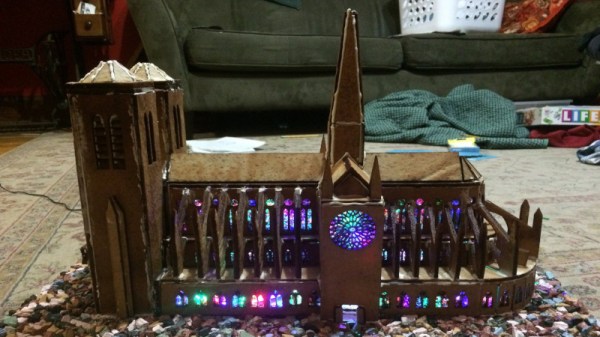
One of the more disappointing news stories of 2019 was the fire at the Notre Dame cathedral. Widely considered a building of great historical importance and architectural merit, it was heavily damaged and will take significant time and resources to repair. Fundamentally though, if you’re reading this, that’s probably someone else’s job. Instead, why not just build your own Notre Dame out of gingerbread at home? [Scott Hasse] did just that.
The project began by using an existing papercraft model. This had to be heavily modified to account for the thickness of gingerbread and the fact that it can’t easily be folded around corners. The modified geometry was then lasercut at the Sector 67 hackerspace, as they’re experienced with the material.
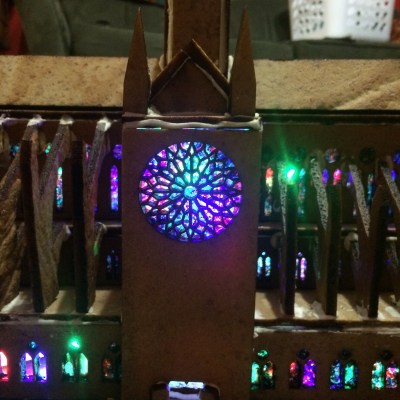
With parts cut out, royal frosting was used as a mortar to help stick parts together during assembly. Significant development time was also spent in perfecting the stained glass windows, made from colored sugar. After much experimentation, a process involving melting the sugar on silicone sheets proved to be most successful. To complete the look, a series of RGB LEDs were also installed during the construction process.
The final results are nothing short of stunning. The build is instantly recognisable as the famous French cathedral, and the back-lit stained glass is absolutely breathtaking. We wouldn’t want to be going up against [Scott]’s family at the county fair baking contest, that’s for sure!


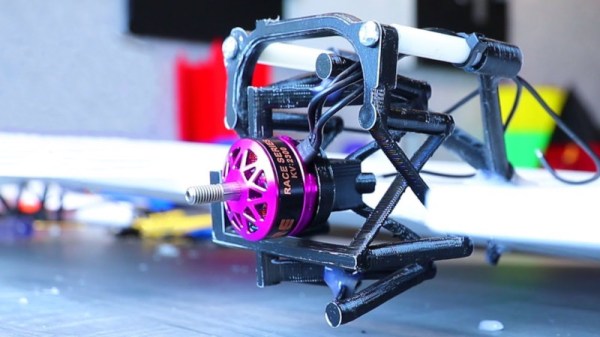
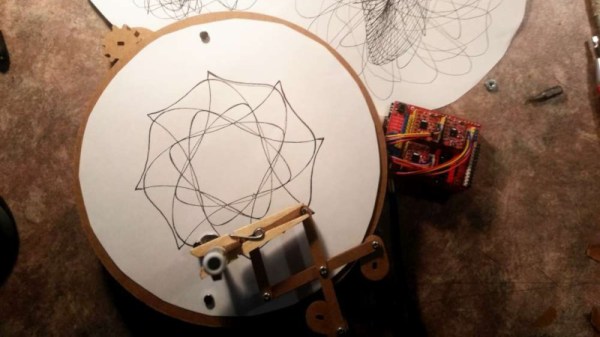
 The machine uses a rotating turntable to spin a piece of drawing paper. A pen is then placed in a pantograph mechanism, controlled by another two stepper motors. The build uses the common 28BYJ-48 motor, which are a unipolar, 5-wire design. A common hack is to open these motors up and cut a trace in order to convert them to bipolar operation, netting more torque at the expense of being more complex to drive. [InventorArtist] worked in collaboration with [Doug Commons], who had the idea of instead simply drilling a hole through the case of the motor to cut the trace. This saves opening the motor, and makes the conversion a snap.