We confess. When starting a microcontroller project, we often start with the last one we did for that environment, copy it, and just make changes. And the first one? It — ahem — might have been found on the Internet. There’s a lot more than just your code that goes into this. If you want to do (and understand) absolutely everything yourself on an ARM development project, you could use an all-in-one walkthrough. It just so happens [Jacob Mossberg] has a from scratch guide of what you need to do to get your C code running on ARM.
Starting with an ARM Cortex M3, he writes a simple C program and gets the assembly language equivalent. What follows is a detailed analysis of the machine code, exploring what the compiler assumed would be set up. This leads to understanding of what the start up code and linker script needs to look like.
It is a great approach and reminded us of the old saying about “teach someone how to fish.” He even devotes a little time to talking about getting debugging working with OCD. Of course, the exact details are specific to the chip he’s using, but most of it would apply to any ARM chip. Even if you don’t use ARM, though, the thought process and methodology is itself quite interesting.
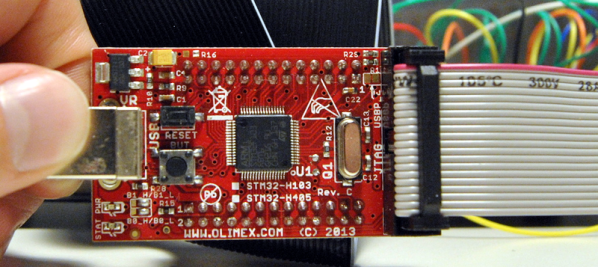
This post would be just the thing if you are using Blue Pills and ready to move away from the Arduino ecosystem. Of course, if you want to veer away from the Arduino system, but don’t want to go all the way to bare metal, there’s always mBed.