
When I was a student, I was a diehard Commodore Amiga user, having upgraded to an A500+ from my Sinclair Spectrum. The Amiga could do it all, it became my programming environment for electronic engineering course work, my audio workstation for student radio, my gaming hub, and much more.
One thing that was part of my course work it couldn’t do very well, which was be exactly like the PCs in my university’s lab. I feel old when I reflect that it’s 35 years ago, and remember sitting down in front of a Tulip PC-XT clone to compile my C code written on the Amiga. Eventually I cobbled together a 286 from cast-off parts, and entered the PC age. Alongside the Amiga it felt like a retrograde step, but mastering DOS 3.3 was arguably more useful to my career than AmigaDOS.
It’s DOS, But It’s Not MS-DOS
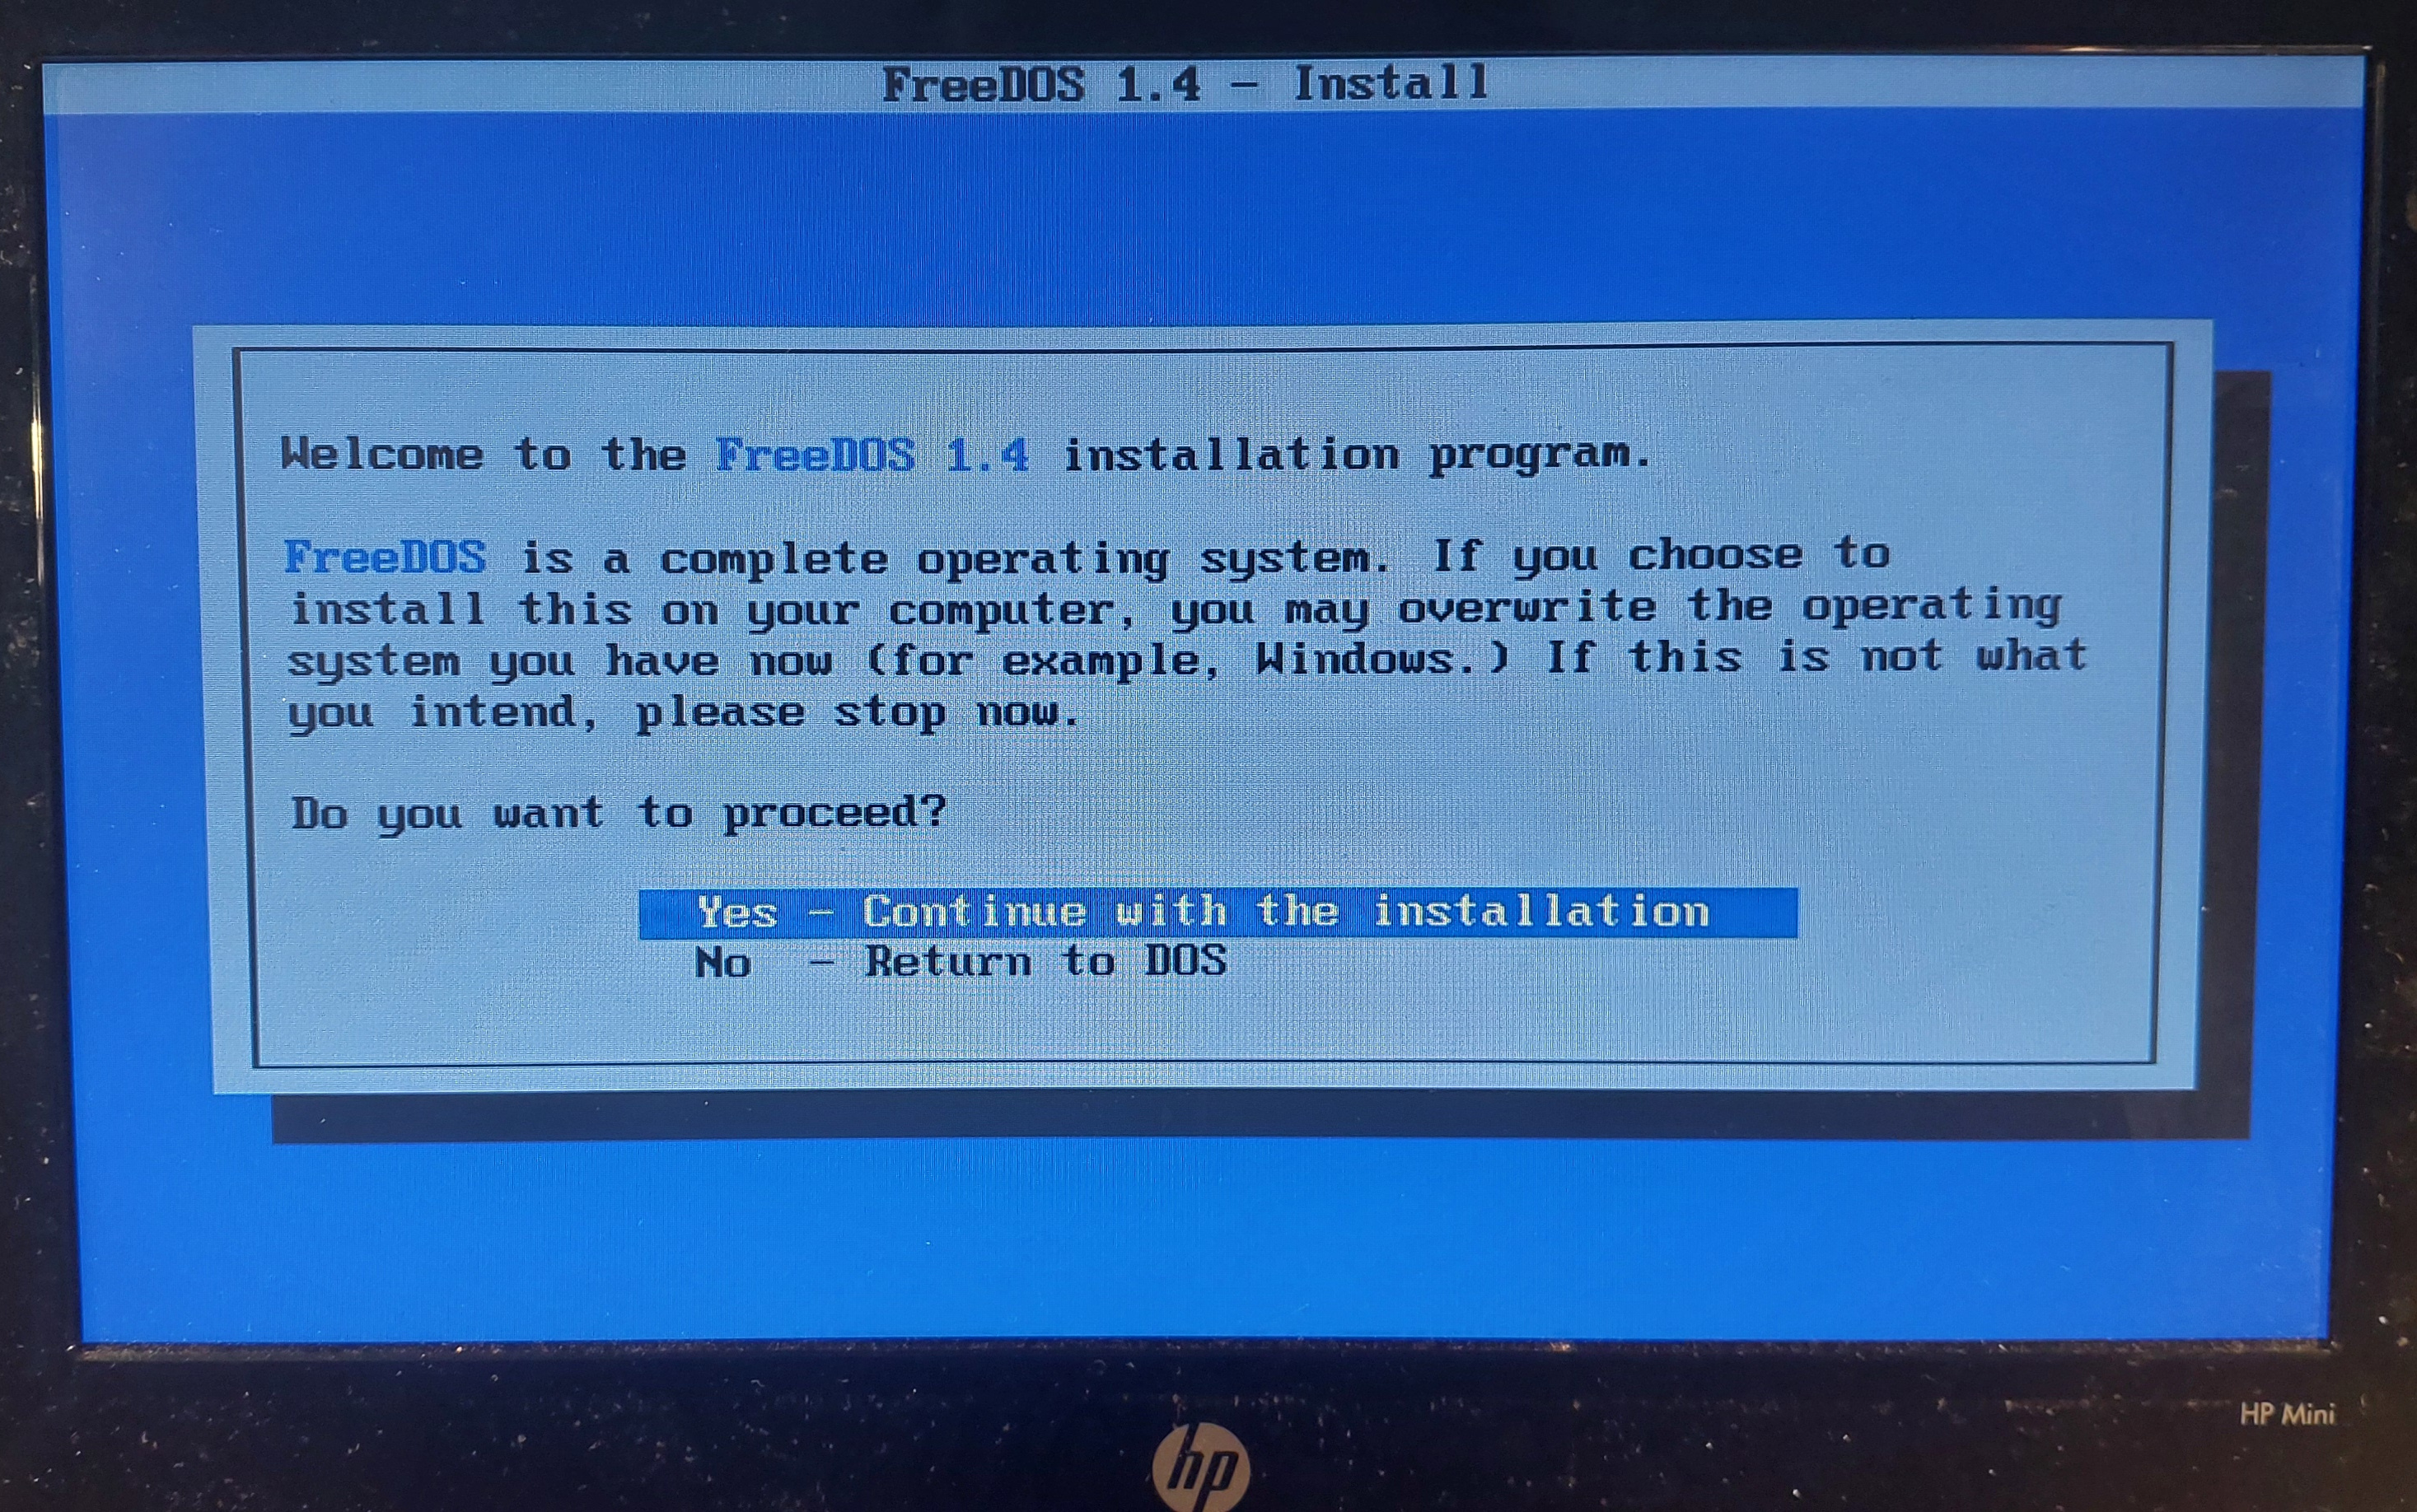
I don’t think I’ve used a pure DOS machine as anything but an occasional retrocomputing curio since some time in the late 1990s, because the Microsoft world long ago headed off into Windows country while I’ve been a Linux user for a very long time. But DOS hasn’t gone away even if Microsoft left it behind, because the FreeDOS project have created an entirely open-source replacement. It’s not MS-DOS, but it’s DOS. It does everything the way your old machine did, but in a lot of cases better and faster. Can I use it as one of my Daily Drivers here in the 2020s? There is only one way to find out.
With few exceptions, an important part of using an OS for this series is to run it on real hardware rather than an emulator. To that end I fished out my lowest-spec PC, a 2010 HP Mini 10 netbook that I hold onto for sentimental reasons. With a 1.6 GHz single core 32 bit Atom processor and a couple of gigabytes of memory it’s a very slow machine for modern desktop Linux, but given that FreeDOS can run on even the earliest PCs it’s a DOS powerhouse. To make it even more ridiculously overspecified I put a 2.5″ SSD in it, and downloaded the FreeDOS USB installer image. Continue reading “Jenny’s Daily Drivers: FreeDOS 1.4”


