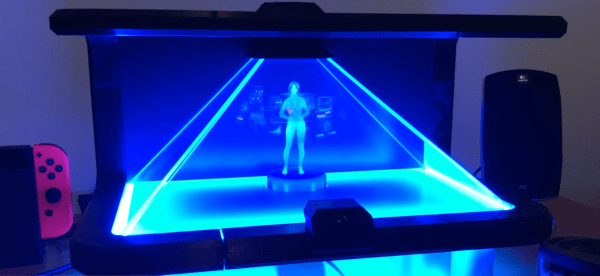
Halo’s Cortana enters the real world with this internet appliance. [Jarem Archer] has built an amazing “holographic” home for Cortana of Halo and Windows fame. The display isn’t really a hologram, it uses the age-old Pepper’s ghost illusion. A monitor reflects onto 3 angled half mirrored panels. This creates a convincing 3D effect. Cortana herself is a 3D model. [Jarem’s] wife provided gave Cortana her moves by walking in front of dual Kinect depth-sensing cameras. This motion capture performance drives the 3D Cortana model on the screen.
The brain behind this hack is the standard Windows 10 Cortana voice assistant. Saying “Hey Cortana” wakes the device up. To make the whole experience more interactive, [Jarem] added a face detection camera to the front of the device. When a face is detected, the Cortana model turns toward the user. Even if several people are watching the device, it would seem as if Cortana was “talking to” one person in the audience.
The cherry on top of this hack is the enclosure. [Jarem] 3D printed a black plastic stage. An Arduino drives RGB LEDs whenever Cortana is activated. The LEDs project a blue glue that works well with the Pepper’s ghost illusion. The result is a project that looks like something Microsoft might have cooked up in one of their research labs.
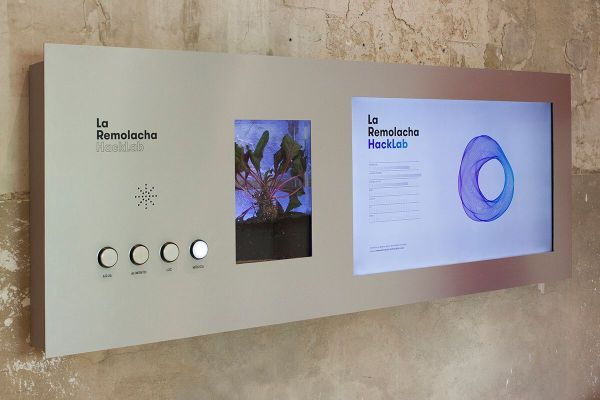
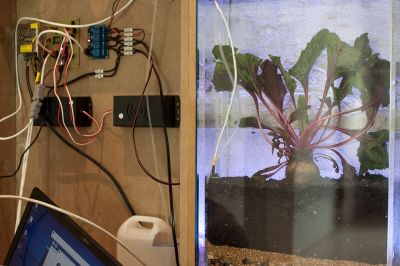 s to the sensors. The higher the temperature, the more folds in the shape. More distortions appear when there’s more humidity in the soil, while rotation speed increases with air humidity. Adding food increases the size of the visualization, and music triggers more vibrations.