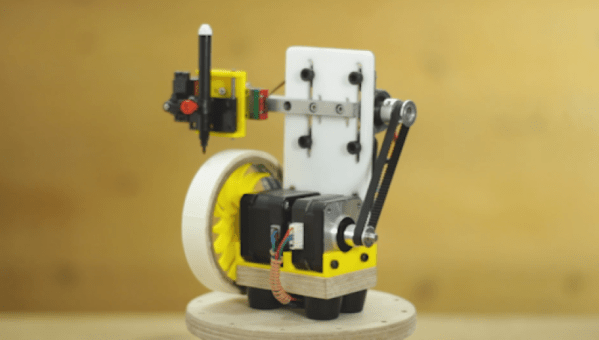
2D Plotter attachment for 3D printer.

Ender 3 Plotter Attachment For Printing Onto Cassettes

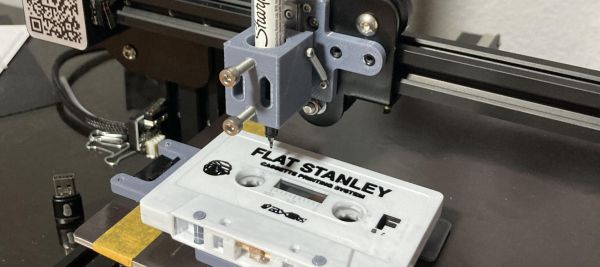
One way to look at FDM 3D printers is as machines that turn filament into three-dimensional objects, but at their core they are much more versatile than that. Since they can move just about any tool around in 3D space, you can also use them for plotter tasks, a fact that [Geoffrey Gao] made use of when he had to write labels for a stack of music tapes. The resulting FS-Plotter project is based around a Creality Ender 3 FDM printer. Standard g-code from PrusaSlicer is used to move a pen around, after the latter has been fitted into a (3D-printed) spring-loaded fixture.

The cassette tape is fitted into its own fixture that is attached to the printer bed to hold it in place, while the writing utensil can move in its spring-loaded fixture to account for some unevenness on the surface it’s writing on. In the linked GitHub project a PrusaSlicer profile is provided that can generate 2D plotter Gcode. Where [Geoffrey] says that this project is very useful to him as a musician is that it enables him to make small runs of tapes with professional printing, without running into extra expenses.

Beyond putting a writing utensil into the holder, it could also be used for light engraving and similar tasks, while still making it possible to switch between the FDM hotend and this plotter attachment as needed. For about $30 in parts, it doesn’t seem like a bad deal to get a small-ish plotter and maybe give that old Ender 3 a second life.

Need A Serial Data Plotter? Better Write Your Own

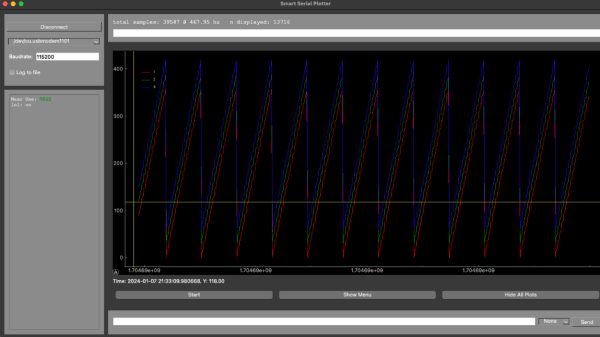
When you’re working with a development team, especially in a supporting capacity, you can often find yourself having to invent tools and support systems that are fairly involved, but don’t add to the system’s functionality. Still, without them, it’d be a dead duck. [Aidan Chandra] was clearly in a similar situation, working with a bunch of postgrads at Stanford, on an exoskeleton project, and needed an accurate data plotter to watch measurements in real-time.

This particular problem has been solved many times over, but [Aidan] laments that many solutions available seem to be too complex, hard to extend, or just have broken dependencies. This happens a lot, and it simply leads to yet another project to get going, before you can do the real work it supports. Based on Python and PyQT5, serial-plotter is a new beginning, with an emphasis on correct data acquisition and real-time data visualization with a little processing thrown in. Think, acquire data, show the raw values as well as the mean value, and RMS noise all on the same windows side-by-side, all of which is easily tweakable with a bit of programming using Numpy and Matplotlib.

One particularly important point to highlight is that of the handling of time-stamping. [Aidan] needed to ensure samples were logged together with a local MCU timestamp so that when displayed and possibly later post-processed, it was possible to accurately determine when a particular value or event occurred. With the amount of buffering, data loss and multiple-thread shenanigans, it is easy to forget that the data might get to the application in a non-deterministic way, and just relying on local CPU time is not so useful.

If you need to visualize data transported over the serial port, we have seen many projects to help. Like the highly configurable Serial Studio, for one. If your needs are a bit more complex, especially with multiple data transport methods, then a Supercon 2022 talk by [Alex Whittemore] might be a jolly good place to start.

Modern Demo For A Casio PB-700 Pocket Computer Plotter

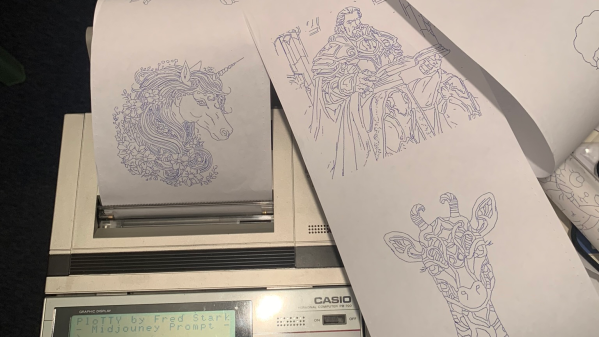
[Fred] has a Casio PB-700 pocket calculator / computer, complete with the companion docking station featuring a four-color pen plotter, model FA-10, and a microcassette tape recorder, model CM-1. He really wanted to see what this plotter could do, but there were no demos that he could find. So despite only having one working pen, [Fred] took matters into his own hands and proceeded to make his own.

What if I made a program where I type what I want to draw and the PB-700 just draws it?

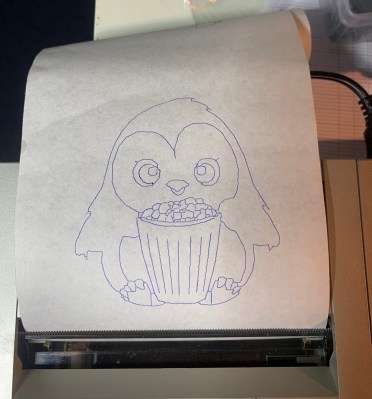
Penguin from Penguindrum eating Popcorn

[Fred] succeeds, shoehorning several sub-projects into a single convoluted work flow: request an image from the PB-700 and after a long pause the plot emerges. The cute microcassette recorder is too much of a hassle, so he emulates the audio interface on a PC using a utility called casutil that reads and writes .wav files in PB-700 format. Much of his effort is spent figuring out how to request an image from Midjourney without being banned, but eventually comes up with a workable but shaky solution. The last steps are to convert the image into a line drawing, and then wrap up all those X-Y coordinates into a Basic program and send it back down to the PB-700 for plotting.

You can read more details in the PloTTY GitHub repository. There were several of these pocket computers with plotters coming out of Japan in the 1980s. In addition to this Casio, the Radio Shack TRS-80 PC-1 and PC-2 come to mind, which were re-branded versions of the Sharp PC-1211 and PC-1500 models. We wrote about them last year. This author had a PC-2 in 1985 and used it to plot antenna patterns at his desk, bypassing the IT department’s red tape. Have you ever used any of these pocket plotters? If so, let us know in the comments below. Thanks to [Altomare] for send us the tip.

Plotter Churns Out Labels With Roll Of Tape

Like it or not, organizing your workspace from time to time is a necessary chore. Labels can go a long way towards taming the most unruly of benches, but writing them out by hand isn’t exactly ideal. Looking for something a bit neater, [sandy] built a simple pen plotter to write labels on a roll of tape.

Pen plotter writing on roll of masking tape

The plotter uses the usual 3D printer components like steppers, drivers, belts, and rails. The tape holder is printed with flexible arms for a tight grip, and a servo is used to raise and lower the pen while writing.

The custom control board includes an Arduino Nano clone and a pair of stepper drivers, and an optional Bluetooth module and can be configured for a variety of machine control applications. A pair of Android apps are used to generate and send the G-code from a phone to the GRBL firmware loaded on the Arduino.

This seems to fall in the category of “entry-level” custom automation tools which help to save some time and effort on repetitive tasks without blowing the budget. We would include the various component tape cutters we’ve seen in this category, as well as smart build platform for manual PCB assembly

Purpose-Built Plotter Pitches In To Solve Wordblitz On Your Phone

It seems like most hackers have never played a game without at least wondering how to cheat at it. It’s not that we’re a dishonest lot, at least not as a rule. It’s more that most games hold less challenge for us than does figuring out how to reverse engineer the game’s mechanics. We don’t intend to cheat; it just sort of happens.

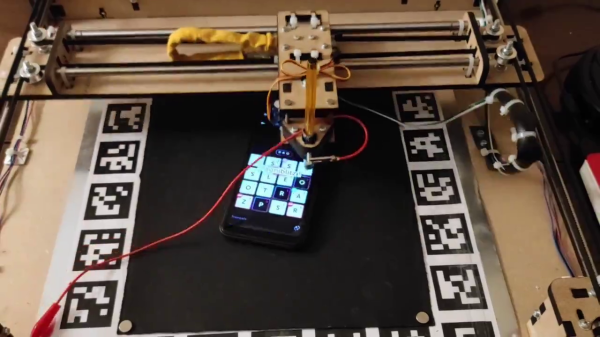
Or at least that’s the charitable way to look at such smartphone game cheats as this automated word-search puzzle solver. The game is Wordblitz, which is basically an implementation of classic Boggle along with extra features to release more dopamine and keep you playing. Not one to fall for that trick, [ghettobastler] whipped up a quick X-Y gantry from MDF using a laser cutter, added a stylus in the form of a cotton swab tipped with aluminum foil, and a vision system based on a simple web camera. The bed of the gantry has a capacitive plate so the stylus can operate the phone, along with a frame of ArUco fiducial marker to aid in locating the phone.

A Raspberry Pi handles the machine vision part of the process, which uses OpenCV to estimate the phone’s location and extract the current game tiles. The words in the game field are located by a solver that [ghetto] had previously written; a script then streams G-code to the plotter to peck out the answers at blazing speed, or at least faster than even [Peggy Hill] could manage. See the video below for a sample game being solved.

One word of warning if you choose to build this: [ghettobastler]’s puzzle-solving algorithm is based on a French dictionary, so you’ll have to re-teach it for other languages. But whatever language it’s in, this reminds us a bit of some of the Wordle solvers we’ve seen recently.

Continue reading “Purpose-Built Plotter Pitches In To Solve Wordblitz On Your Phone”

A camera slider made from wood and recycled parts

Turning Old Plotter Parts Into A Smooth Camera Slider

Taking apart old stuff and re-using the parts to make something new is how many hackers first got started in the world of mechanical and electronic engineering. But even after years working in industry we still get that tinge of excitement whenever someone offers us an old device “for parts”, and immediately begin to imagine the things we could build with the components inside.

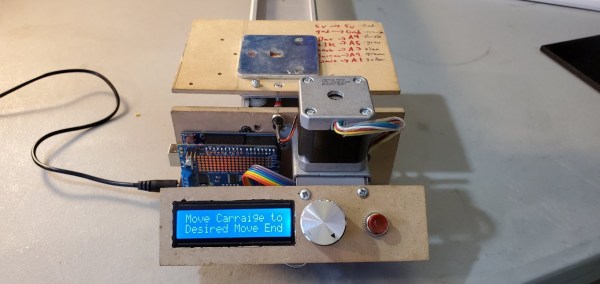
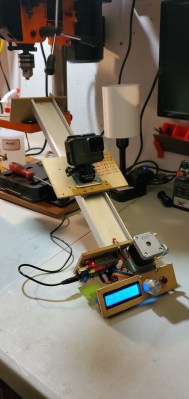
A GoPro mounted on a moving platform made from recycled partsSo when [Victor Frost] was offered an old Cricut cutting plotter, he realized he could use its parts to create the camera slider he’d been planning to build. The plotter’s X stage, controlled by a stepper motor, was ideal for moving a camera platform back and forth. [Victor] wanted to build the entire thing in a “freehand” way, without making a detailed design or purchasing any new parts. So he dived into his parts bin and dug up an Arduino, a 16×2 LCD, some wires and buttons, and a few pieces of MDF.

The camera mount is simply a piece of steel that a GoPro’s magnetic mount can latch onto, but [Victor] keeps open the possibility of mounting a proper tripod ball head. The Arduino drives the stepper motor through an Adafruit Motor Shield, with a simple user interface running on the LCD. The user can set the desired end points and speed, and then run the camera back and forth as often as needed. In this way, the software follows the same “keep it simple” philosophy as the hardware design.

If you’re planning to build your own camera slider, [Victor]’s design should be easy to copy, if you happen to have an old cutting plotter. If not, you can try this simple yet well-engineered model. Want even more? Then check out this fancy multi-axis camera motion control rig.

Continue reading “Turning Old Plotter Parts Into A Smooth Camera Slider”

Servo Plotter Needs Nothing Exotic

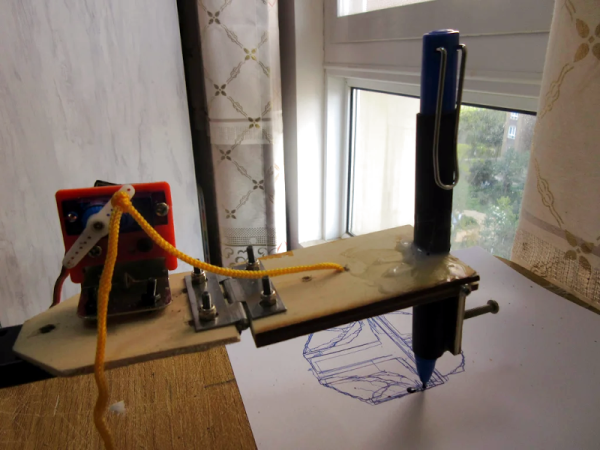
Although the widespread use of 3D printers has made things like linear bearings and leadscrews more common, you still can’t run down to your local big-box hardware store and get them. However, you can get drawer slides and any hobby shop can sell you some RC servos. That and an Arduino can make a simple and easy plotter. Just ask [JimRD]. You can also watch it do its thing in the video below.

Of course, servos aren’t usually what you use in a plotter. But the slides convert the rotation of the servo into linear motion. One servo for X and one for Y is all you need. Another microservo lifts the pen up and down using a hinge you could also get from a hardware store.

Continue reading “Servo Plotter Needs Nothing Exotic”