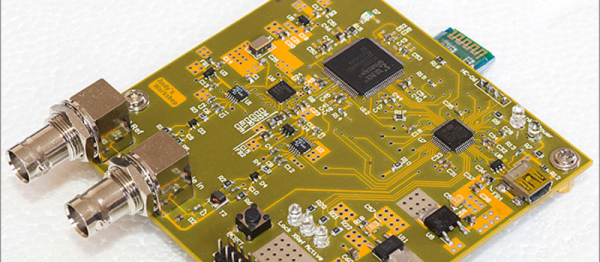
God of microcontrollers and king of electrons [Paul Stoffregen] is famous for his Teensy microcontroller dev boards, and for good reason. If you have a project that does more than blink a few pins, but doesn’t need to run a full Linux build, any one of the Teensy dev boards are a great option. As a dev board, [Paul] has released a few ‘shields’ that add various functionality – for example the audio adapter board that is able to play CD quality audio and perform DSP and FFT operations. Now, [Paul] has launched a new shield designed for interactive light and sound effects on art installations and for the rest of the crew at Burning Man. It’s called the Prop Shield, and adds more sensors, audio amps, and blinkies than a Teensy has ever had.
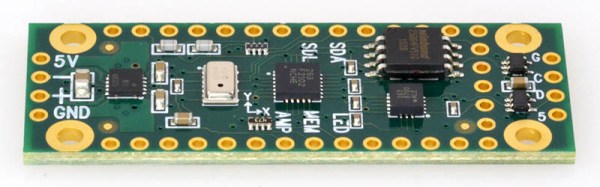
The Teensy Prop shield is equipped with 10DOF motion sensors, including a FXOS8700 accelerometer/magnetometer, a FXAS21002 gyroscope, and an MPL3115 altimeter and temperature sensor. A two Watt LM48310 audio amplifier can drive 4 or 8 ohm speakers, and 8 Megabytes of Flash memory can hold all the data for audio or a very long string of APA102 individually addressable LEDs.
The combination of motion sensors, audio amplifiers, and LED drivers may seem like an odd combination, but this is a shield for very odd projects. Stage effect, wearables, and handheld props become very easy with this board, and haunted houses are about to get really cool. With the on-board Flash, this board makes for a very capable data logger, and although the altitude sensor only reads pressure up to about 40,000 feet, this could be a very handy board for high altitude balloons.
The Prop Shield is available now in [Paul]’s shop. There are two versions, one ‘wit’ the motion sensors for $19.50, and the other ‘witout’ motion sensors for $8.40. The distinction is based on the Philly Cheesesteak protocol.
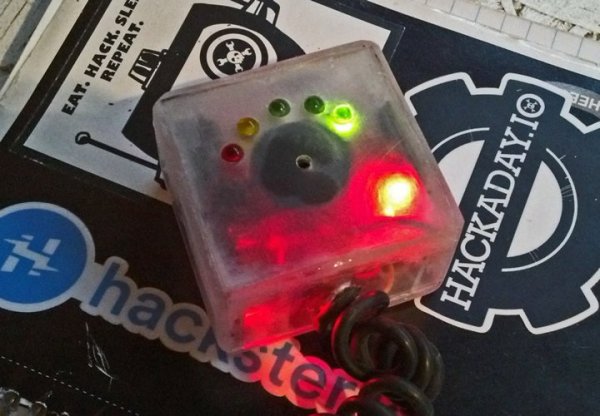
For the last few weeks, [Paul] has put the prop shield in the hands of a few dozen beta testers. Their impressions are in a forum thread, and like all of [Paul]’s projects, the response has been very good.
 It is nothing more than a metal book holder – the kind you are likely to pick up a pair for a few bucks at a charity shop or flea market. He was lucky to also snag a