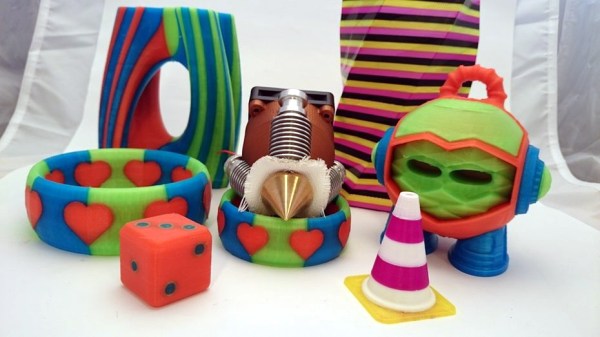
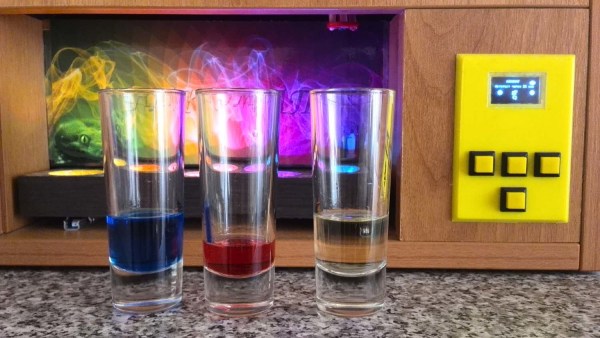
It’s safe to say we’ve hit a bit of a plateau with hobby based 3D printers using FDM technology. Print quality is pretty high, they’re about as fast as they’re going to get, and compared to commercial machines they’re a pretty good bang for your buck. So what’s next? What about printing in color?
 It is possible to print in color using a regular 3D printer and a bit of patience, but it’s really not economical or efficient. We’ve seen multiple extruder heads for 3D printing as well, but there are many problems with that due to calibration and trailing plastic from one head to another. So what if you could feed multiple color filaments into a single mixing head?
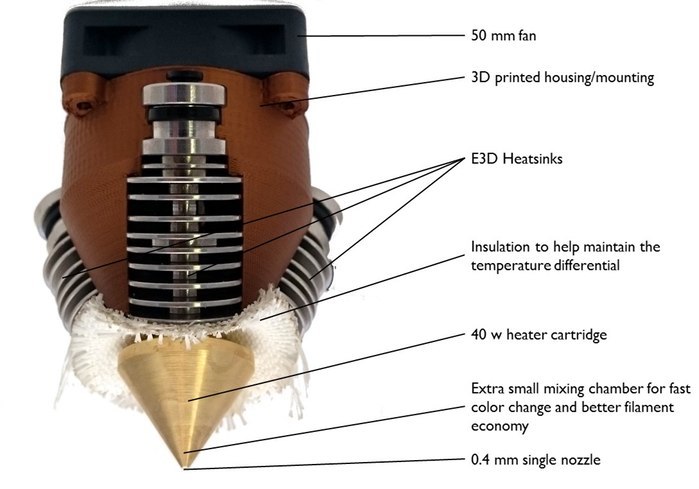
Well, it turns out you can. Earlier this year RepRap ran a Kickstarter for the development of the Diamond Hotend — a single nozzle multi-color extruder. It’s in production now and appears to work quite well. It’s also compatible with many 3D printers as long as the motherboard has triple extruder support.
However, the big question remains — how do you program a colored print? Using Repetier Host actually. You’ll need to export your 3D model in the .AMF file format, but once you do, you’ll be able to configure it for a color print job inside Repetier Host.
Continue reading “Diamond Hotend Opens The Color Gamut For 3D Printing”
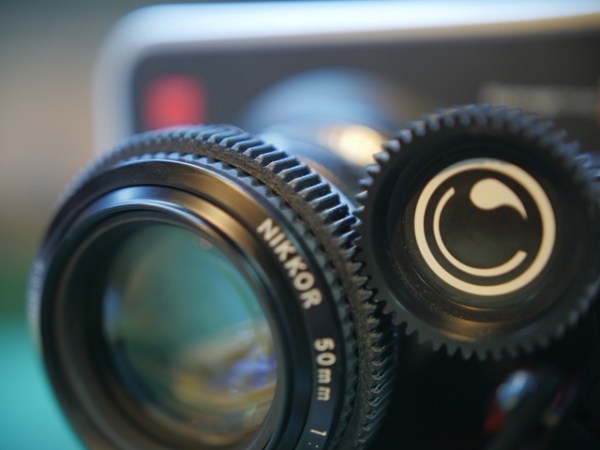
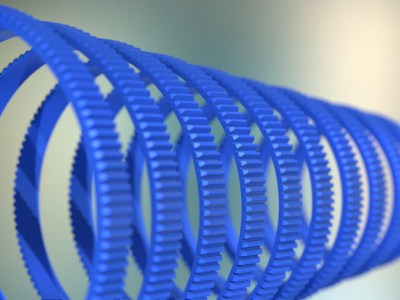 Unwilling to permanently modify his DSLR camera lens and dissatisfied with after-market lens gearing solutions, [Jaymis Loveday] learned enough OpenSCAD to generate gears from 50mm to 100mm in diameter in 0.5mm increments for a snug friction fit. Teamed up with commercially available focus pulling equipment, these lens gears should really help [Jaymis] get professional results from consumer lenses.