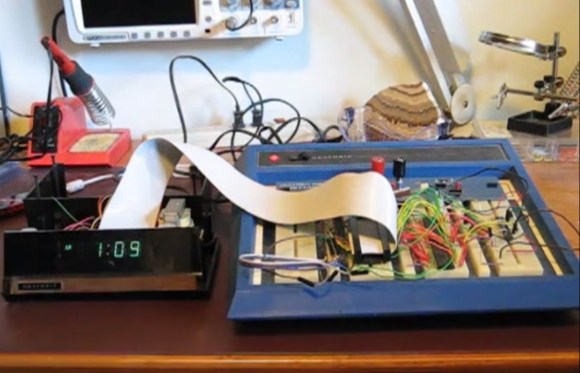
For want of new test equipment, or simply a project, [Enzo] decided he would take a shot at creating his own waveform generator*. Not only is it a great project, it’s also a decent piece of test equipment, with proper signal conditioning, a nice front panel, and a built-in wall transformer.
The guts of [Enzo]’s waveform generator is an AD9833 programmable waveform generator, a neat little chip that can output square and triangle waves fro 0.1 Hz to 3.2 MHz and sine waves from 0.1 Hz to 1.6 MHz. [Enzo] is controlling this chip with a PIC16 microcontroller, with a whole bunch of analog circuitry between the digital domain and the BNC connector on the front panel.
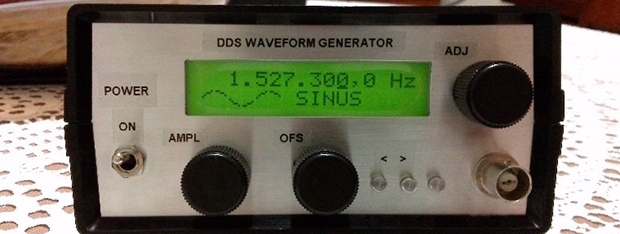
The waveform generator is controlled by a suite of dials and switches on the front panel, giving [Enzo] complete control over his new tool.
* Here’s a Google translation, but good luck with that. Just… get Chrome or something.