
Especially in this era of the Internet, the role of the Internet Archive’s Wayback Machine has become increasingly essential as more and more web content vanishes into the ether or is surreptitiously altered to hide salient details. More recently a new worry has seemingly cropped up in the form of scraping of data for so-called AI systems, or at least that’s part of the excuses being offered for blocking the Wayback Machine’s web crawlers, with [Andrew Deck] and [Hanaa’ Tameez] of [Nieman Lab] detailing the impact and reasons provided.
Some news outlets like The Baltimore Banner insist that they’re only blocking the Wayback Machine crawlers because they are worried that LLM chatbots would otherwise ‘improperly cite’ the source of content, while outlets like The Atlantic have put a blanket anti-scraping policy in place. Meanwhile news outlets are generally happy to let paid commercial news archiving outlets like ProQuest and LexisNexis index their content, showing a potential financial incentive.
Whatever the reasons, the direct effect is that as content is modified or vanishes during for example a system migration, buy-out or bankruptcy, researchers who rely on the Wayback Machine are pretty much forced to rely on paid offerings by ProQuest and kin, without the pure archiving focus and free access to information. It will also leave big holes in what the Wayback Machine can cover in its archives, with news especially becoming very spotty.
Incidentally there’s an ongoing petition over at SaveTheArchive.com which people can sign.


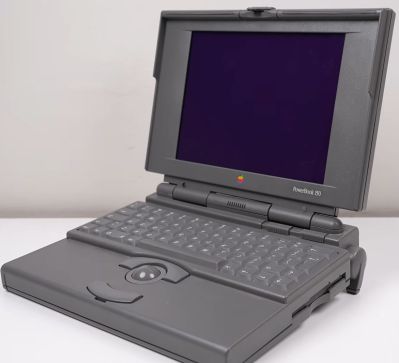 Without a functioning display there was little point in continuing, so the disassembly started there, revealing many broken plastic clips. The cause of the vinegar symptom is the degrading polarizer, which with some finesse can be removed like a thick screen protector. Fortunately, here it’s put on top of the glass layer of the display, so after peeling it off the remaining glue can be safely dissolved and scraped away.


