A lot of people around here got their start in electronics with guitar pedals. This means soldering crappy old transistors to crappy old diodes and fawning over your tonez, d00d. Prototyping guitar pedals isn’t easy, though, and now there’s a CrowdSupply project to make it easier The FX Development Board is just that — a few 1/4″ jacks, knobs, pots, power supply, and a gigantic footswitch to make prototyping guitar pedals and other musical paraphernalia easy. Think of it as a much more feature-packed Beavis Board that’s still significantly cheaper.
How do Communicators in Star Trek work? Nobody knows. Why don’t the crew always have to tap their badge before using it? Nobody knows. How can the com badge hear, ‘Geordi to Worf’, and have Worf instantly respond? Oh, we’ve argued about this on IRC for years now. Over on Hackaday.io, [Joe] is building a Star Trek com badge. The electronics are certainly possible with modern microcontrollers, but for the enclosure, we’ll have to review a few scenes from Time’s Arrow and The Enemy.
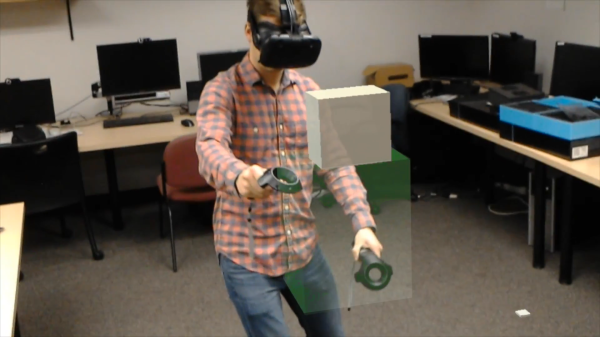
[Alois] was working with an Intel Edison on a breadboard. He was generating a signal, and sending it through a little tiny breadboard wire to an oscilloscope. The expected waveform should have been a nice square wave at 440MHz. What he got out of this wire was a mess. You shouldn’t use long wires when probing circuits. That little breadboard wire was a perfect radiator for 440MHz, and the entire setup turned into an antenna.
[Douglas] is running a Kenwood TM-D710A as his amateur radio rig. This radio does APRS stuff, but it requires an external GPS and power source to do it right. GPS receivers are now very small and very cheap, so [Douglas] just stuffed a GPS module inside his radio. The module itself is a GP-20U7, a tiny GPS module the size of a postage stamp, and wired it up to a few pads on the radio PCB.
Here’s an upcoming Kickstarter that’s going straight to the front page of Boing Boing. It’s Pong, in coffee table format which we first saw last Spring. Instead of racing the beam, this version of Pong is mechanical. The ball is a cube, the paddles are slightly longer cubes, and the entire game is a highly refined CNC machine. Here’s something from seven years ago that’s also Pong in coffee table format. Pongmechanik is electromechanical Pong, built entirely out of switches, relays, and a few motors.