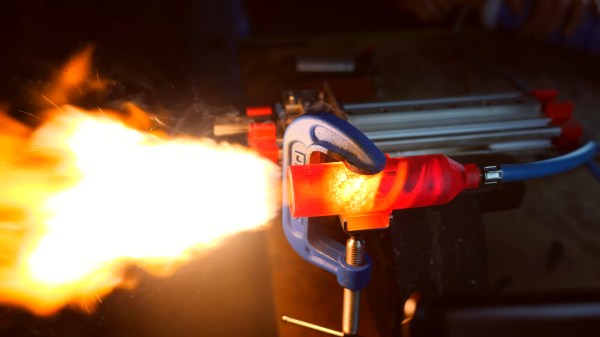
Worm gears are great if you have a low-speed, high-torque application in which you don’t need to backdrive. [Let’s Print] decided to see if they could print their own worm gear drives that would actually be usable in practice. The testing is enlightening for anyone looking to use 3D printed gearsets. (Video, embedded below.)
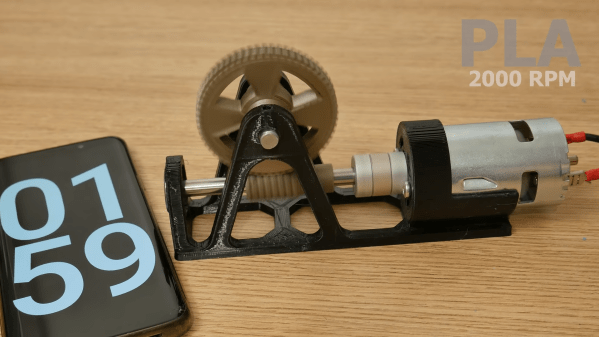
The testing involved printing worm gears on an FDM machine, in a variety of positions on the print bed in order to determine the impact of layer orientations on performance. Materials used were ABS, PLA and PETG. Testing conditions involved running a paired worm gear and worm wheel at various rotational speeds to determine if the plastic parts would heat up or otherwise fail when running.
The major upshot of the testing was that, unlubricated, gears in each material failed in under two minutes at 8,000 RPM. However, with adequate lubrication from a plastic-safe grease, each gearset was able to run for over ten minutes at 12,000 RPM. This makes sense, given the high friction typical in worm gear designs. However, it does bear noting that there was little to no load placed on the gear train. We’d love to see the testing done again with the drive doing some real work.
It also bears noting that worm drives typically don’t run at 12,000 RPM, but hey – it’s actually quite fun to watch. We’ve featured some 3D printed gearboxes before too, pulling off some impressive feats. Video after the break.