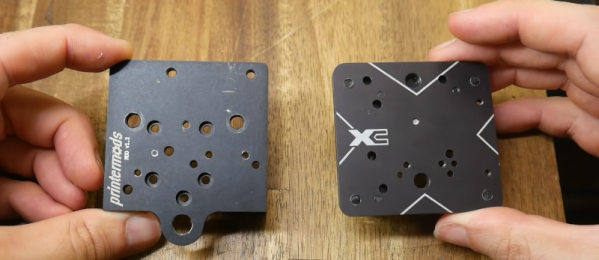
Like most of us, [Clem] wants to 3D print in metal. Metal 3D printers do exist, but they are generally way out of reach for most of us garage hackers. As an alternative, [Clem] uses a homebrew electroplating system to get prints with a metallic coating.
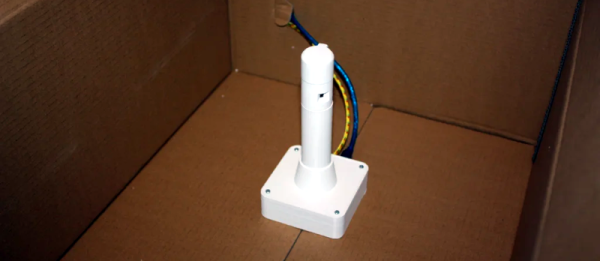
The setup is quite simple. Small glass jars to act as the plating tanks and the machine uses an Arduino controller along with a PCB to hold things like a relay to control the 24V used for electroplating. To keep everything tidy, [Clem] designed a 3D printed box that stores all the cables and chemicals when you aren’t using them. Since the parts might get hot, the plastic is PETG.
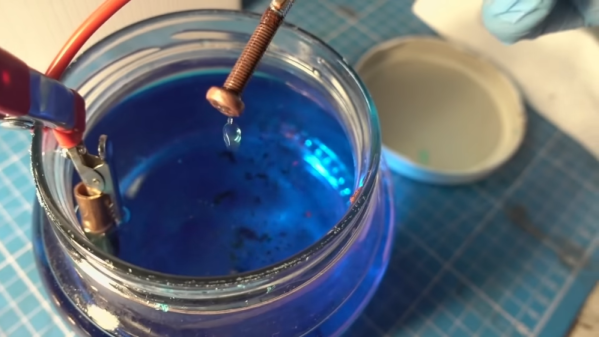
The trick is that parts need to be conductive in order to use electroplating — typically plastic isn’t conductive. [Clem] paints the plastic parts to grant them conductivity. Graphite paint didn’t give great results. However, an iron-based paint worked better but obscures detail on the print. In addition to galvanization (plating with zinc or steel) you can see copper plating of a nail at around the 12 minute mark, with a plastic plating demo a minute later. The machine can even plate gold using an expensive gold-bearing electrolyte. In the video comments, someone also mentioned that it would be interesting to try plating conductive filament without using the paint. [Clem] tried to remove rust from a big part, but the power supply wasn’t up to the task.
Copper plating is often used as a step to make a part conductive so you can then plate with another metal. In addition to copper sulfate, you can use copper acetate. Sometimes, getting metal into fine details can be tough and it is easier to use a pen to plate those areas directly.