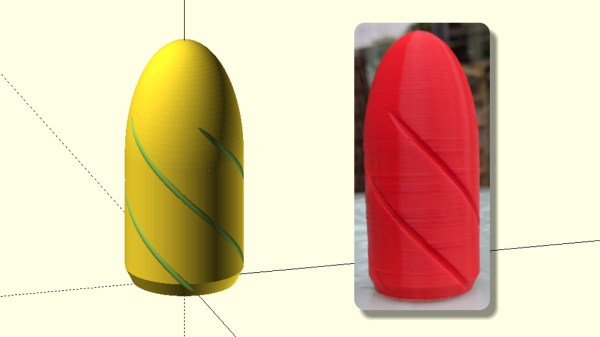
The ballistics of humble potato is a time-honoured research topic for everyone who likes things that go bang. The focus of such work is usually on the launcher itself, with the projectiles being little more than an afterthought. [drenehtsral] decided that the wares of the local organic ammunition supplier were not good enough for him and his minions, so he designed and then 3D printed some rifled potato cannon slugs.
The design was done using OpenSCAD, has a number of adjustable parameters like infill and rifling. We doubt that the rifling introduces any spin, since it is being fired from a smooth bore barrel, but as always 3D printing brings the capability to quickly test different ideas. A quick search on Thingiverse shows a number of 3D printed spuds, so [drenehtsral] is not the first give it a go. However, this did bring to our attention that the field of spud gun projectiles is begging to be explored.
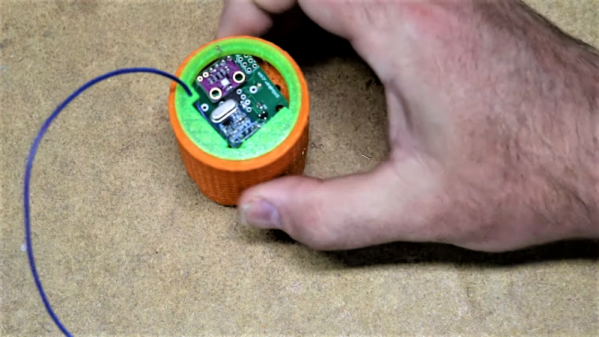
There is enough space inside a projectile to fit an IMU and logging electronics, which would give some very nice empirical data (providing you can recover it of course) on spin, acceleration, and trajectory that can be used to further improve designs. Spring loaded stabilising fins would be cool, and maybe someone can even manage to implement some form of guidance? The possibilities are endless! If you’re up for the challenge, please document your work it and let us know.
As you would expect we have no shortage of potato cannon themed content, ranging from cartridge firing and bolt action versions to antenna launchers and Arduino-powered fire control systems.