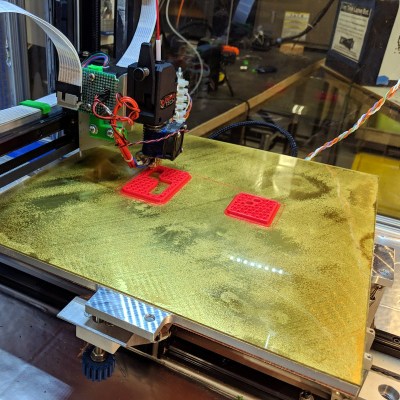
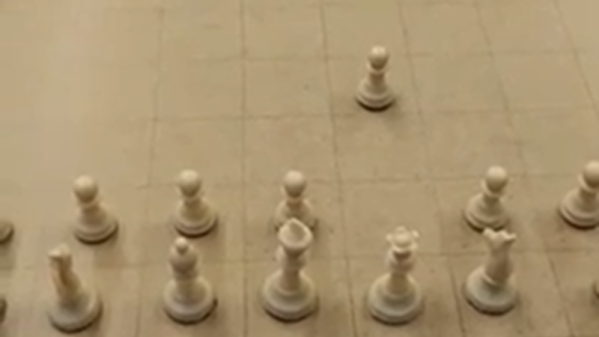
Generally speaking, objects made on desktop 3D printers are pretty small. This is of course no surprise, as filament based printers are fairly slow and most don’t have very large beds to begin with. Most people don’t want to wait days for their project to complete, so they use 3D printed parts where it makes sense and supplement them with more traditional components such as aluminum extrusion wherever possible. But not always…
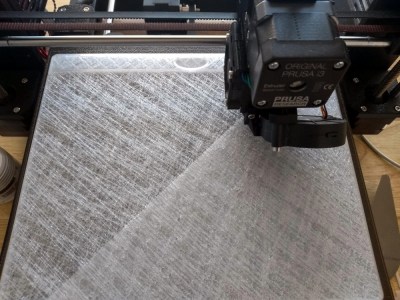
This 3D printed photography softbox created by [Nicholas Sherlock] doesn’t take the easy way out for anything. With the exception of the LEDs and the electronics to drive them, everything in the design has been printed on his Prusa i3. It wasn’t the easiest or fastest way to do it, but it’s hard to argue with the end result. Perhaps even more impressive than the final product is what it took to get there: he actually had to develop a completely new style of part infill he’s calling “Scattered Rectilinear” to pull it off.
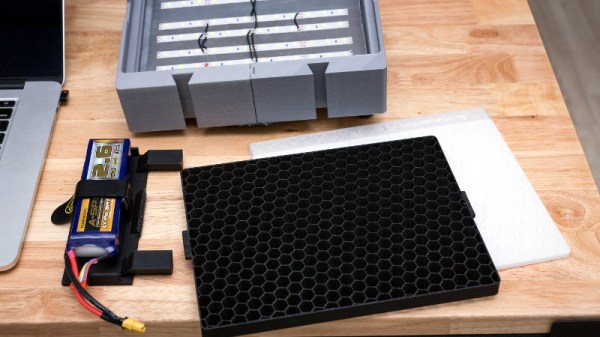
 Overall the design of the light itself isn’t that complex, ultimately it’s just a box with some LEDs mounted at the back and a pretty simple circuit to control their intensity. The critics will say he could have just used a cardboard box, or maybe wood if he wanted something a little bit stronger. But the point of this project was never the box itself, or the LEDs inside it. It’s all about the diffuser.
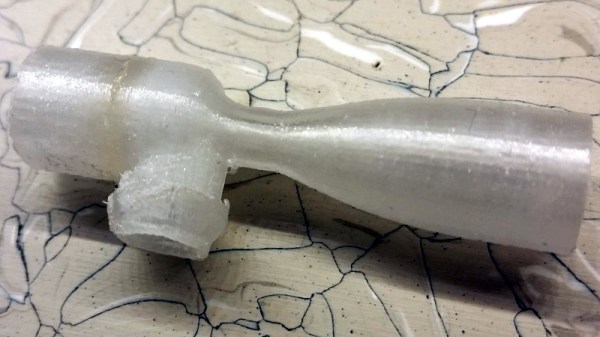
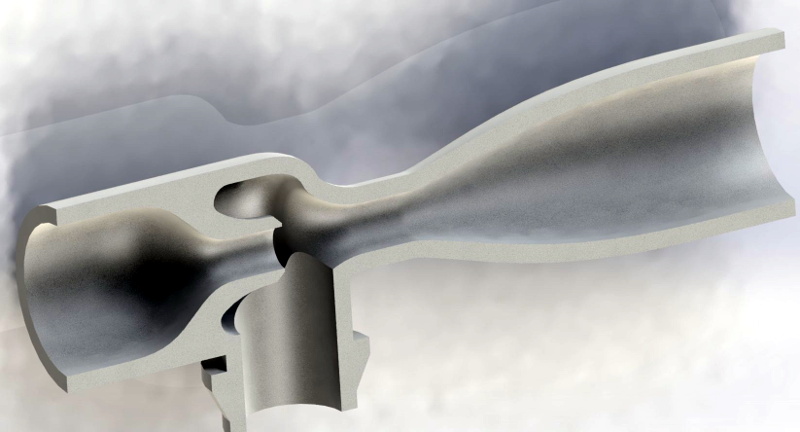
[Nicholas] forked Prusa’s version of Slic3r to add in his “Scattered Rectilinear” infill pattern, which is specifically designed to avoid the standard “ribs” inside of a 3D printed object. This is accomplished with randomized straight infill passes, rather than the traditionally overlapped ones. The inside of the print looks very reminiscent of fiberglass mat, which is perhaps the best way to conceptualize its construction. In terms of the final part strength, this infill is abysmal. But on the plus side, the light from the LEDs passing through it emerges with a soft pleasing look that completely obscures the individual points of light.
Anyone with a big enough 3D printer can run off their own copy of his light, as [Nicholas] has released not only his forked version of Slic3r but all of the STL files for the individual components. He’s also put together an exceptionally well documented Thingiverse page that has instructions and detailed build photos, something that’s unfortunately very rare for that platform.
If you’re in the market for a DIY softbox and don’t have a 3D printer handy, fear not. We’ve covered a few that you can build with more traditional methods, as well as several tips and tricks which you can use to get the most out of your photos and videos.