Many people assumed the smartphone revolution would kill the dedicated handheld game system, and really, it’s not hard to see why. What’s the point of buying the latest Nintendo or Sony handheld when the phone you’re already carrying around with you is capable of high-definition 3D graphics and online connectivity? Software developers got the hint quickly, and as predicted, mobile gaming has absolutely exploded over the last few years.
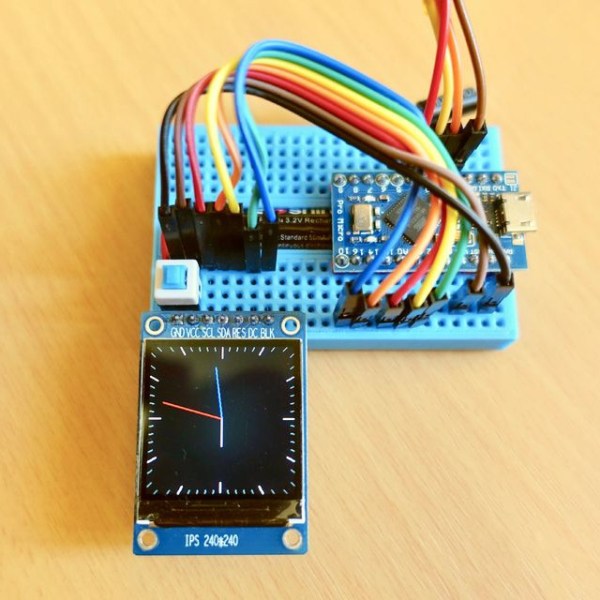
 But at the same time, we’ve noticed something of a return to the simplistic handheld systems of yore. Perhaps it’s little more than nostalgia, but small bare-bones systems like the one [Mislav Breka] has entered into the 2019 Hackaday Prize show that not everyone is satisfied with the direction modern gaming has gone in. His system is specifically designed as an experiment to build the most minimal gaming system possible.
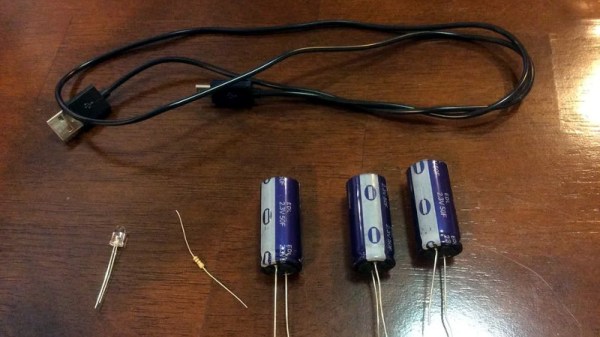
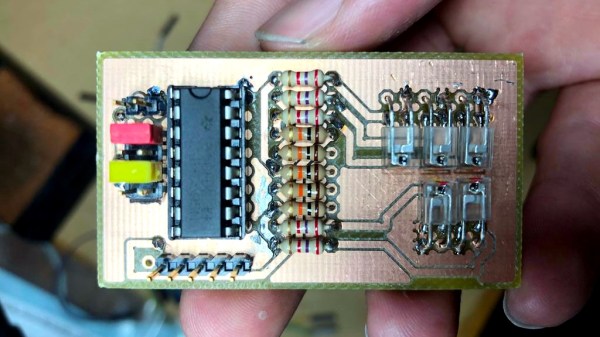
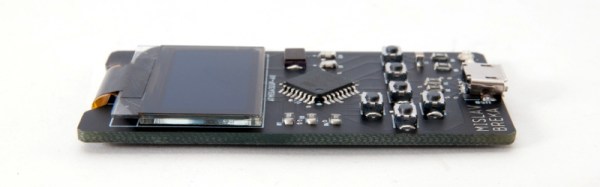
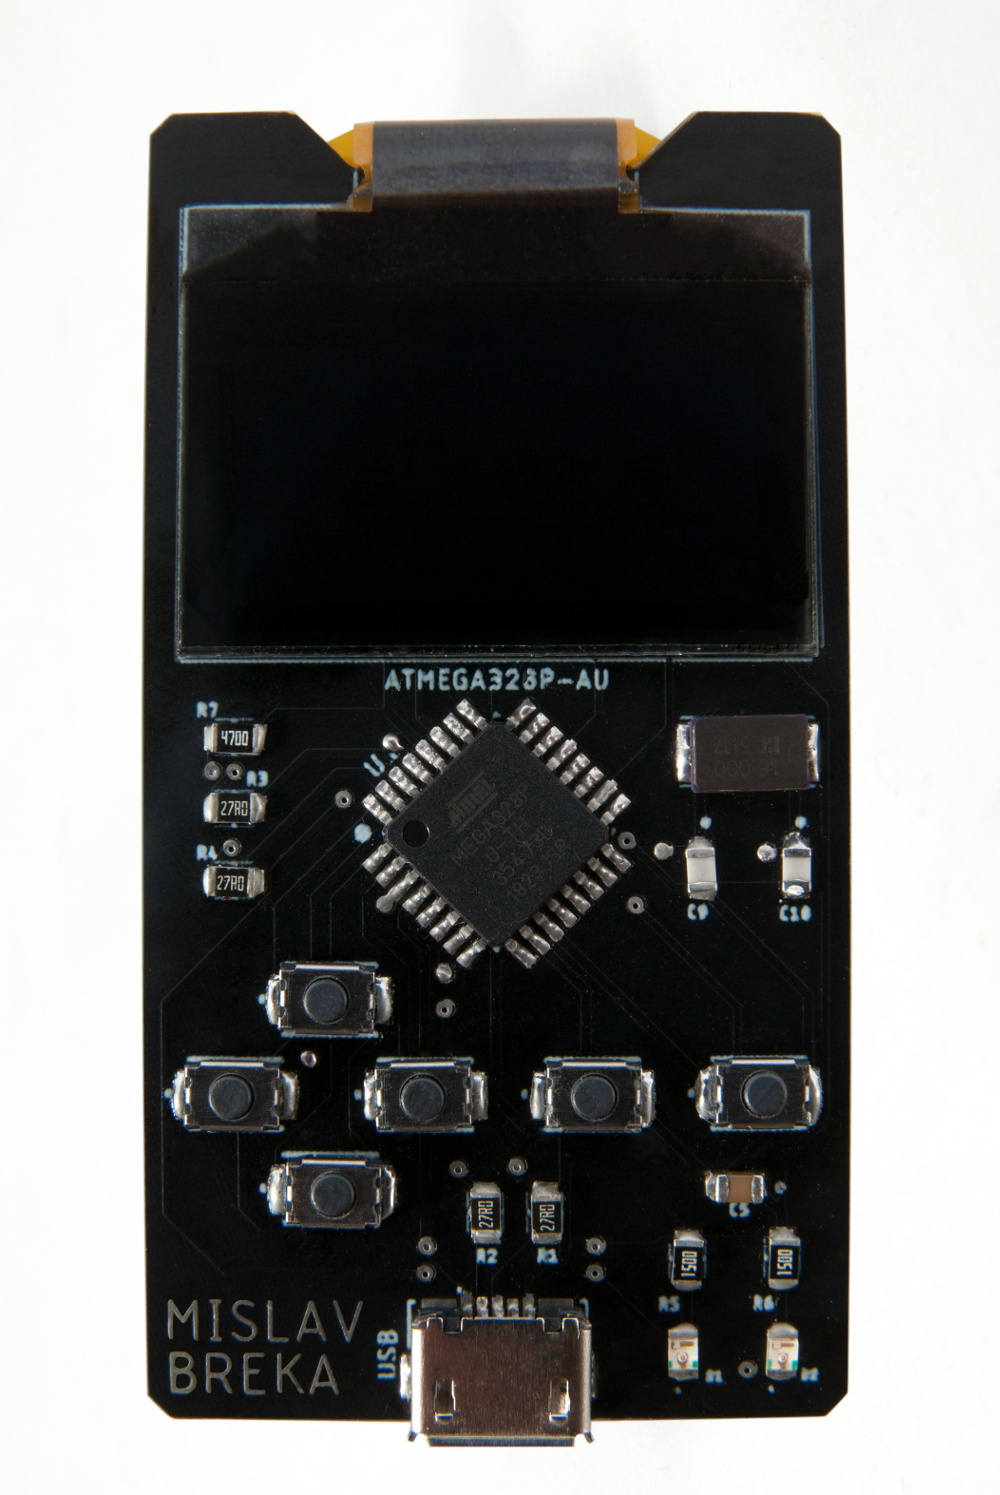
In terms of the overall design, this ATMega328 powered system is similar to a scaled-down Arduboy. But while the visual similarities are obvious, the BOM that [Mislav] has provided seems to indicate a considerably more spartan device. Currently there doesn’t seem to be any provision for audio, nor is there a battery and the associated circuitry to charge it. As promised, there’s little here other than the bare essentials.
Unfortunately, the project is off to something of a rocky start. As [Mislav] explains in his writeup on Hackaday.io, there’s a mistake somewhere in either the board design or the component selection that’s keeping the device from accepting a firmware. He won’t have the equipment to debug the device until he returns to school, and is actively looking for volunteers who might be interested in helping him get the kinks worked out on the design.