Dog-Or-Catapult Controls The Speed Of The Feed

[NathanKing] has a cute, rambunctious pupper who eats way too fast for her own good. He’s tried various distribution methods intended to get her to slow down, but she’s just too excited to eat. [Nathan]’s latest solution is to launch the food piece by piece using a catapult. The dog loves the gamified feeding method, which is sort of like one-way fetch. She gets a bit of exercise, and everyone is amused for the half hour it takes to fling 1.5 cups of food one piece at a time.

Electronics-wise, this food flinger doesn’t use much more than three servos and an Arduino Uno. Servo #1 pulls the arm back until it hits a limit switch. Servo #2 holds the arm down , and servo #3 rotates the food tube until it drops a unit of kibble into the spoon. Then servo #2 lets the arm go, and the tasty morsel flies about 30 feet (10 meters).

[Nathan] doesn’t offer step-by-step instructions, but there is more than enough detail to replicate this project. He used what he had on hand, such as scrap aluminium from another project for the frame. Future plans include swapping out the 6V lantern battery for rechargeable AAs, and downsizing to a Nano. We’ve fetched a couple of videos for you and thrown them in after the break. Go get ’em, reader!

Pets need plenty of water, especially during the summer. Here’s a no-sweat automatic watering solution we saw a few years ago.

Continue reading “Dog-Or-Catapult Controls The Speed Of The Feed”

The Precise Science Of Whacking A Wine Glass

It’s common knowledge that tapping a wine glass produces a pitch which can be altered by adjusting the level of the tipple of choice inside. By filling twelve glasses with different amounts of liquid and tuning them to the twelve notes of the scale, it’s possible to make a one-octave instrument – though the speed and polyphony are bottle-necked by the human operator. If you think it sounds like a ripe project for automation, you’re correct: [Bitluni’s lab] has done what needed to be done, and created a MIDI instrument which plays the glasses using mallets.

Electronically it’s a simple build – some 12 V solenoids driven by MOSFETs, with an Arduino in charge. For the mechanical build, a 3D printer proved very useful, as each mallet could be made identical, ensuring a consistent tone across all glasses. Rubber covers printed in flexible filament were fitted to reduce the overtones and produce a clearer sound. [Bitluni] also utilised different types of glasses for the low and high pitches, which also helped to improve the clarity of the tone.

MIDI is of course the perfect protocol for this application; simple, lightweight and incredibly widely used, it’s the hacker’s delight for projects like this. The instrument can perform pre-programmed sequences, or be played live with a MIDI controller. Both of these are shown in the video after the break – stick around for a unique rendition of Flight Of The Bumblebee. For a more compact wine glass based music creation solution, we recommend this nifty project, which alters pitch using a water balloon raised and lowered into the glass by a servo.  Continue reading “The Precise Science Of Whacking A Wine Glass”

Light Painting Animations Directly From Blender

Light painting: there’s something that never gets old about waving lights around in a long exposure photo. Whilst most light paintings are single shots, some artists painstakingly create frame-by-frame animations. This is pretty hard to do when moving a light around by hand: it’s mostly guesswork, as it’s difficult to see the results of your efforts until after the photo has been taken. But what if you could make the patterns really precise? What if you could model them in 3D?

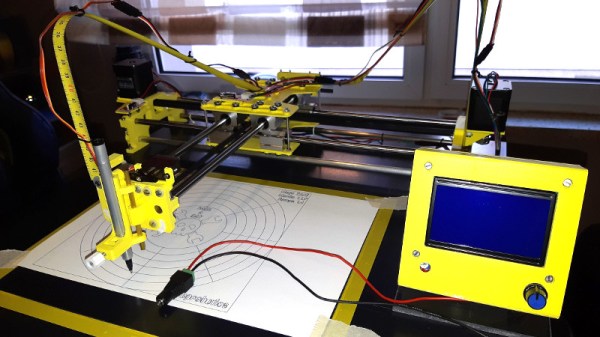
[Josh Sheldon] has done just that, by creating a process which allows animations formed in Blender to be traced out in 3D as light paintings. An animation is created in Blender then each frame is automatically exported and traced out by an RGB LED on a 3D gantry. This project is the culmination of a lot of software, electronic and mechanical work, all coming together under tight tolerances, and [Josh]’s skill really shines.

The first step was to export the animations out of Blender. Thanks to its open source nature, Python Blender add-ons were written to create light paths and convert them into an efficient sequence that could be executed by the hardware. To accommodate smooth sliding camera movements during the animation, a motion controller add-on was also written.

The gantry which carried the main LED was hand-made. We’d have been tempted to buy a 3D printer and hack it for this purpose, but [Josh] did a fantastic job on the mechanical build, gaining a solidly constructed gantry with a large range. The driver electronics were also slickly executed, with custom rack-mount units created to integrate with the DragonFrame controller used for the animation.

The video ends on a call to action: due to moving out, [Josh] was unable to continue the project but has done much of the necessary legwork. We’d love to see this project continued, and it has been documented for anyone who wishes to do so. If you want to check out more of [Josh]’s work, we’ve previously written about that time he made an automatic hole puncher for music box spools.

Thanks for the tip, [Nick].

Continue reading “Light Painting Animations Directly From Blender”

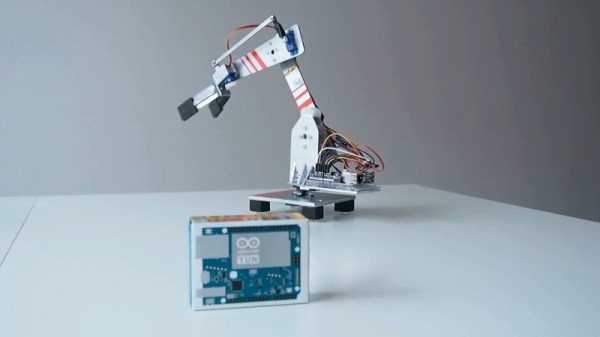
Hands-On With New Arduino FPGA Board: MKR Vidor 4000

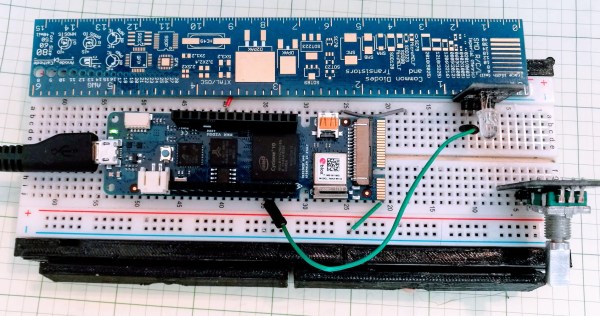
Hackaday brought you a first look the Arduino MKR Vidor 4000 when it announced. Arduino sent over one of the first boards so now we finally have our hands on one! It’s early and the documentation is still a bit sparse, but we did get it up and running to take the board through some hello world exercises. This article will go over what we’ve been able to figure out about the FPGA system so far to help get you up and running with the new hardware.

Continue reading “Hands-On With New Arduino FPGA Board: MKR Vidor 4000”

H2gO Keeps Us From Drying Out

The scientific community cannot always agree on how much water a person needs in a day, and since we are not Fremen, we should give it more thought than we do. For many people, remembering to take a sip now and then is all we need and the H2gO is built to remind [Angeliki Beyko] when to reach for the water bottle. A kitchen timer would probably get the job done, but we can assure you, that is not how we do things around here.

A cast silicone droplet lights up to show how much water you have drunk and pressing the center of the device means you have taken a drink. Under the hood, you find a twelve-node NeoPixel ring, a twelve millimeter momentary switch, and an Arduino Pro Mini holding it all together. A GitHub repo is linked in the article where you can find Arduino code, the droplet model, and links to all the parts. I do not think we will need a device to remind us when to use the bathroom after all this water.

Another intrepid hacker seeks to measure a person’s intake while another measures output.

Continue reading “H2gO Keeps Us From Drying Out”

Save Some Steps With This Arduino Rapid Design Board

We’re all familiar with the wide variety of Arduino development boards available these days, and we see project after project wired up on a Nano or an Uno. Not that there’s anything wrong with that, of course, but there comes a point where some hobbyists want to move beyond plugging wires into header sockets and build the microcontroller right into their project. That’s when one generally learns that development boards do a lot more than break the microcontroller lines out to headers, and that rolling your own design means including all that supporting circuitry.

To make that transition easier, [Sean Hodgins] has come up with a simple Arduino-compatible module that can be soldered right to a PCB. Dubbed the “HCC Mod” for the plated half-circle castellations that allows for easy soldering, the module is based on the Atmel SAMD21 microcontroller. With 16 GPIO lines, six ADCs, an onboard 3.3 V regulator, and a reset button, the module has everything needed to get started — just design a PCB with the right pad layout, solder it on, and surround it with your circuitry. Programming is done in the familiar Arduino IDE so you can get up and running quickly. [Sean] has a Kickstarter going for the modules, but he’s also releasing it as open source so you’re free to solder up your own like he does in the video below.

It’s certainly not the first dev module that can be directly soldered to a PCB, but we like the design and can see how it would simplify designs. [Sean] as shown us a lot of builds before, like this army of neural net robots, so he’ll no doubt put these modules to good use.

Continue reading “Save Some Steps With This Arduino Rapid Design Board”

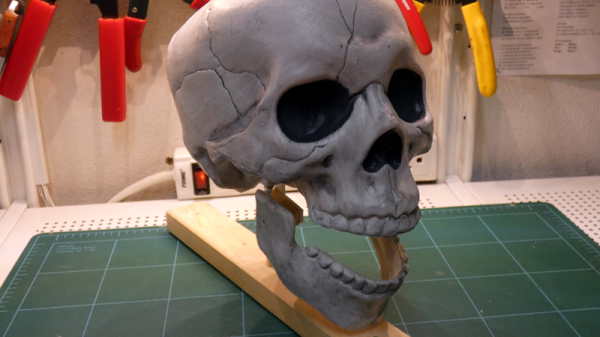
Billy Whiskers: animatronic puppet

Animatronic Puppet Takes Cues From Animation Software

Lip syncing for computer animated characters has long been simplified. You draw a set of lip shapes for vowels and other sounds your character makes and let the computer interpolate how to go from one shape to the next. But with physical, real world puppets, all those movements have to be done manually, frame-by-frame. Or do they?

Billy Whiskers: animatronic puppet

Stop motion animator and maker/hacker [James Wilkinson] is working on a project involving a real-world furry cat character called Billy Whiskers and decided that Billy’s lips would be moved one frame at a time using servo motors under computer control while [James] moves the rest of the body manually.

He toyed around with a number of approaches for making the lip mechanism before coming up with one that worked the way he wanted. The lips are shaped using guitar wire soldered to other wires going to servos further back in the head. Altogether there are four servos for the lips and one more for the jaw. There isn’t much sideways movement but it does enough and lets the brain fill in the rest.

On the software side, he borrows heavily from the tools used for lip syncing computer-drawn characters. He created virtual versions of the five servo motors in Adobe Animate and manipulates them to define the different lip shapes. Animate then does the interpolation between the different shapes, producing the servo positions needed for each frame. He uses an AS3 script to send those positions off to an Arduino. An Arduino sketch then uses the Firmata library to receive the positions and move the servos. The result is entirely convincing as you can see in the trailer below. We’ve also included a video which summarizes the iterations he went through to get to the finished Billy Whiskers or just check out his detailed website.

[Jame’s] work shows that there many ways to do stop motion animation, perhaps a part of what makes it so much fun. One of those ways is to 3D print a separate object for each character shape. Another is to make paper cutouts and move them around, which is what [Terry Gilliam] did for the Monty Python movies. And then there’s what many of us did when we first got our hands on a camera, move random objects around on our parent’s kitchen table and shoot them one frame at a time.

Continue reading “Animatronic Puppet Takes Cues From Animation Software”