Baseball jokes aside, holograms have been a dream for decades, and with devices finally around that support something like them, we have finally started to wonder how to make content for them. [Mike Rigsby] recently entered his stop-motion holographic setup into our sci-fi contest, and we love the idea.
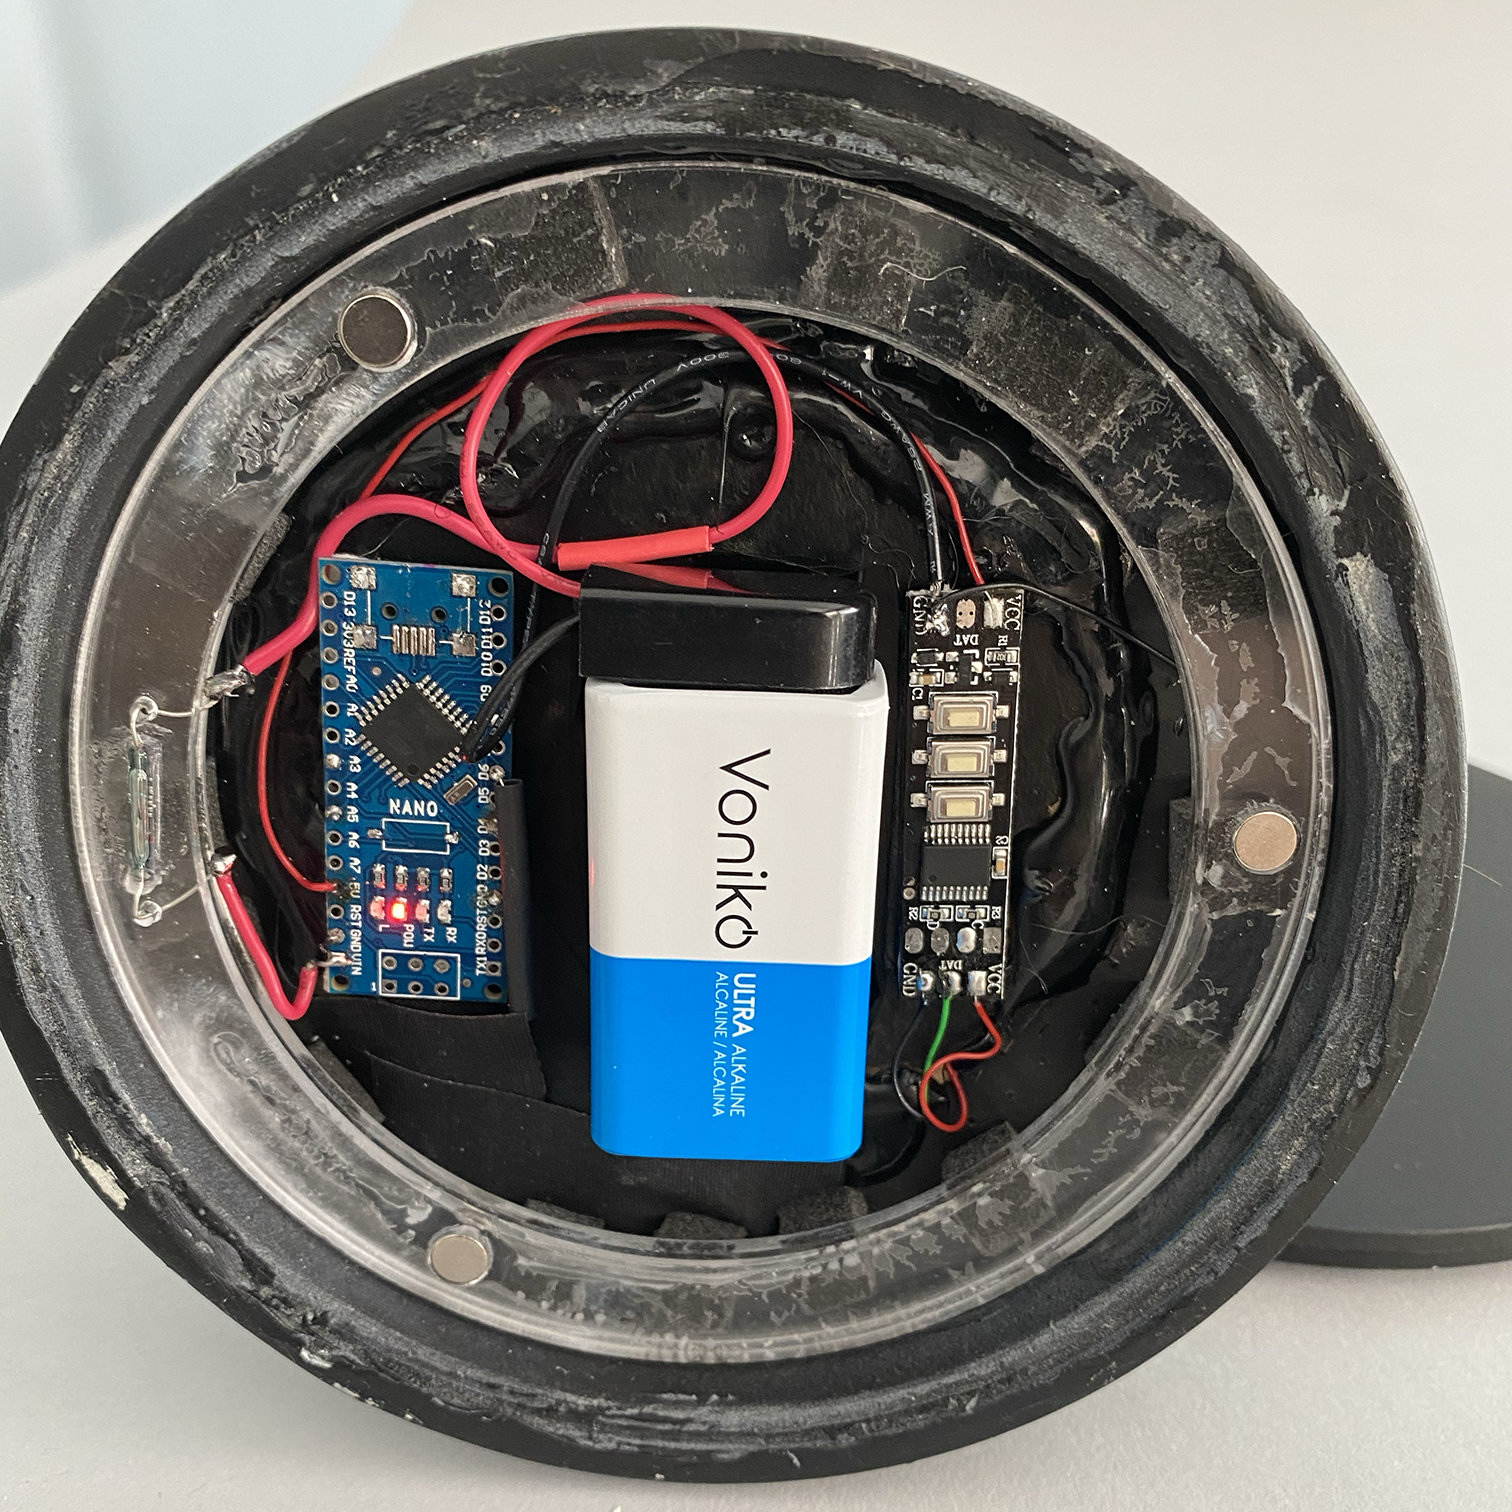
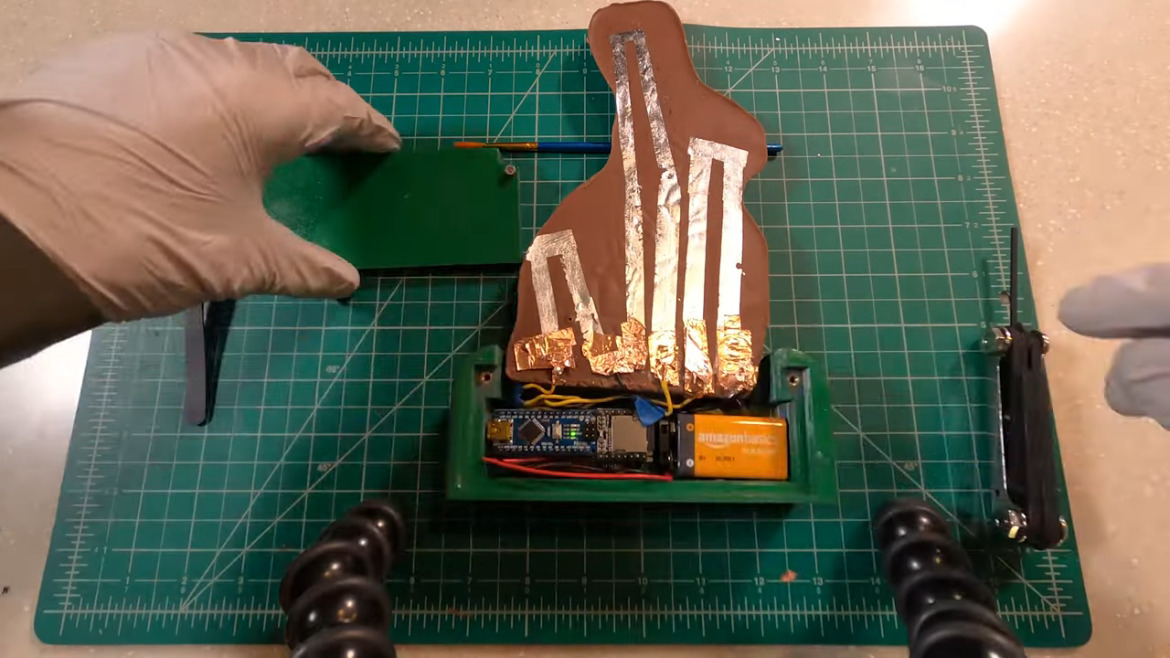
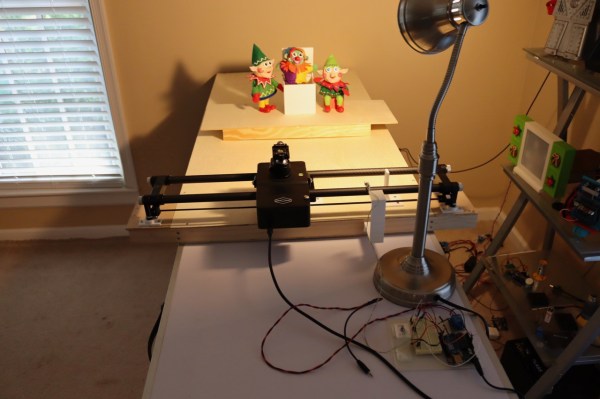
Rather than a three-dimensional model or a 2d picture with pixels, the Looking Glass light field display supports a series of images as quantized points (hence light field). As you move around an object, images are interpolated between the frames you do know, giving a pretty convincing effect. In a traditional stop motion animation, you need to take anywhere between 12-24 frames to equal about one second of animation. Now that you need to take 48 pictures for one frame, over 1152 pictures for just one second of animation. Two problems quickly appear, how to take photographs accurately from the same position every time and how do you manage the deluge of photos sensibly. [Mike] started with a wooden stage for his actors. A magnet was mounted to the photo rail carriage, and a sensor allowed it to detect that it was in the same spot. An Arduino controls the rail, reads the magnet via a sensor, and controls the camera shutter. The DSLR he’s using can’t do that many frames per second, but that’s a problem for another sci-fi contest.
Holographic-ish displays are finally here, and they’re getting better. But if a display isn’t your speed, perhaps some laser-powered glasses can be the holographic experience you’re looking for?
This project was an entry into the 2022 Sci-Fi Contest. Check out all of the winning entries here.