How do you approach your robot designs? Maybe, you do it from a ‘oh, I have these cool parts’ position, or from a ‘I want to make a platform on wheels for my experiments’ perspective. In that case, consider that there’s a different side to robot building – one where you account for your robot’s influence on what other people around feel about them, and can get your creations the attention they deserve. [Jorvon ‘Odd-Jayy’ Moss]’s robots are catchy in a way that many robot designs aren’t, and they routinely go viral online. What are his secrets to success? A combination of an art background, a Bachelor of Fine Arts in illustration, and a trove of self-taught electronics skills helped him develop a standout approach to robot building.
Now, [Jorvon] has quite a few successful robot projects under his belt, and at Supercon 2022, he talks about how our robots’ looks and behaviour shapes their perception. How do your own robots look to others, and what feelings do they evoke? With [Jorvon], you will go through fundamentals of what makes a robot look lively, remarkable, catchy or creepy, and it’s his unique backgrounds that let him give you a few guidelines on what you should and should not do when building a certain kind of robot.
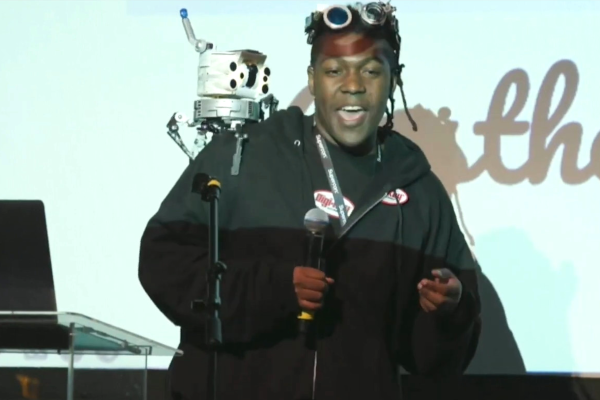
You’ll do good watching this video – it’s short and sweet, and shows you a different side to building robots of your dreams; plus, the robot riding around on the stage definitely makes this presentation one of a kind. No matter your robot’s technical complexity, it’s significant that it can make people go ‘wow’ when they see it. Not all robots are there to single-mindedly perform a simple task, after all – some are meant to travel around the world.
Continue reading “Supercon 2022: [Jorvon Moss] Gives His Robots A Soul”